Documentation & User Guide
A step-by-step guide to every KhmerRetail feature — for daily use, staff training, and customer presentations.
Web App · Version 12.7.0
Mobile App · Version 12.7.0
Using this guide for training
Present the sections top-to-bottom: each block walks the customer from one point to the next — from first login to daily closing reports. Every module shows how to add, edit and review its records. Switch language with the selector in the top menu.
Runs in any browser — the full back-office: POS, stock, reports and settings.
Getting Started & Dashboard
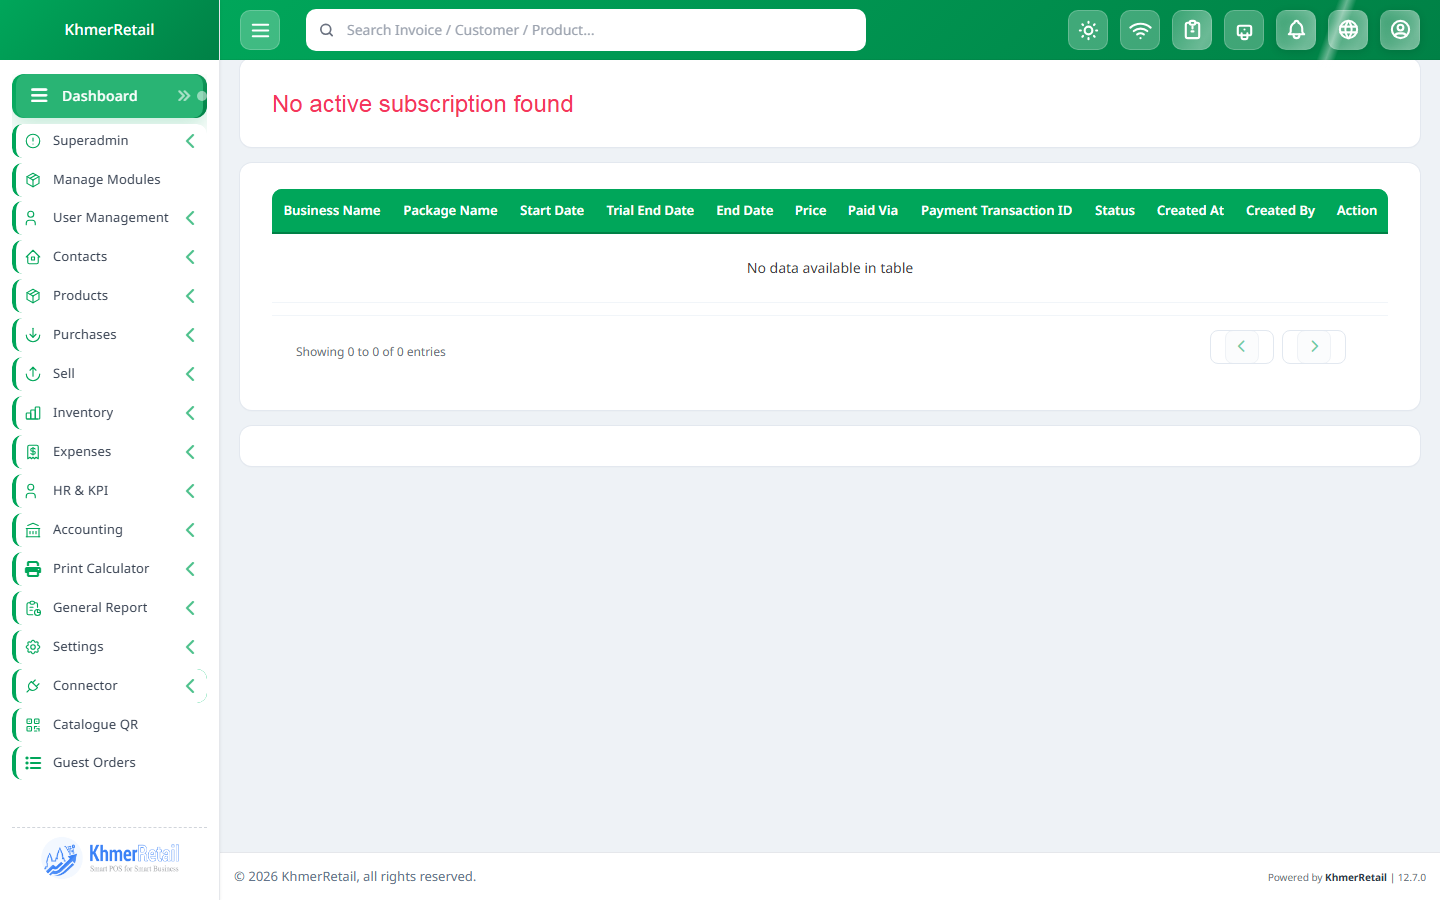
- Log in Open your KhmerRetail URL in a browser and sign in with the username and password created during installation.
- Choose your language Use the language selector in the top menu — English and Khmer are available everywhere.
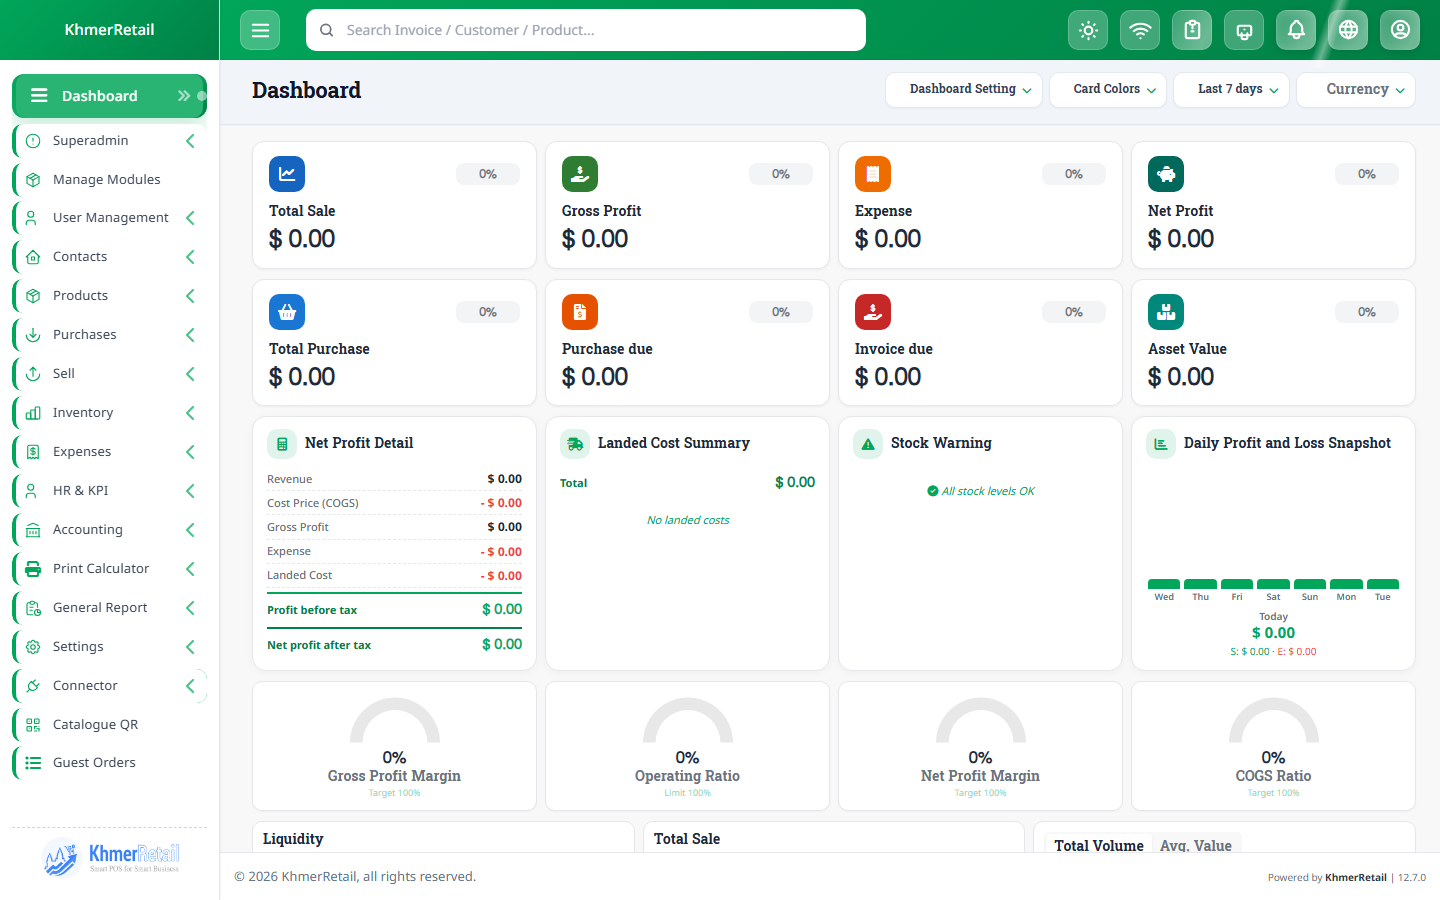
- Read the dashboard The home page shows today’s sales, purchases, expenses, stock alerts and due invoices at a glance.
- Pick your location If the business has more than one branch, use the location selector in the header so every figure matches that branch.
khmerretail — Getting Started & Dashboard

Business Setup
- Business settings Settings → Business Settings: edit the name, logo, currency, timezone, fiscal year and invoice/purchase prefixes, then Save.
- Business locations Settings → Business Locations → Add: create each branch/shop with its invoice scheme and default printer. Edit a row to update it, or deactivate a branch you no longer use.
- Tax rates Settings → Tax Rates → Add: create VAT or other taxes; combine several into a Tax Group for combined rates.
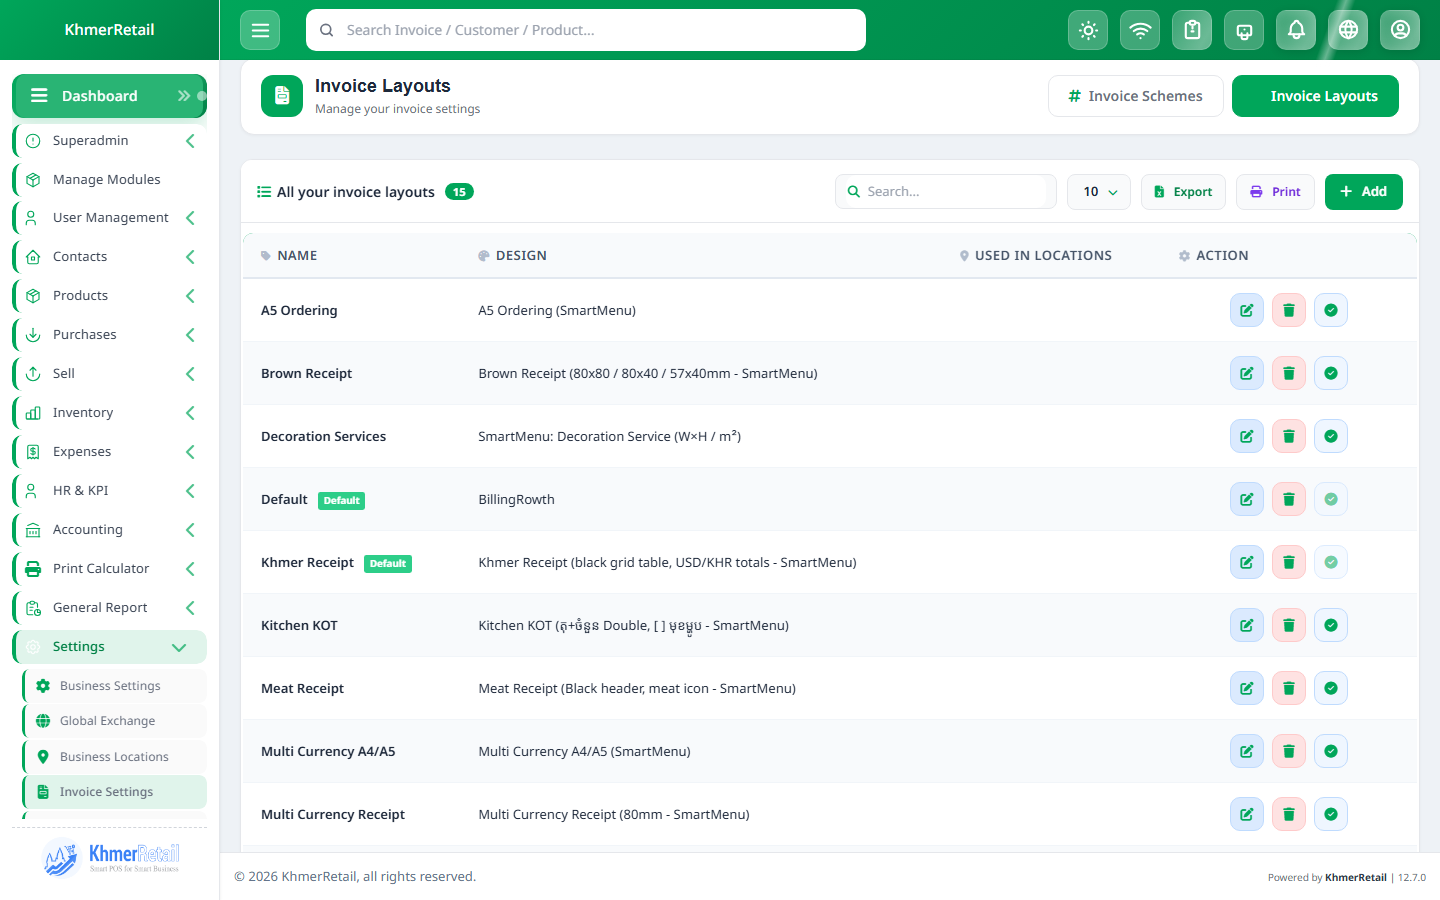
- Invoice layout Settings → Invoice Settings & Invoice Layout: choose the receipt design, header/footer text and the fields printed on each invoice.
- Barcode & printers Settings → Barcode Settings picks a sticker size; Settings → Printers links each receipt printer to a location.
khmerretail — Business Setup
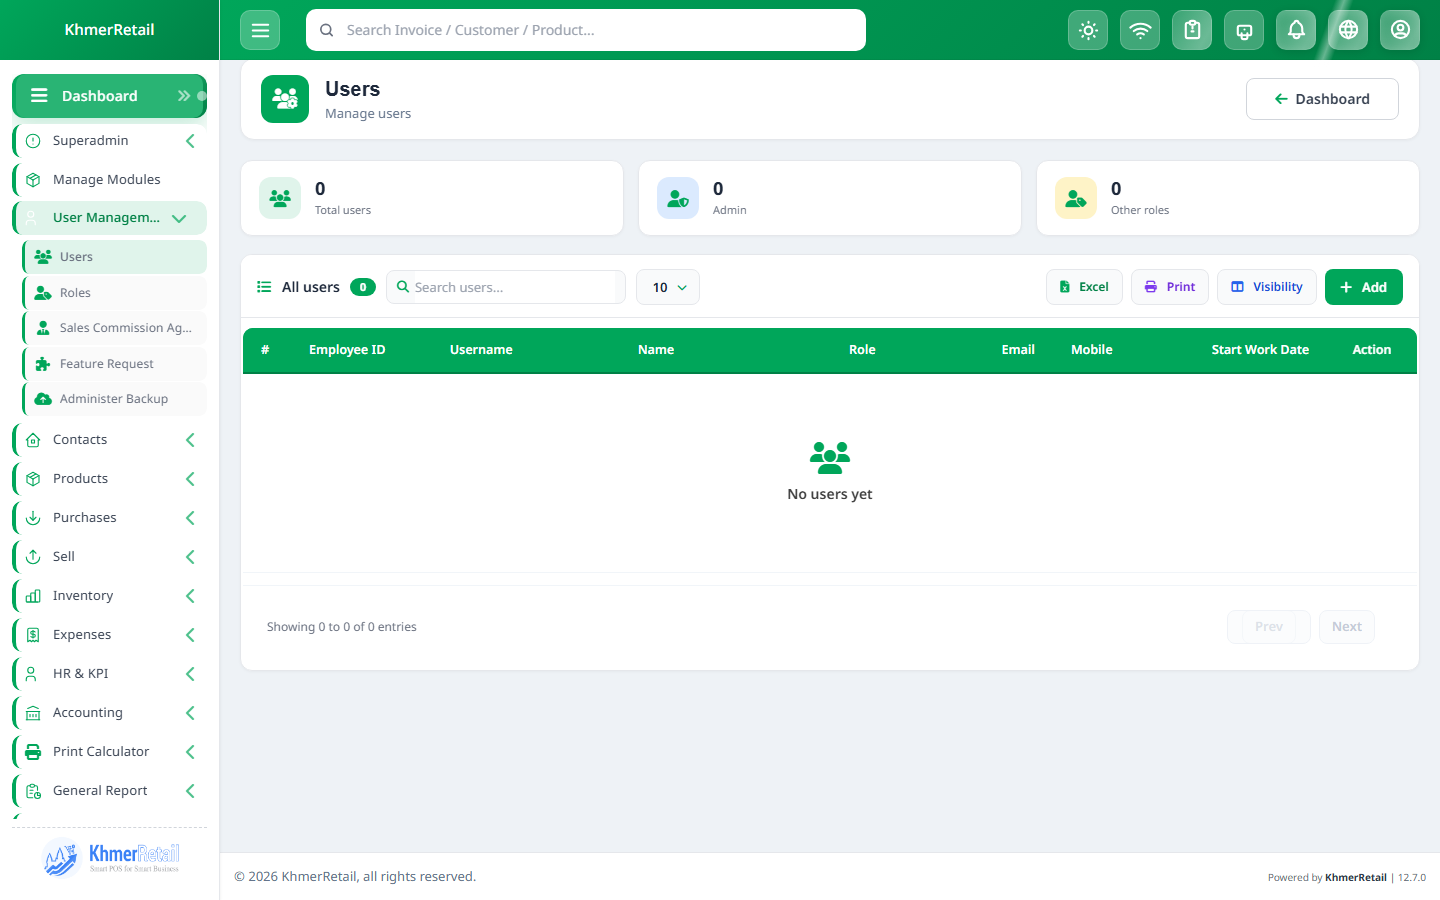
Users & Roles
- Create a role User Management → Roles → Add: name the role (e.g. Cashier) and tick only the permissions that staff needs. Edit the role anytime to add or remove rights.
- Add a user User Management → Users → Add: fill name, email and password, assign the role, allowed locations and sales commission %.
- Edit & deactivate Click a user row to update details, reset the password or deactivate the account — the list shows role, locations and status.
- Commission agents User Management → Sales Commission Agents: add staff who earn a percentage per sale and link them at POS.
khmerretail — Users & Roles
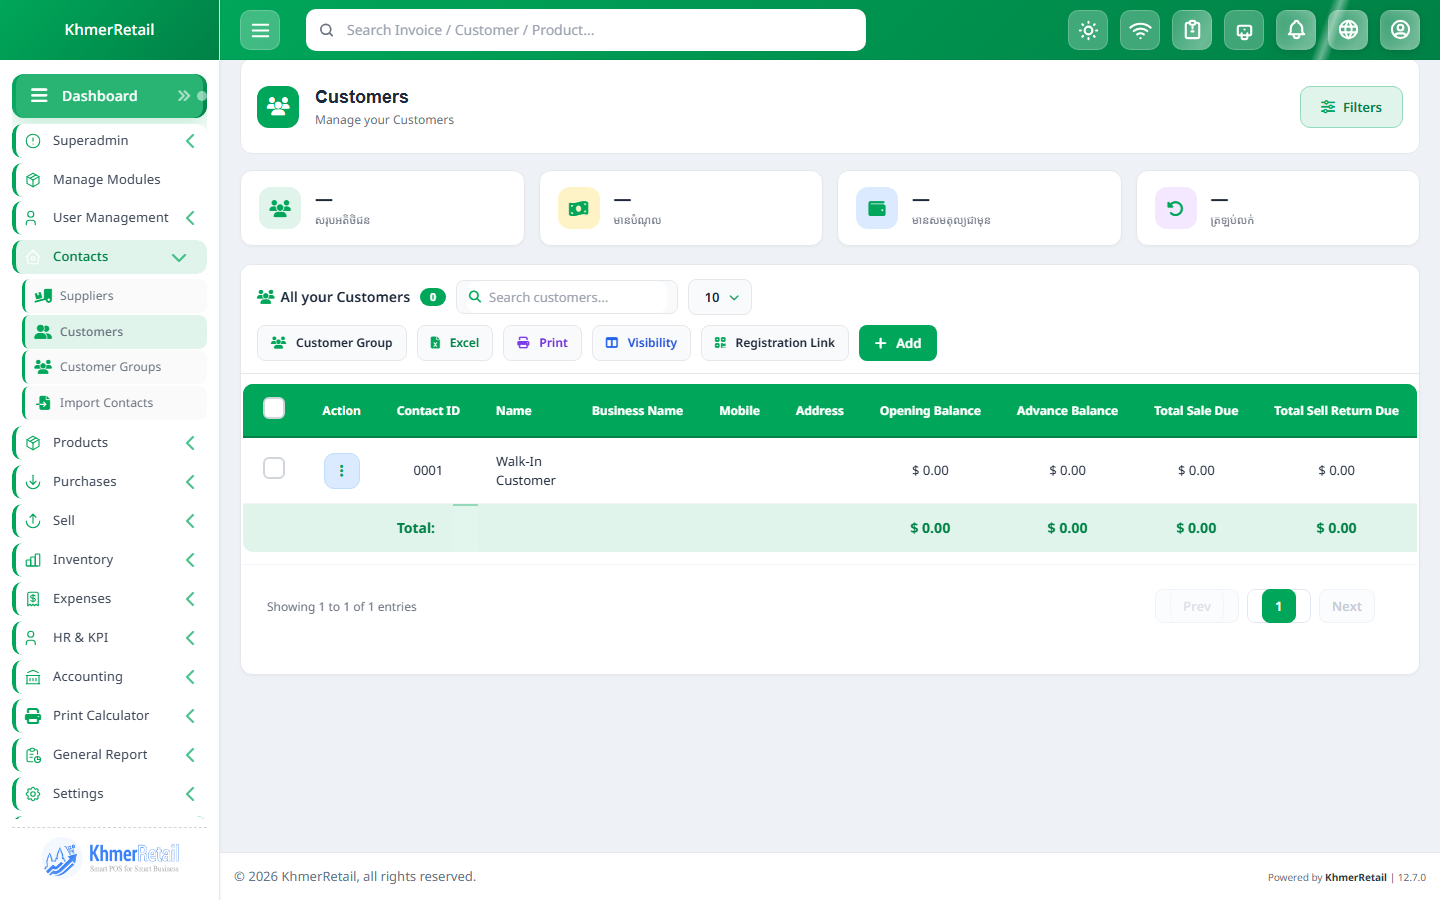
Contacts — Customers & Suppliers
- Add a customer Contacts → Customers → Add: name, phone, addresses, opening balance and credit limit. The same Add button exists on Suppliers.
- Edit & view Use the list search/filters, then open a contact to see their ledger, invoices, payments and total due — edit details from the action button.
- Customer groups Contacts → Customer Groups → Add: create groups like “Wholesale”; members automatically get the group’s price or discount.
- Import & payments Import Contacts bulk-uploads from Excel; Pay Contact Due records a payment that reduces the customer’s balance.
khmerretail — Contacts — Customers & Suppliers
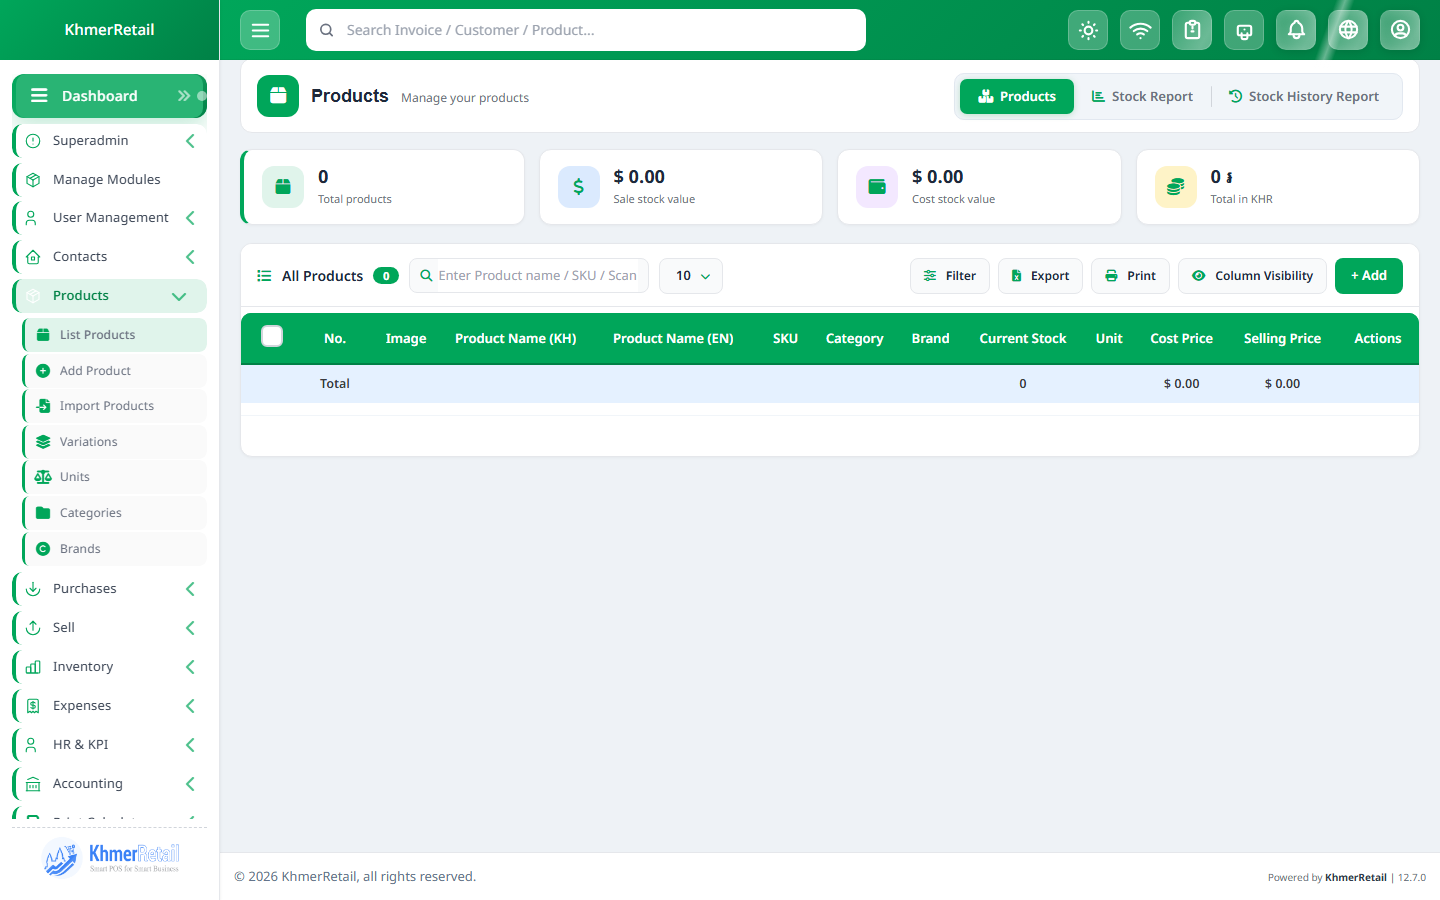
Products — Create & Catalogue
- Prepare attributes Products → Units, Categories, Brands, Warranties and Variations: create the attributes your items need before adding them.
- Add a product Products → Add Product: name, SKU/barcode, category, unit, purchase & sell prices, photo and expiry tracking. Add Variations for size/color options.
- Edit & view List Products: search by name/SKU, filter by category or location, open a product to edit prices, stock alerts and its full stock history.
- Opening stock Enter the on-hand quantity when adding the product, or later via Add/Edit Opening Stock on the product row.
- Bulk import & labels Import Products uploads the Excel template for hundreds of items at once; Print Labels generates barcode stickers.
khmerretail — Products — Create & Catalogue
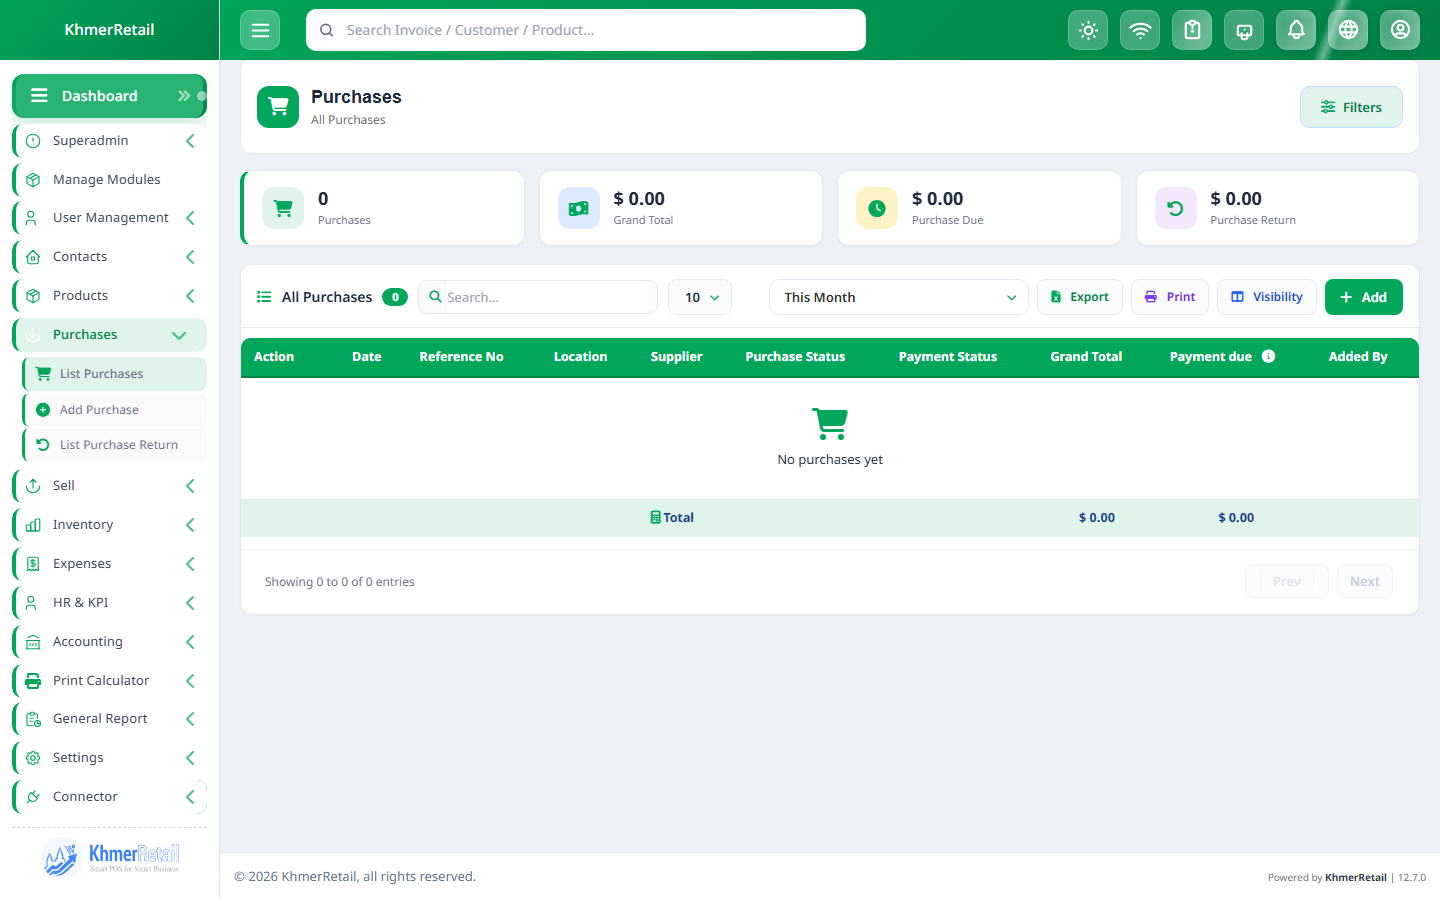
Purchases
- Add a purchase Purchases → Add Purchase: pick the supplier and location, add items with quantity and unit cost — stock increases immediately on save.
- View & edit Purchases → List Purchases: filter by date, supplier or status, open a purchase to review its lines, edit it, or delete it if entered by mistake.
- Pay the supplier Click the payment action on a purchase to record full or partial payments — status moves to Paid/Partial automatically.
- Purchase return Open a purchase → Return to send damaged or wrong items back; the returned quantity leaves stock and the amount reduces what you owe.
khmerretail — Purchases
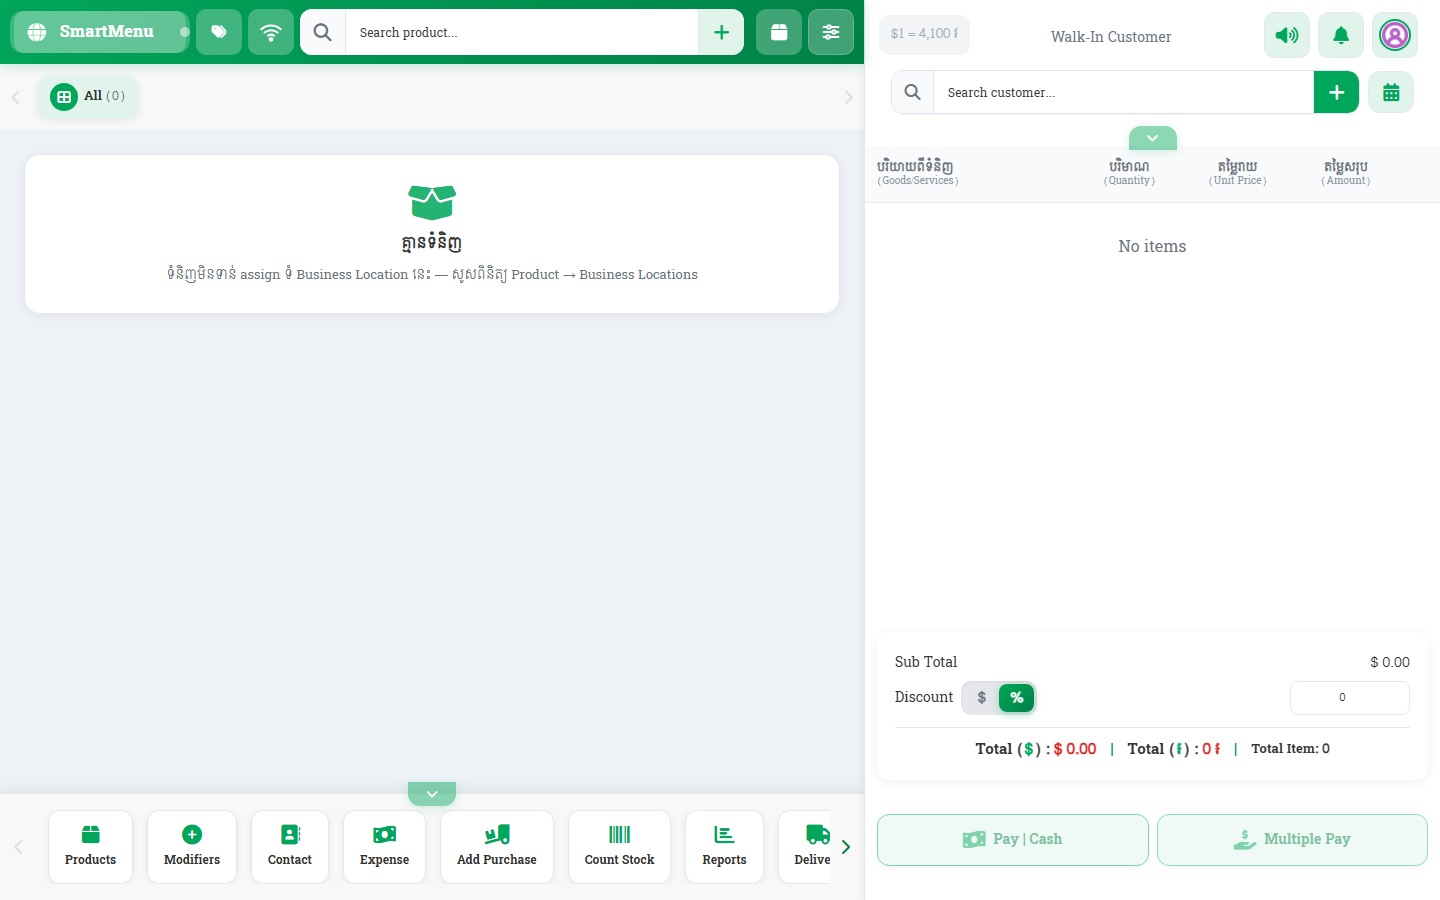
POS — Selling at the Counter
- Open the register The app asks for cash in hand at shift start — the register tracks every payment until you close it.
- Build the sale Scan the barcode or search the product, adjust quantity, price, line discount and tax, and pick the customer (default: Walk-In).
- Take payment Pay with cash, card, bank transfer or split tenders — give change and finish to print the receipt.
- Draft & quotation Hold a sale as Draft to resume it later, or save it as a Quotation the customer can accept afterwards.
- Cash register Cash Register menu: view today’s register details, and Close Register at shift end to compare counted cash with the expected amount.
khmerretail — POS — Selling at the Counter
Invoices, Printing & Labels
- Invoice schemes Settings → Invoice Schemes: create numbering formats (prefix, start number) and assign one per location.
- Print from POS Every completed sale prints on a thermal or standard printer; reprint any invoice later from its view page.
- Packing slip & delivery From a sale, print the 80×100mm packing slip or a delivery note for the courier.
- Bulk download Sell → Download: save a single invoice PDF, or download all filtered invoices as one ZIP archive.
- Barcode printing Products → Print Labels: choose products and quantity to print sticker sheets in the configured size.
khmerretail — Invoices, Printing & Labels
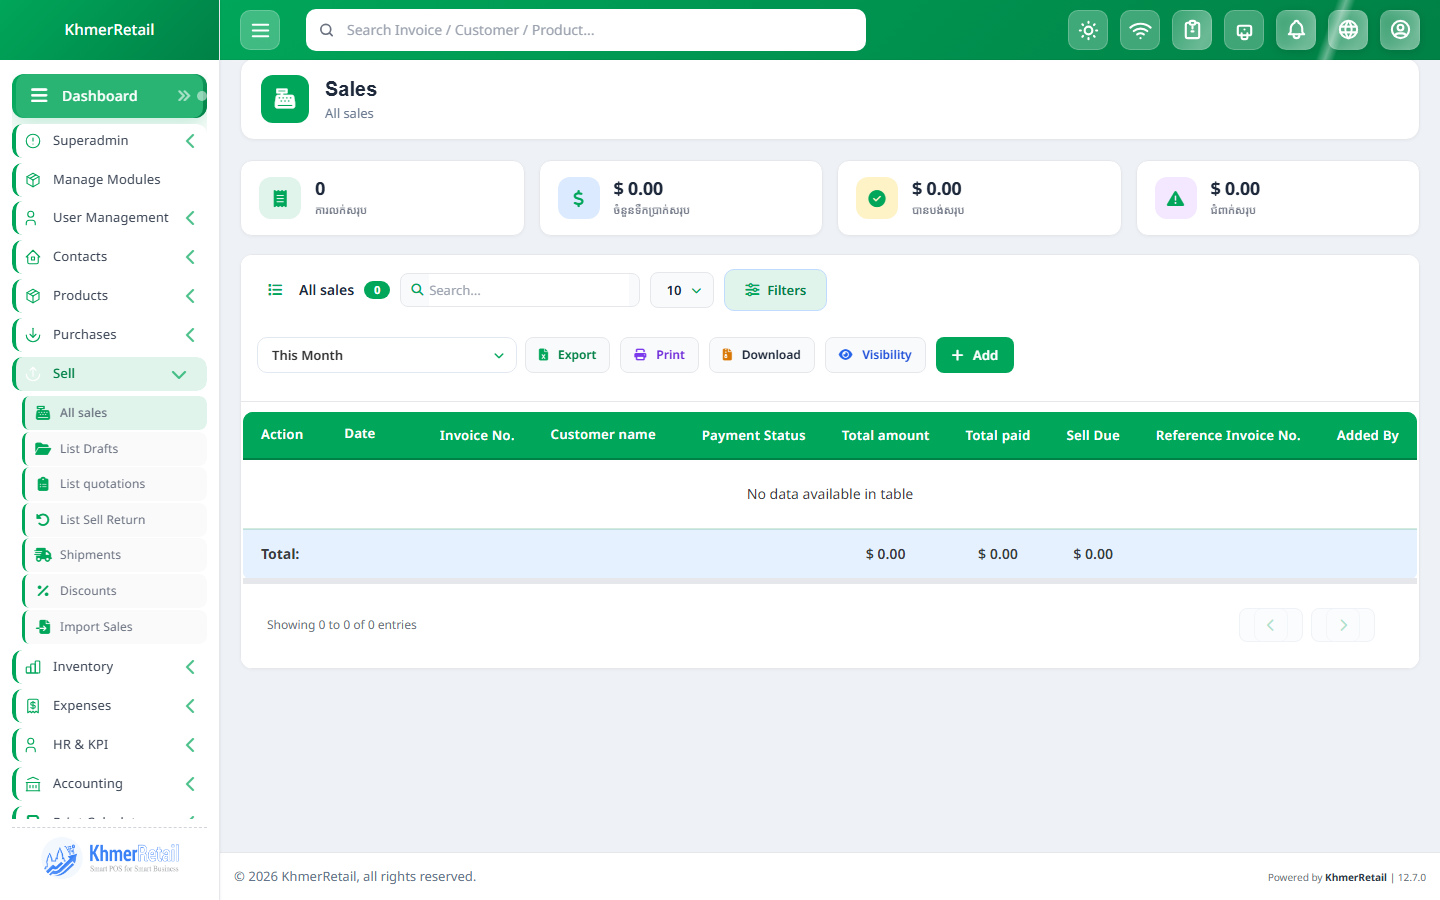
Sales List, Returns & Shipments
- Find a sale Sell → All sales: filter by date, customer, location, payment or shipping status; search any invoice number.
- View & edit Open an invoice to see lines, payments and totals; Edit re-opens it for corrections, Delete removes it and reverses stock.
- Sell return Choose Return on an invoice: pick the items and quantities coming back — stock increases and the payment is adjusted.
- Add payment On an unpaid invoice use Add Payment to record partial or full settlement against the due balance.
- Shipments Sell → Shipments: track the delivery company, tracking number and delivery status for each shipped order.
khmerretail — Sales List, Returns & Shipments
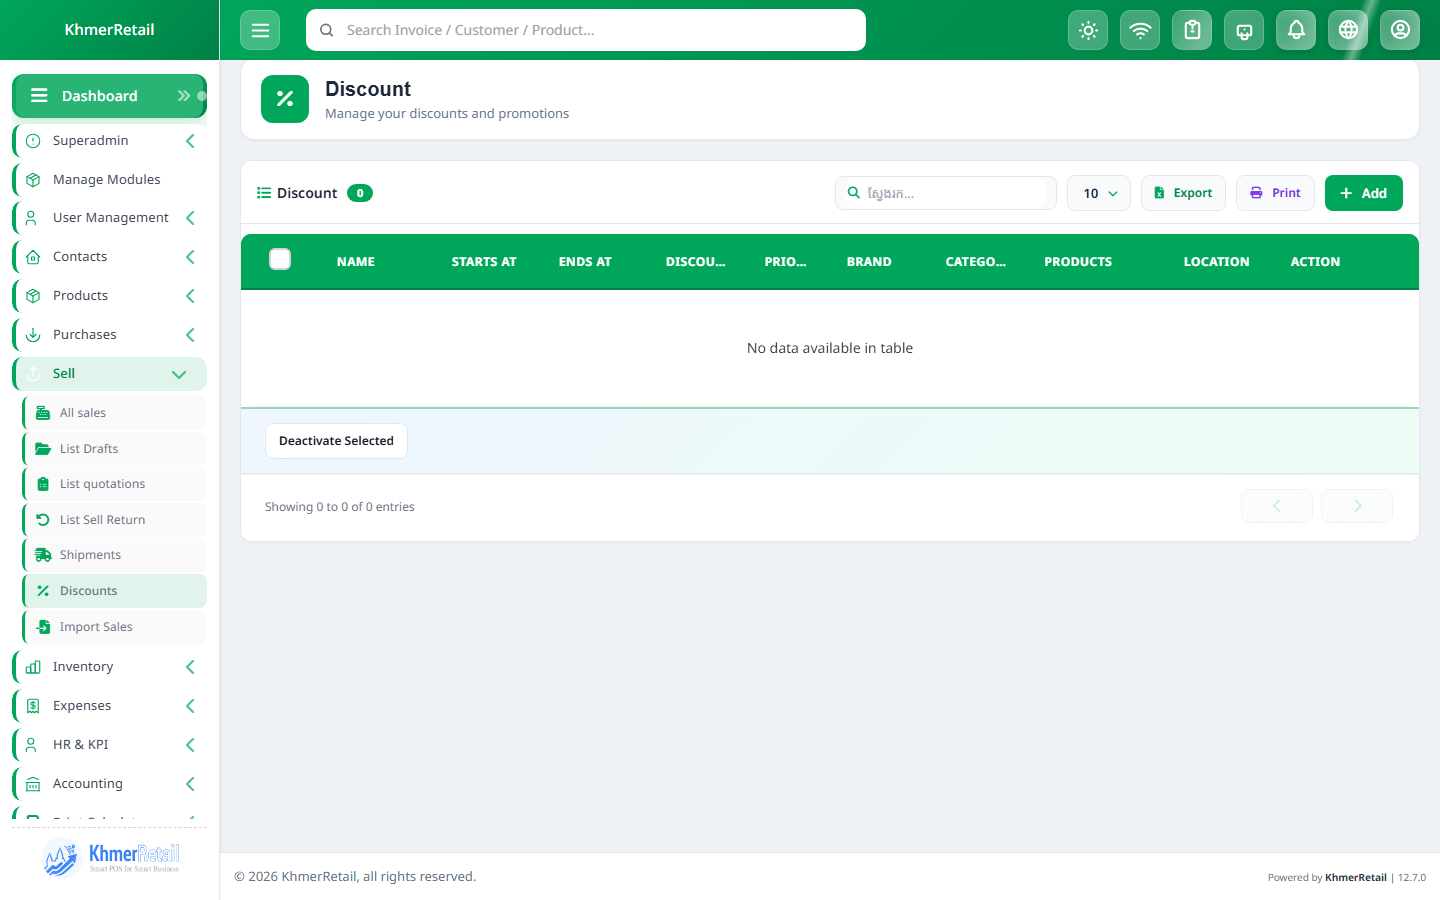
Discounts
- Create a discount Discounts → Add: name it, choose % or fixed amount, the value, and which products/brands/categories it applies to.
- Schedule it Set start/end dates and times, plus the locations where the discount is valid.
- Edit & deactivate The discount list shows period and value — edit it or switch Is Active off when the promotion ends.
khmerretail — Discounts
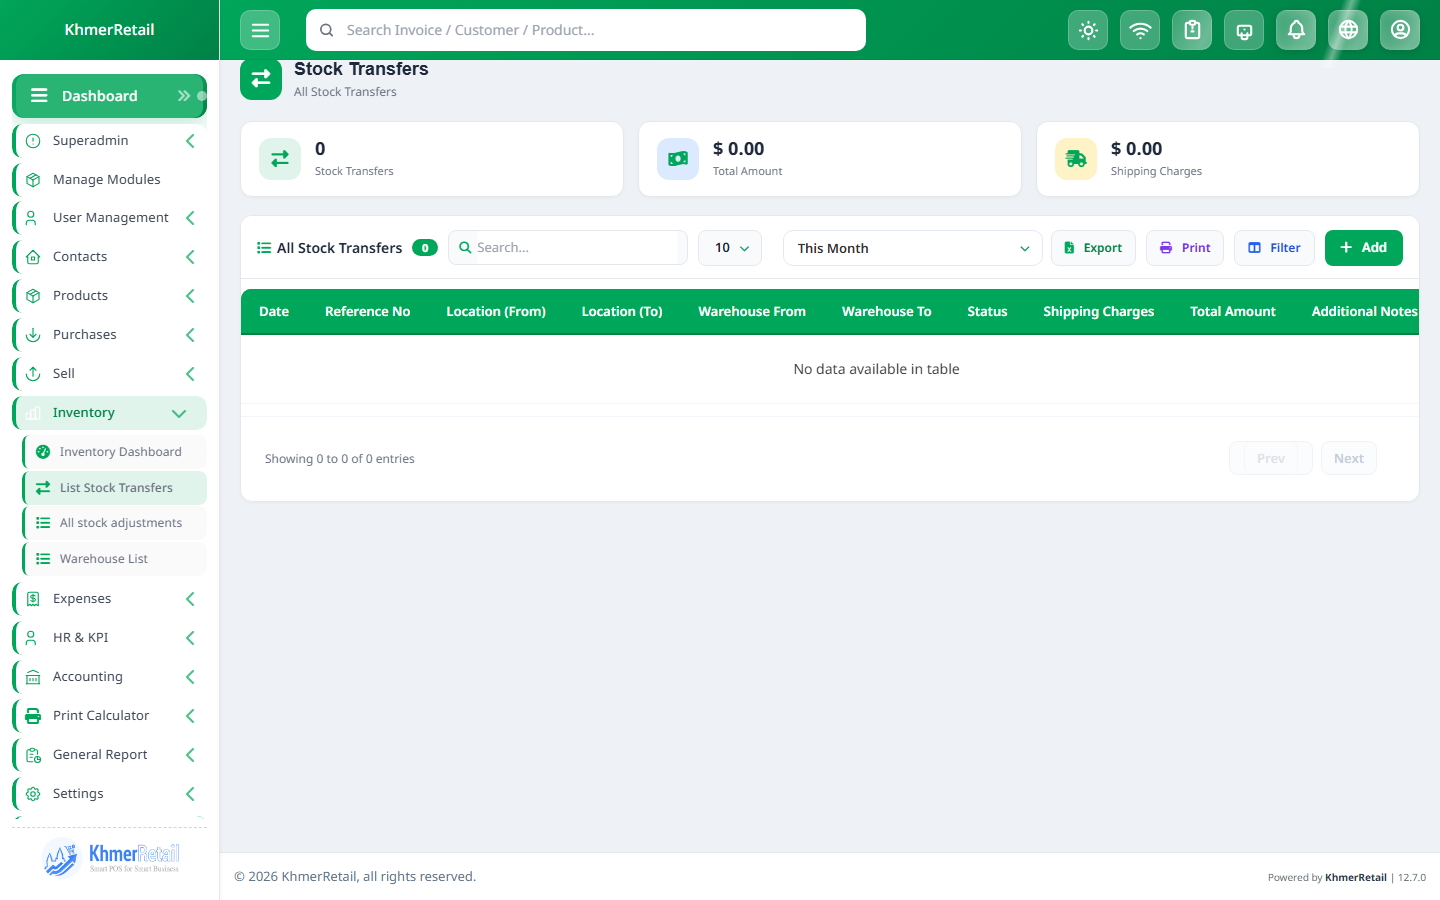
Stock — Transfers, Adjustments & Counts
- Stock transfer Stock Transfers → Add: pick From and To locations and the items — stock moves between branches on save.
- Stock adjustment Stock Adjustments → Add: enter the physically counted quantity to correct differences (normal or abnormal loss).
- Stock count Do a physical count and compare it with the system stock report before posting the adjustment.
- View & reverse Both lists are filterable by date and location; open a record to check its lines — deleting an adjustment restores the original counts.
khmerretail — Stock — Transfers, Adjustments & Counts
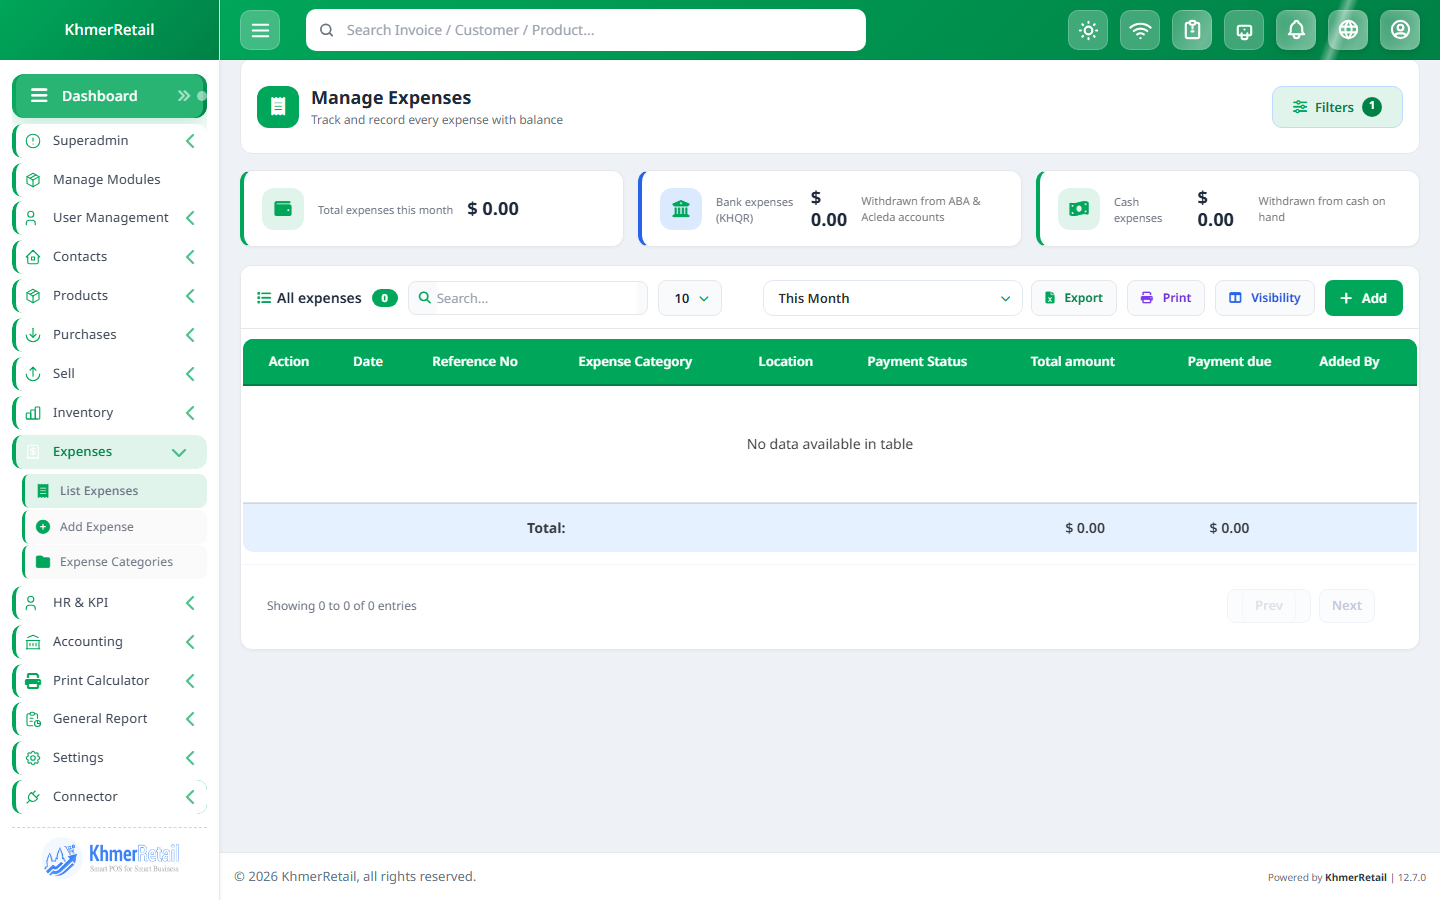
Expenses
- Categories Expenses → Expense Categories → Add: rent, salary, utilities, transport… edit or delete them anytime.
- Add an expense Expenses → Add Expense: amount, category, location, payment account and reference number.
- View & edit The expenses list filters by category, date and location — open a row to edit it or attach a receipt document.
khmerretail — Expenses
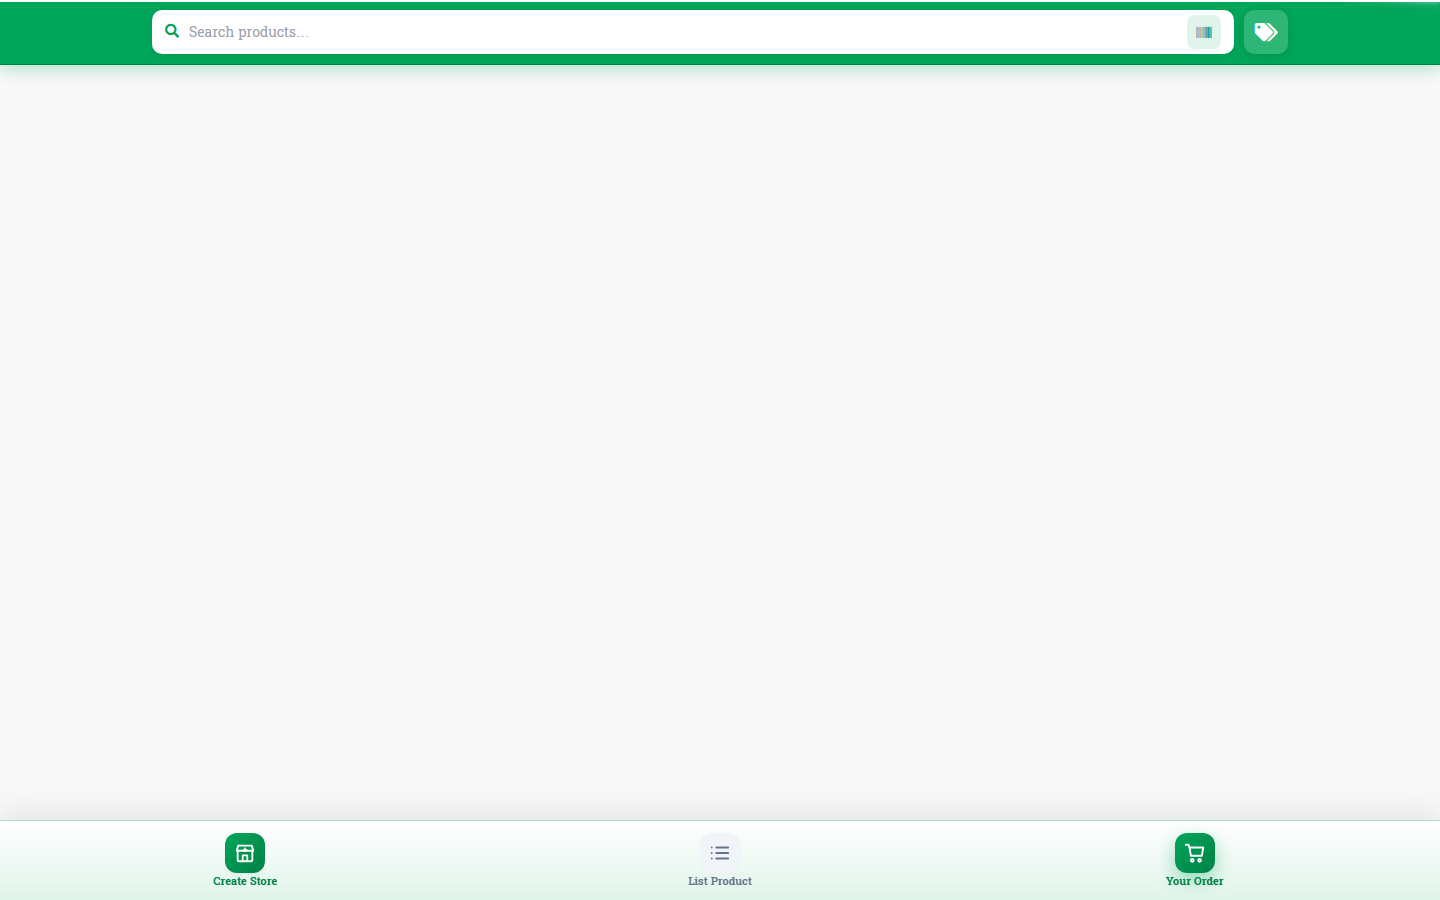
SmartMenu & Online Ordering
- Build the menu SmartMenu: arrange products into the online catalogue with photos, prices and descriptions.
- Menu QR Print the location QR — guests scan it to browse and order from their own phone, no app needed.
- Incoming orders Staff review guest orders in SmartMenu and confirm them — orders flow into POS and kitchen as normal sales.
- Staff ordering Waiters can order on the same menu on behalf of guests and send items straight to the kitchen.
khmerretail — SmartMenu & Online Ordering
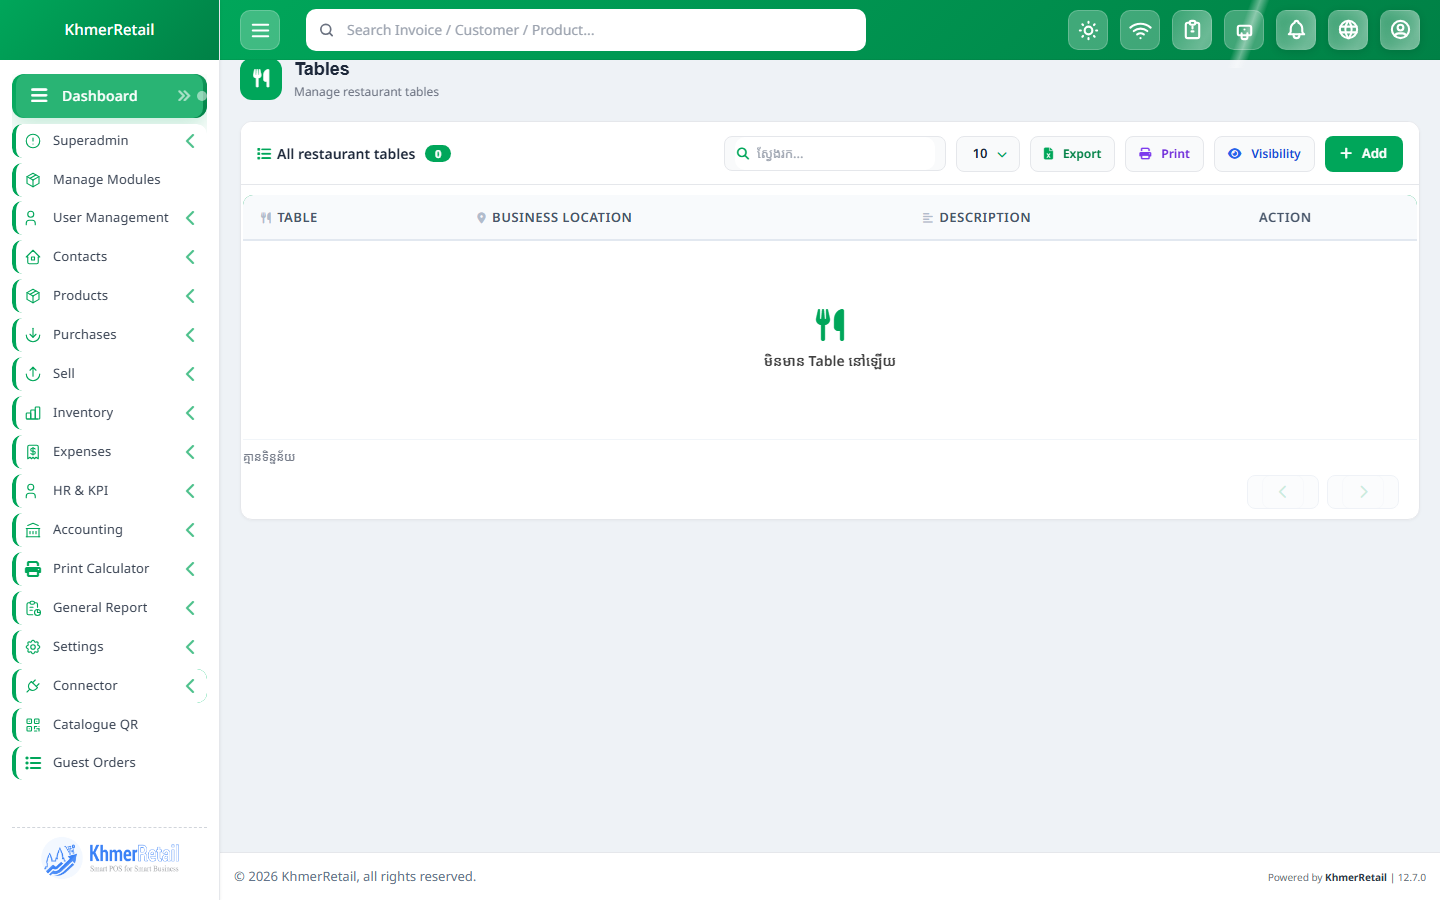
Tables & Reservations
- Add a table Tables → Add: give the table a name and seat count. Edit it later to rename or move it.
- Order by table At POS or in the waiter view, pick the table so its orders stay together until checkout.
- Reservations Bookings: reserve a table for a customer and time slot; the list shows today’s bookings.
khmerretail — Tables & Reservations
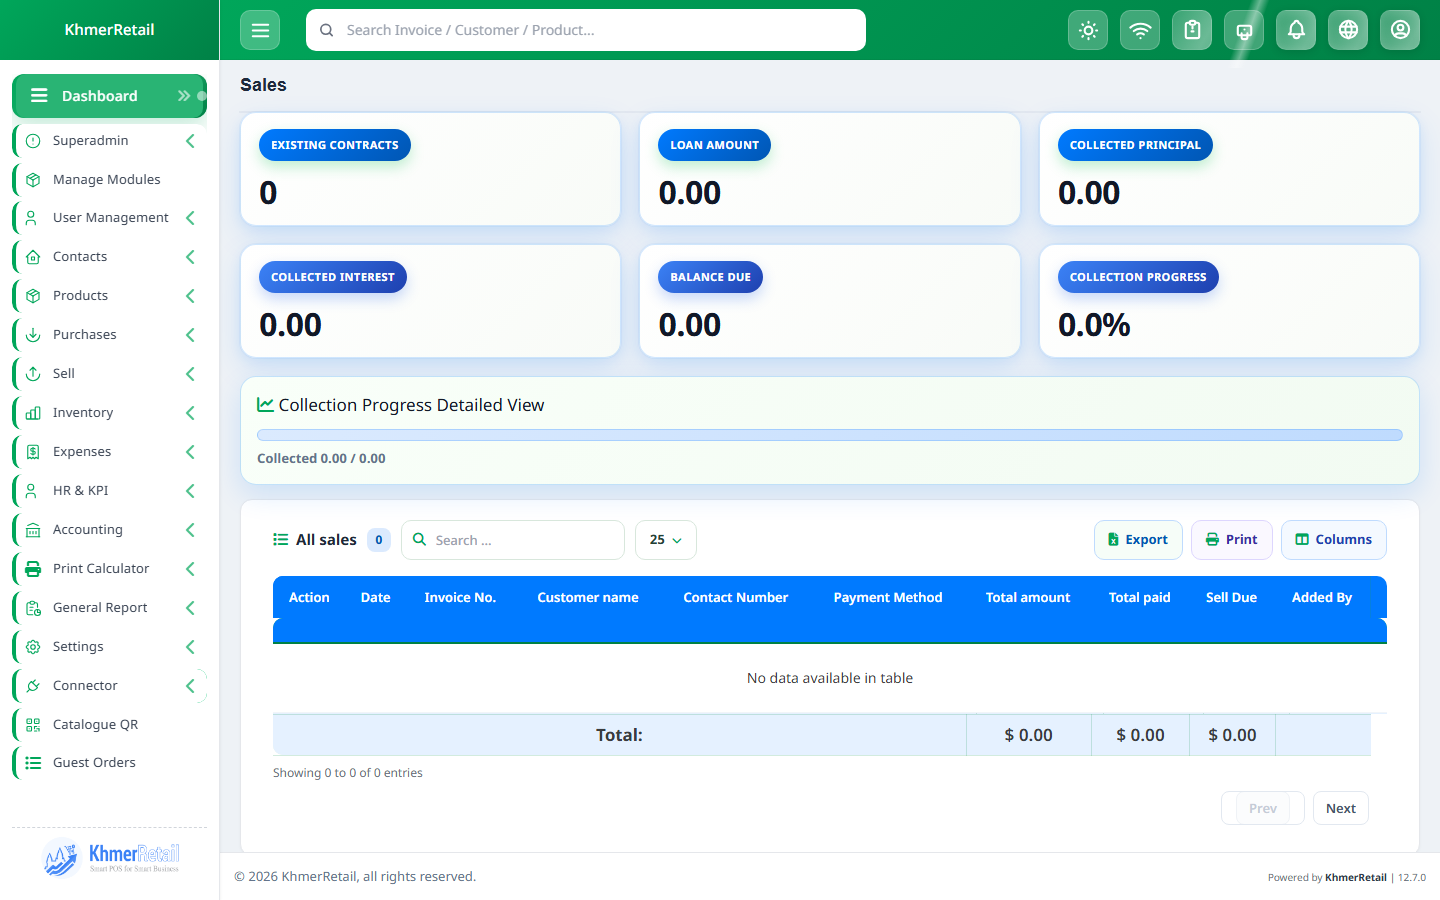
Installments & Loans
- Loan calculator Loan Calculator: preview monthly payments for any amount, interest rate and term before quoting the customer.
- Create an installment sale Make a sale and choose the installment plan — the contract and payment schedule are generated automatically.
- View & collect Installments list: open a contract to see its schedule, record each payment — overdue rows are highlighted.
khmerretail — Installments & Loans
HRM & Attendance
- Employees HRM → Employees → Add: create the employee record with position, salary, allowances and portal access; edit it as details change.
- Attendance Staff check in/out on the attendance portal with a QR scan and geofence from their phone; managers review daily records.
- Leave & overtime Employees request leave and OT in the portal — managers approve or reject each request.
- Payroll Generate monthly payroll from attendance — allowances, skill pay and loan deductions apply automatically.
khmerretail — HRM & Attendance

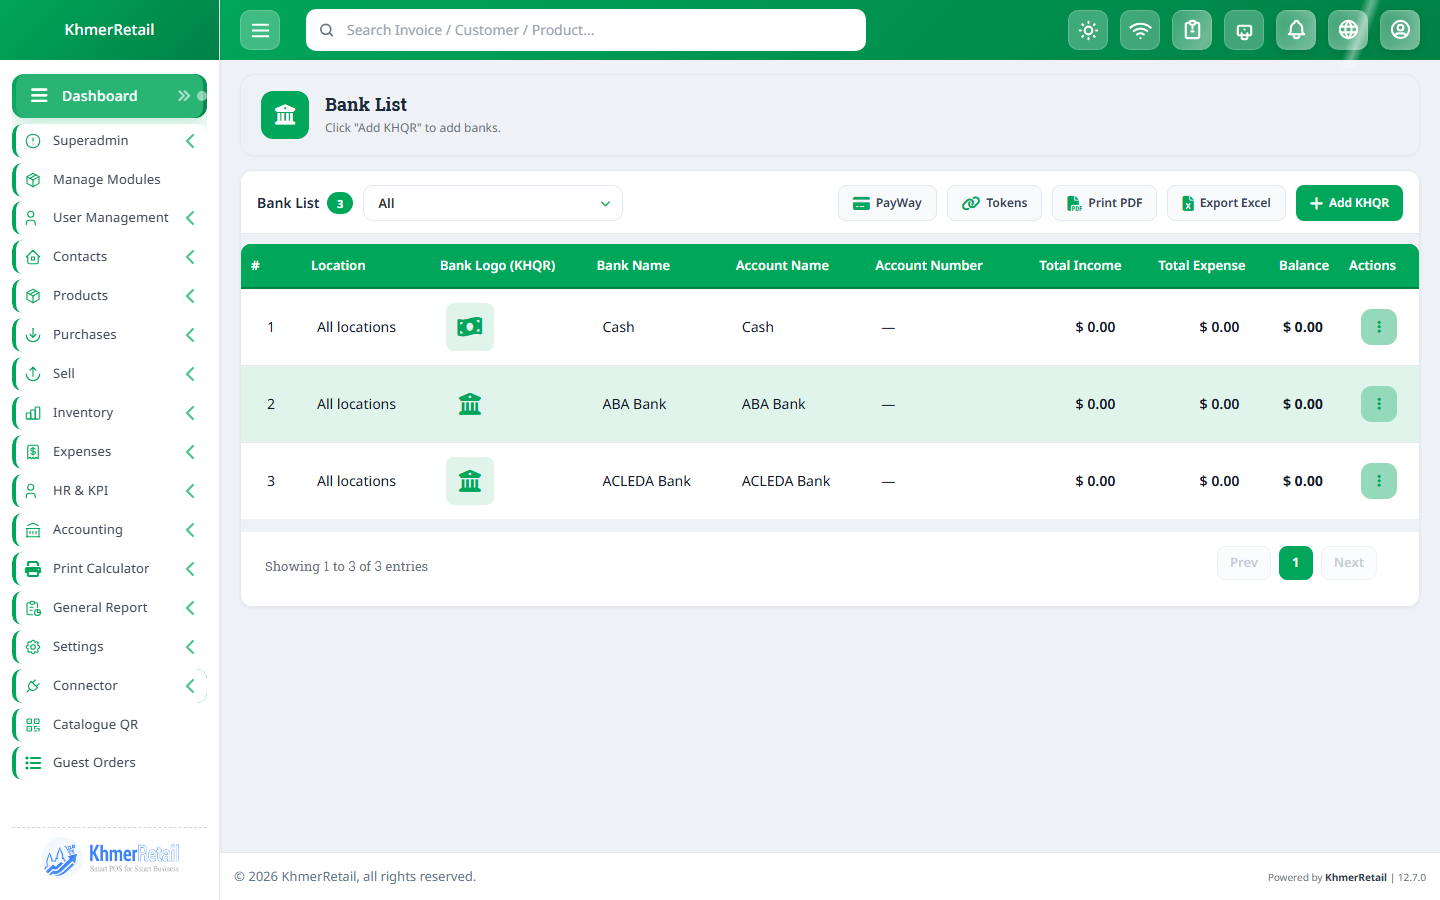
Accounting & Payment Accounts
- Payment accounts Accounting → List Accounts → Add: create cash, bank and e-wallet accounts; edit balances and details later.
- Transfers & deposits Fund Transfer moves money between accounts; Deposit adds funds — every movement writes to the ledger.
- Transactions & ledger Open an account to review its transactions; the ledger and journals show every debit/credit.
- Statements Balance Sheet, Trial Balance and Cash Flow give the full financial position for any period.
khmerretail — Accounting & Payment Accounts
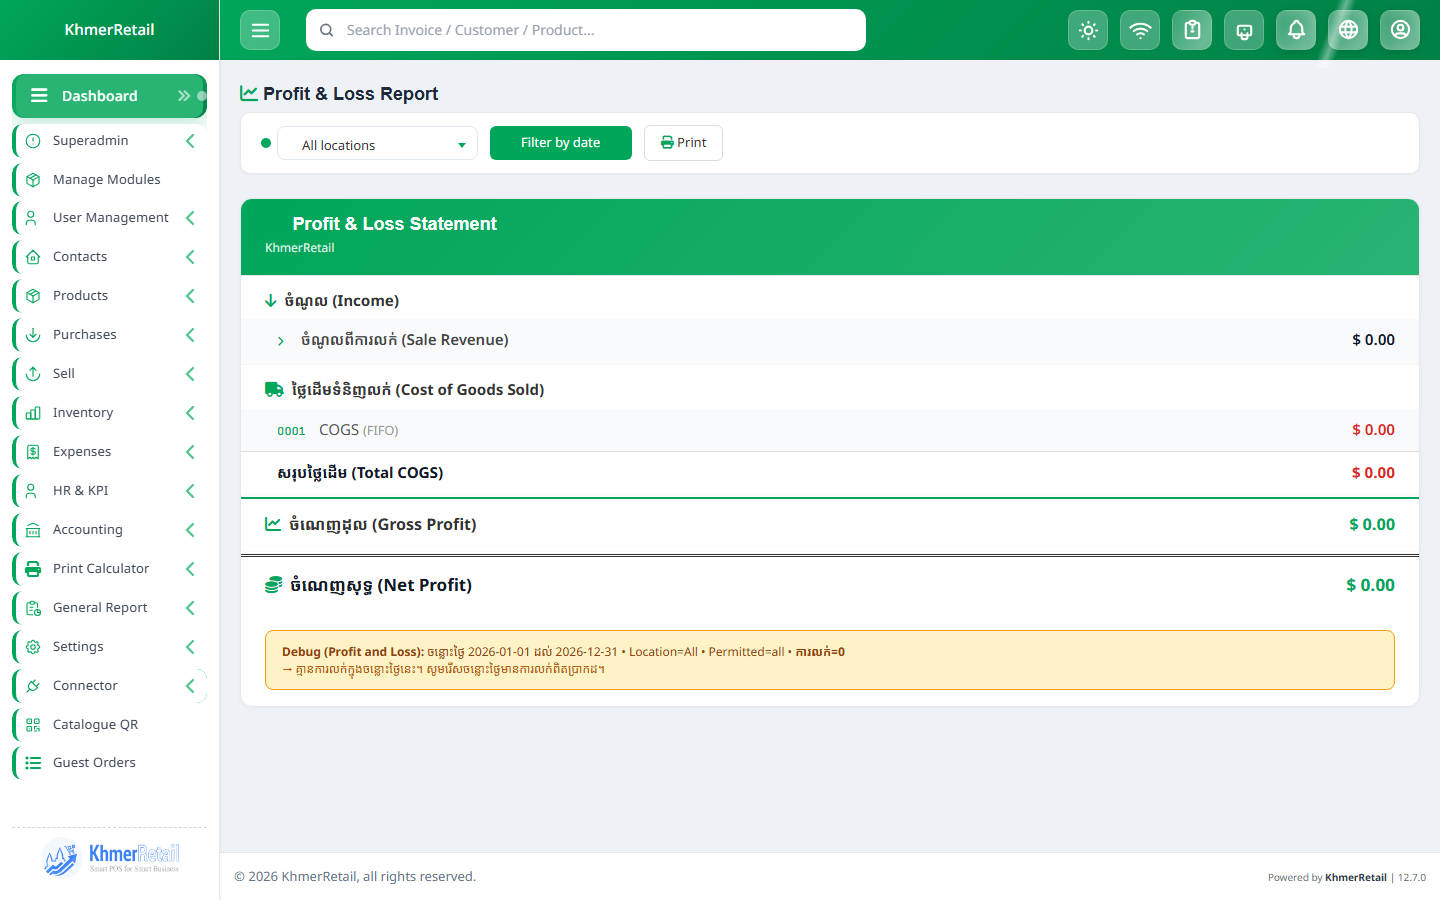
Reports & Daily Closing
- Profit & loss Reports → Profit/Loss: income minus cost and expenses for any date range or location — print or export it.
- Purchase & sale report Item-level detail per invoice — filter by product, customer, supplier or staff member.
- Stock reports Stock Report, Stock Details, Lot and Expiry reports show quantity and value per product and location.
- Register & tax Register Report lists every opening/closing with expected vs counted cash; Tax Report totals input/output tax.
- More reports Items, Customer/Supplier, Expense, Trending Products, Activity Log and aging (AR/AP) reports complete the picture.
khmerretail — Reports & Daily Closing
Print Calculator
- Choose a calculator Print Calculator: open the Box, Paper Bag or Book calculator for the job type.
- Enter the job Fill dimensions, quantity, paper/material and finishing — the price computes live with a cost breakdown.
- Send to a sale Submit the quote to push it into a sale — multi-item quotes save each line under one group reference.
- Records & workflow Saved calculations appear in Records with their job workflow stages (submit in order) and stock requests.
khmerretail — Print Calculator
Settings, Modules & Subscription
- Modules Settings → Modules: switch features (tables, service staff, types of service, subscription…) on or off for the business.
- Notification templates Settings → Notification Templates: edit the SMS/email/WhatsApp messages sent for sales, payments and reminders.
- System settings Settings → System Settings & Custom Labels: date/time formats, default entries and field labels.
- Subscription & backup Subscription shows the current package, expiry and upgrade options; back up the database regularly.
khmerretail — Settings, Modules & Subscription
All sections
KhmerRetail on Android — sell, check stock and print invoices from anywhere.
Install & Connect
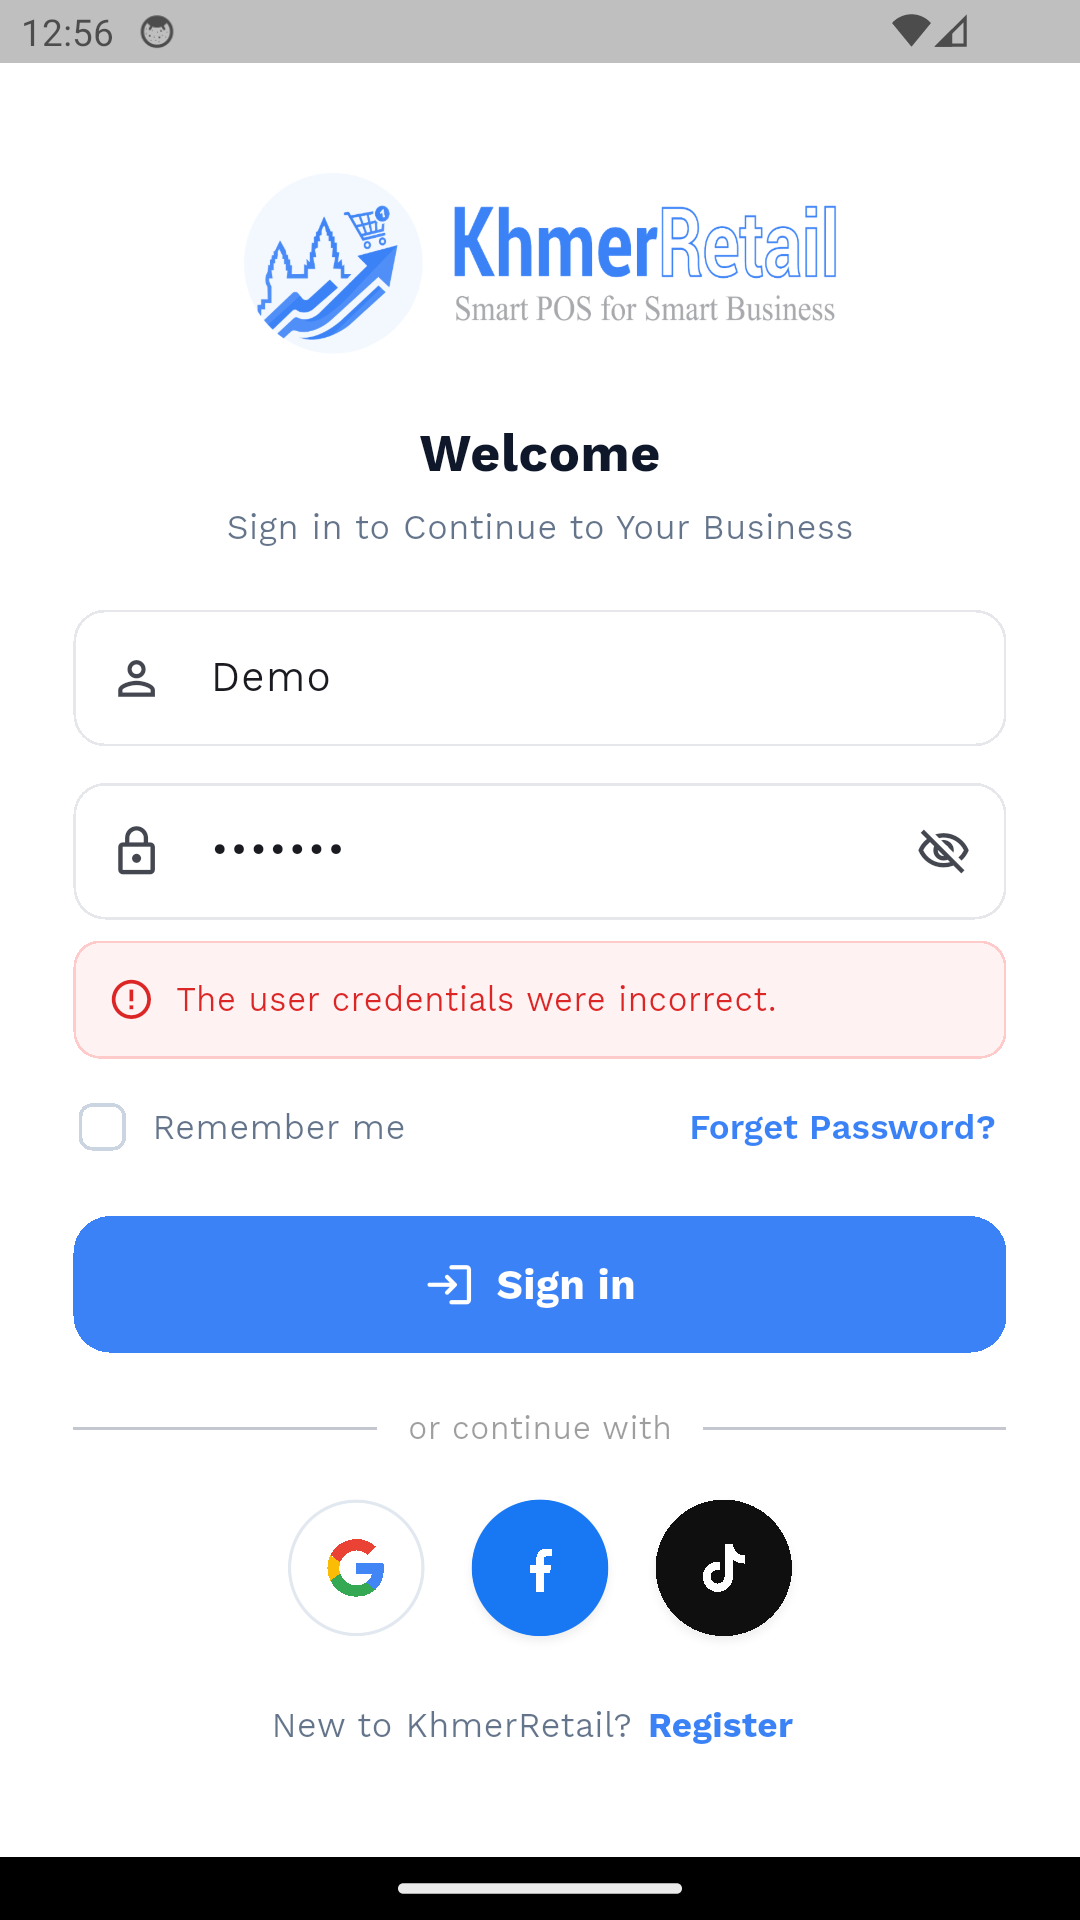
- Server URL On the login screen enter your KhmerRetail server address (e.g. https://your-domain.com).
- Sign in Use the same username and password as the Web App — roles and permissions carry over.
- App lock Enable the PIN/biometric lock in Settings so the device can be shared safely at the counter.
Dashboard
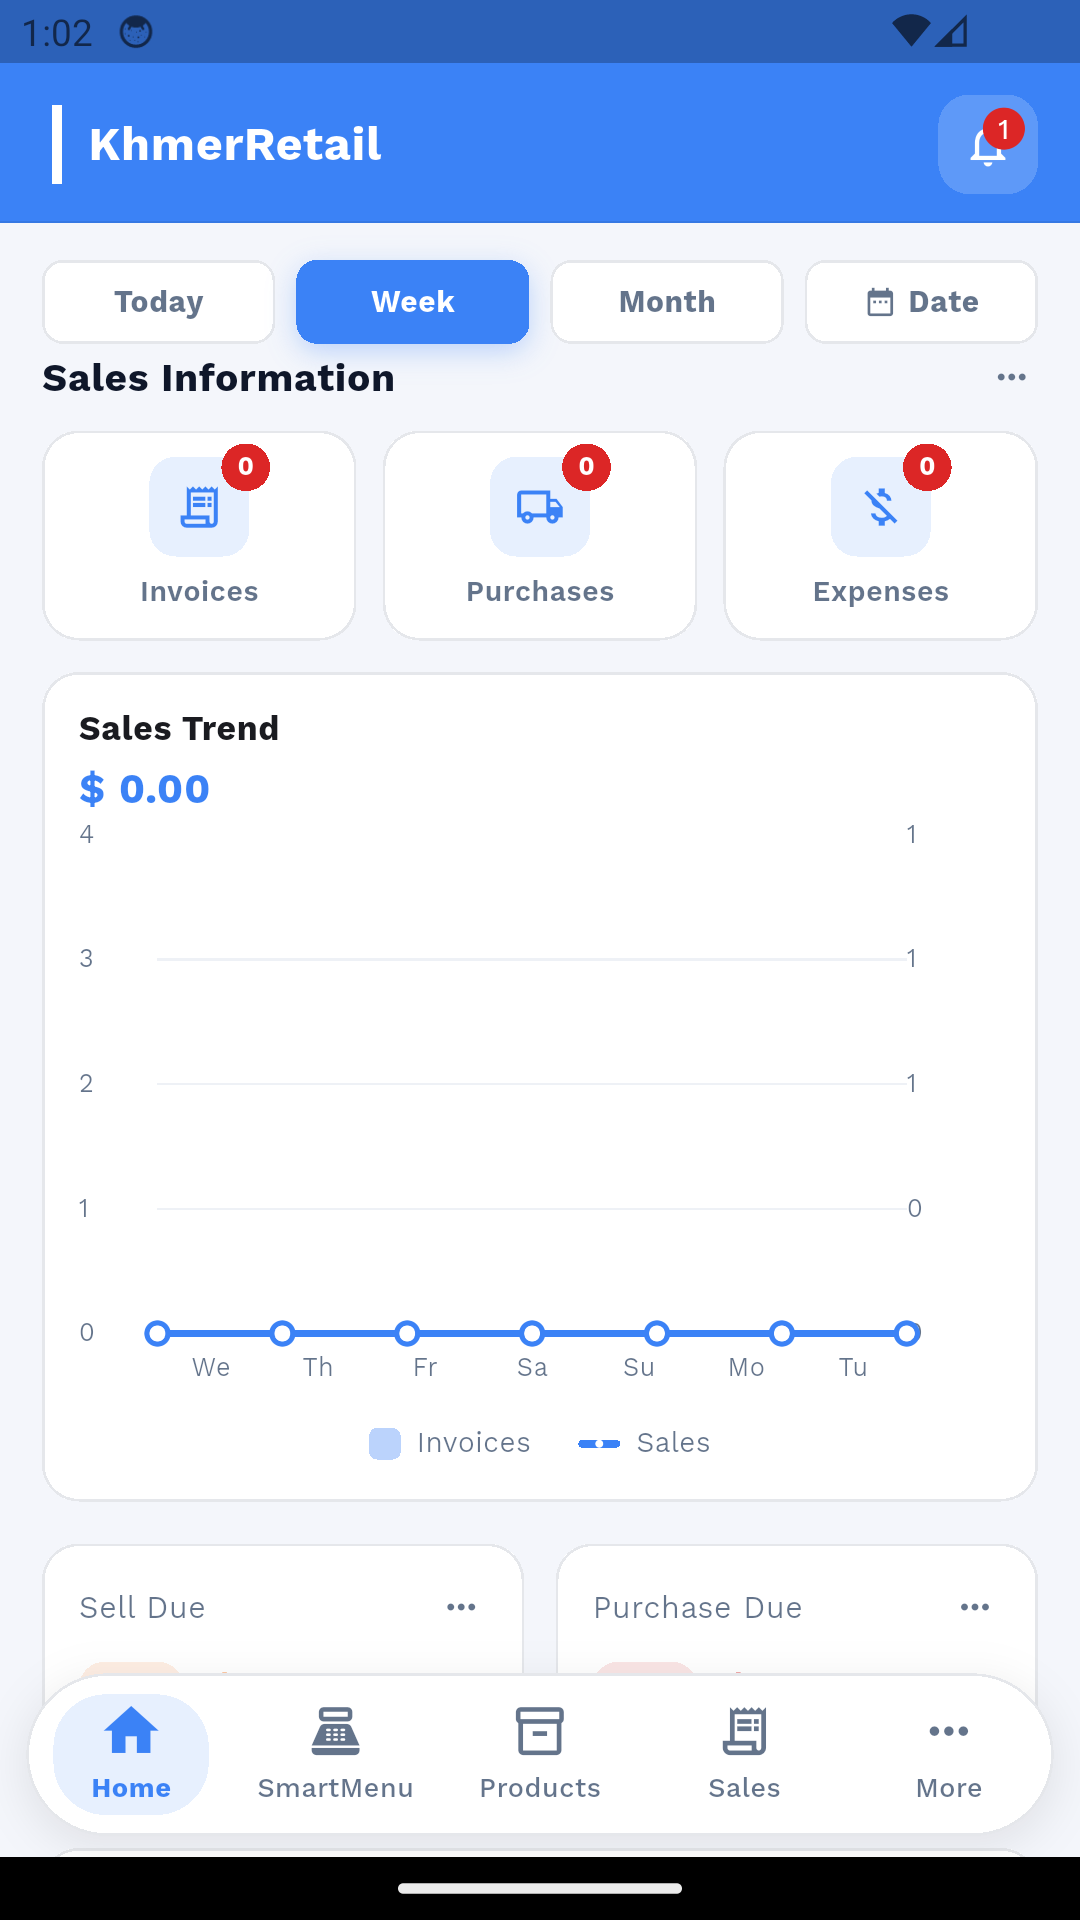
- Overview The Dashboard tab shows today’s totals, the weekly sell/purchase chart, stock alerts and new customers.
- Navigation Bottom tabs: Home, SmartMenu, Products, Sales and More — every feature is one tap away.
SmartMenu / POS — Selling on the Phone
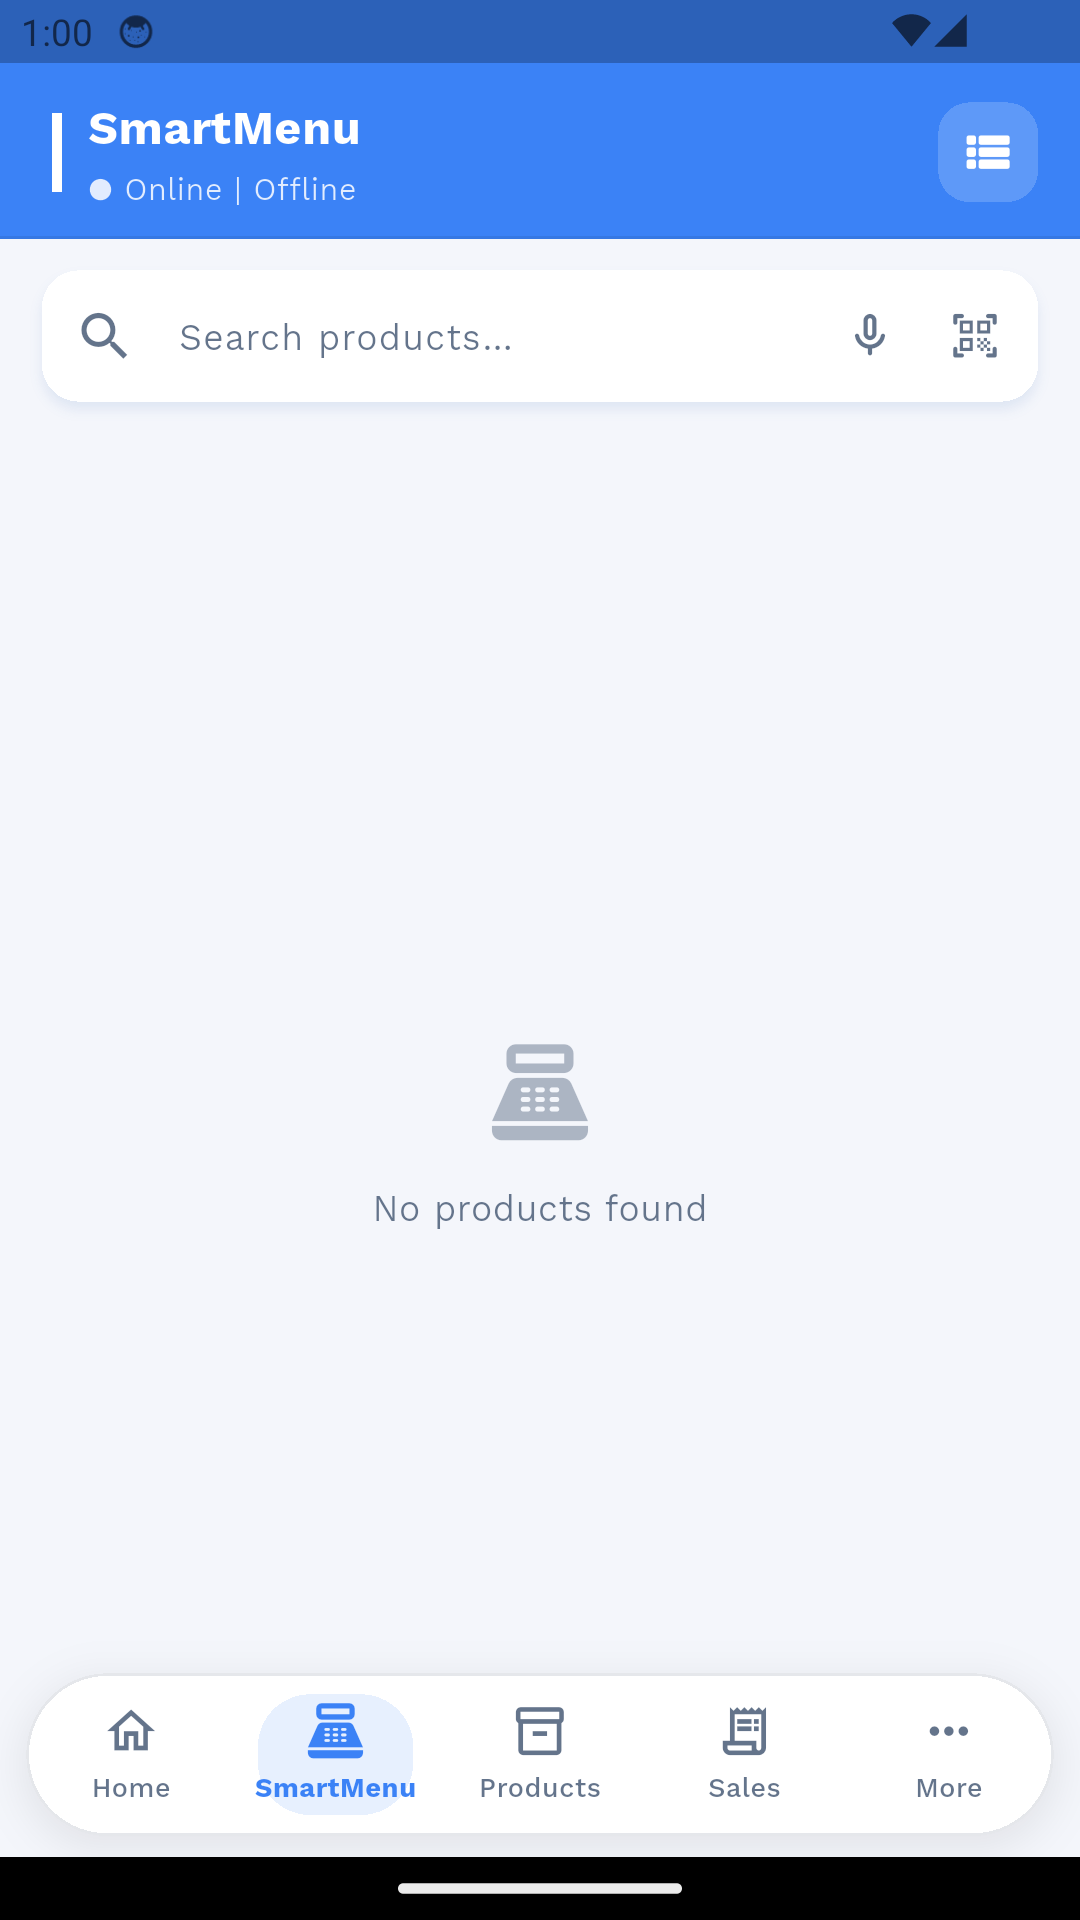
- Open the register Start the shift with cash in hand, exactly like the Web POS — the app shows online/offline status.
- Scan & sell Search by name or scan the barcode with the camera, add items to the cart and checkout with the payment method.
- Offline sales No internet? Sales are stored on the device and sync automatically when the connection returns.
Products
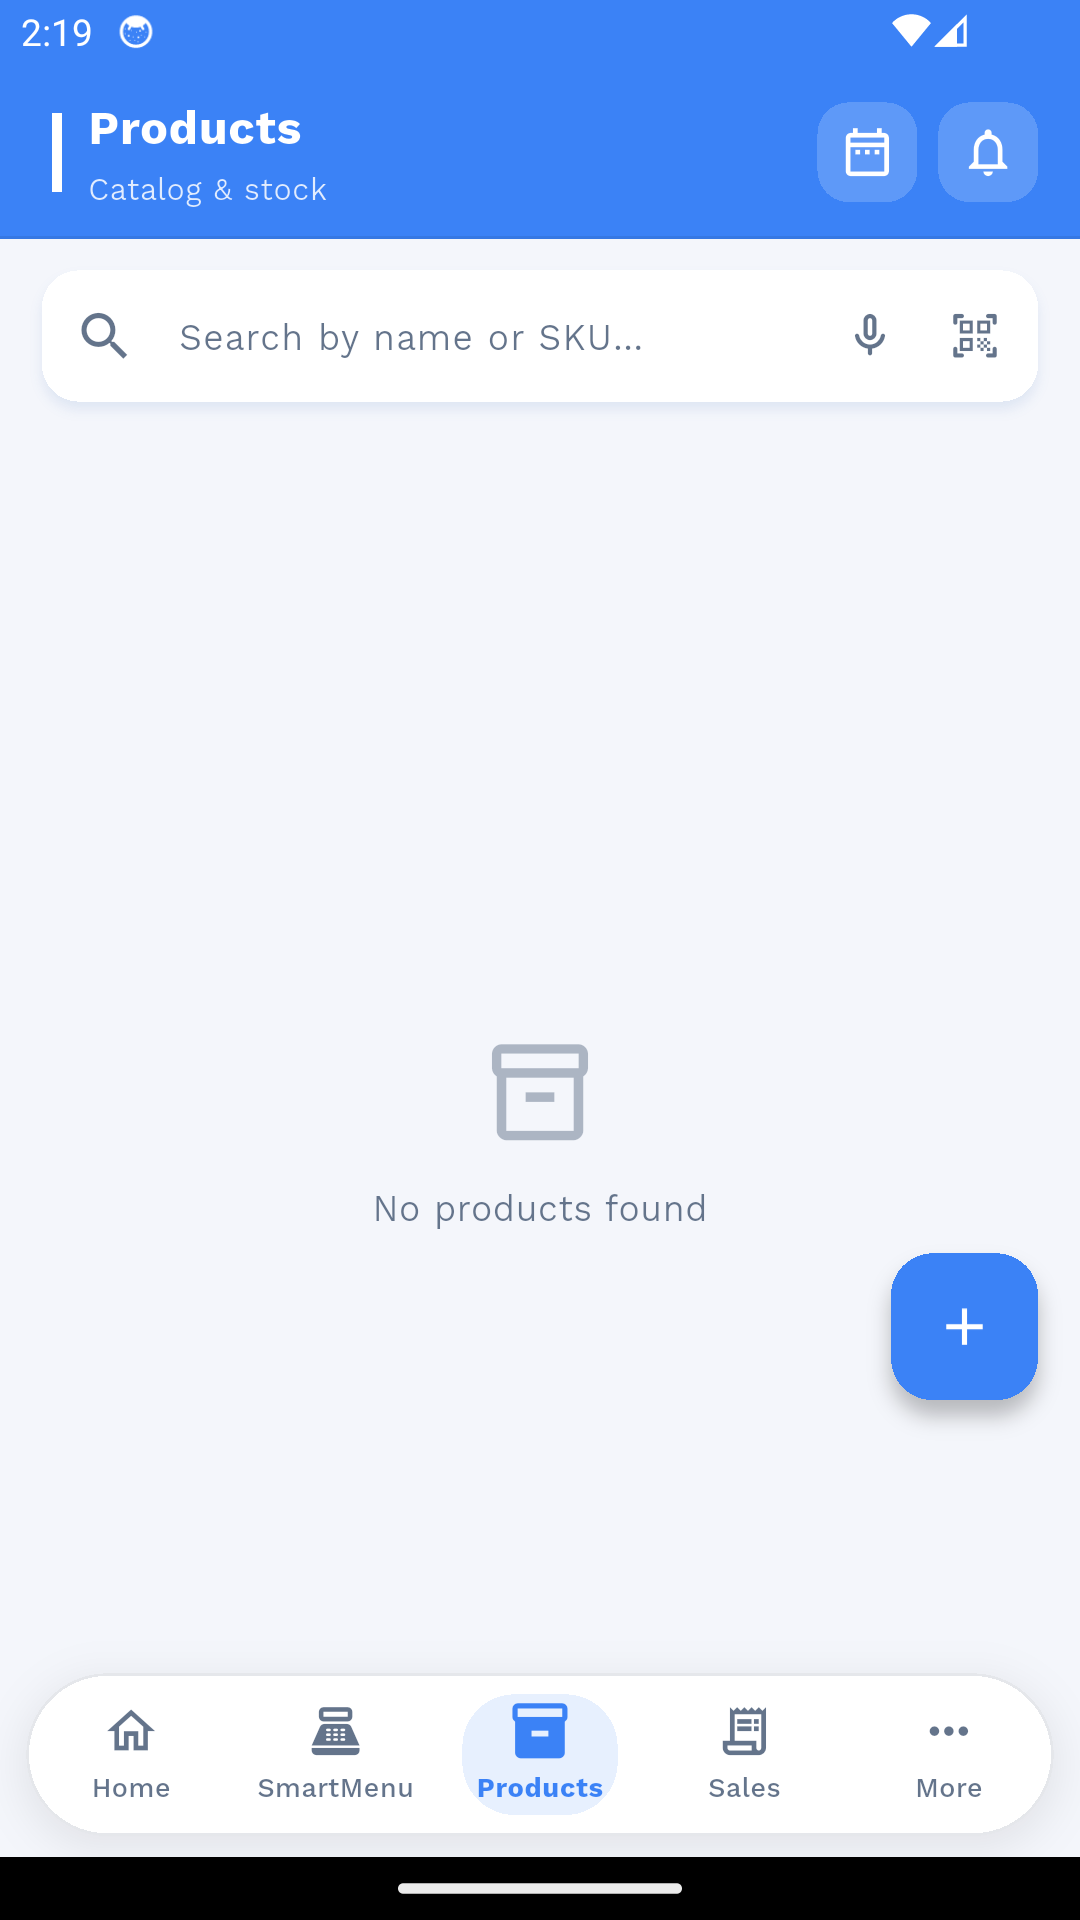
- Browse & scan Search by name or SKU, or scan a barcode to open the product instantly.
- Add & edit Tap + to create a product with photo, price and stock; open one to edit price or quantity on the spot.
- Stock movement Each product shows its in/out history per location so you can trace every movement.
Sales & Invoices
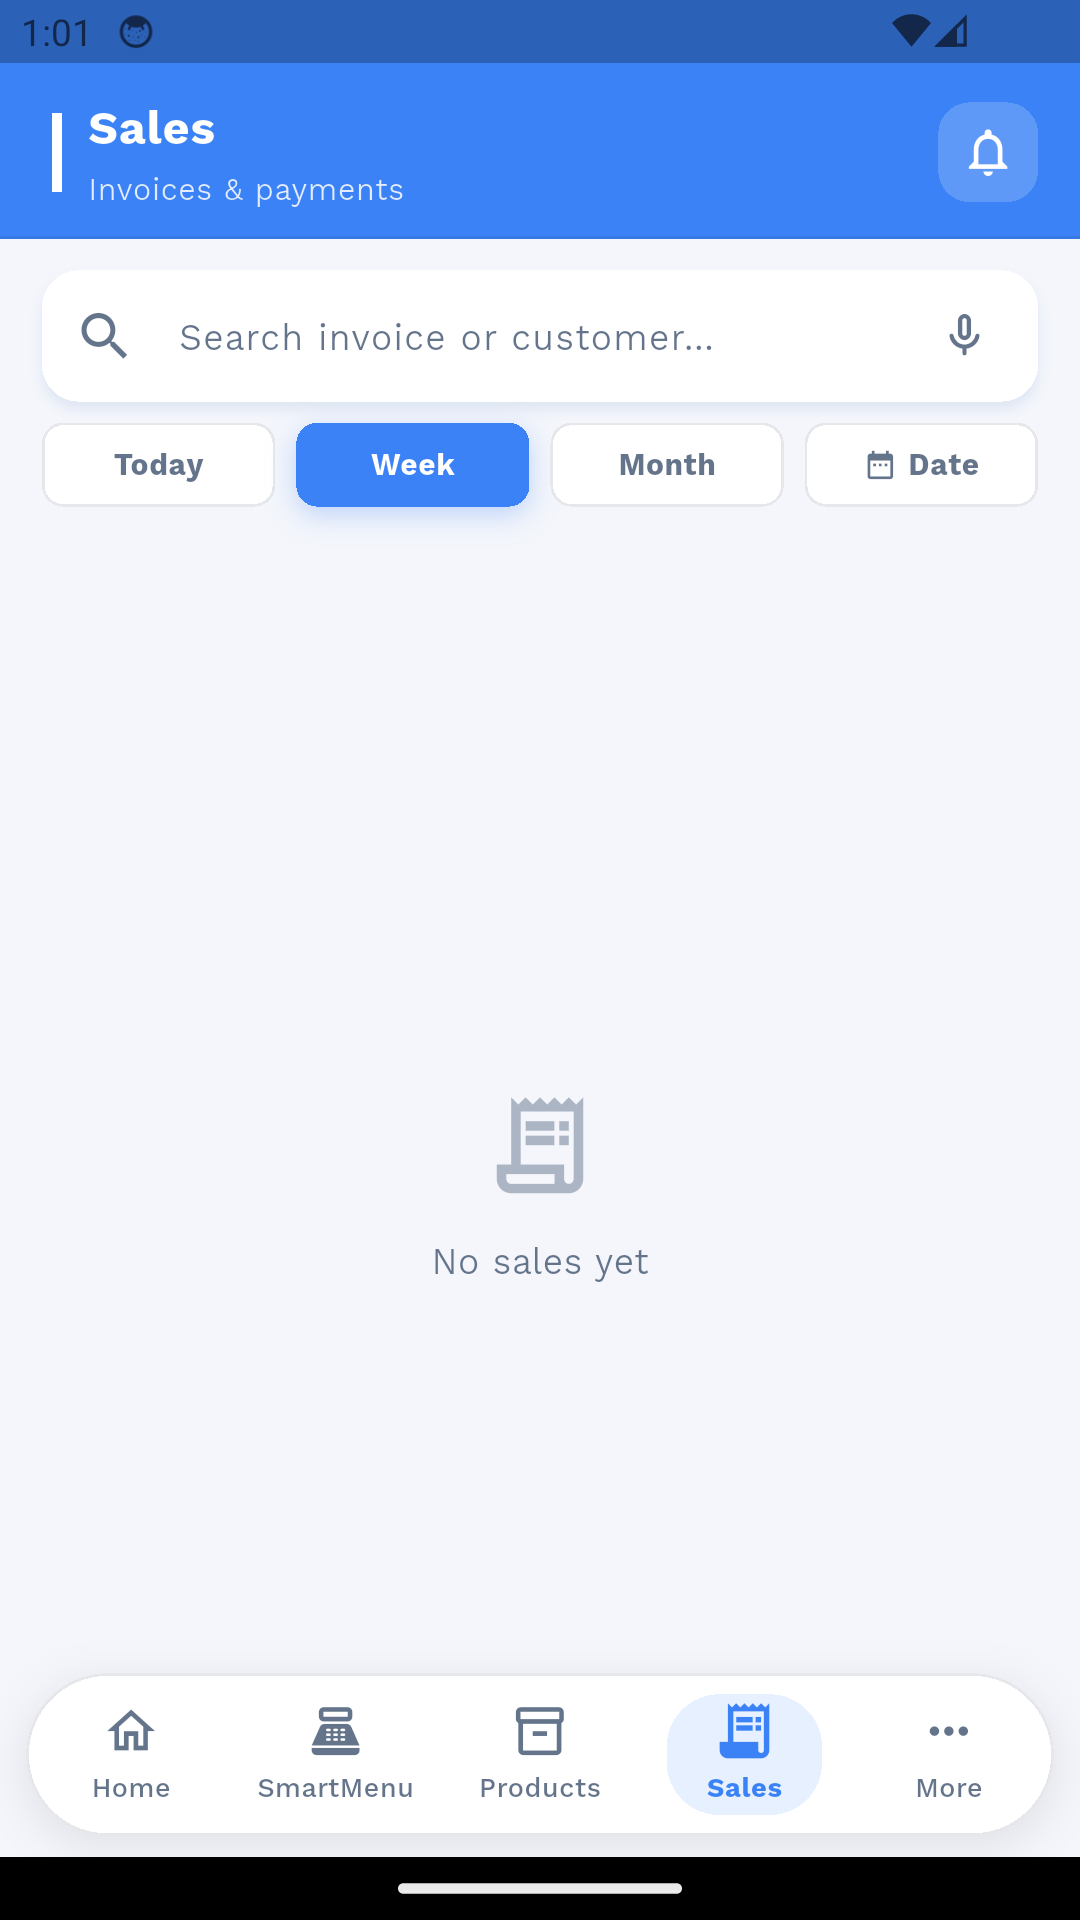
- Sales list All invoices with Today/Week/Month filters — search by invoice number or customer and tap one for full details.
- Print & share Print a receipt, packing slip or delivery note, or share the invoice PDF from the action sheet.
- Collect payment On an unpaid invoice, record the customer payment to settle the due balance.
Guest Menu (QR Ordering)
- Guest ordering Customers scan the table QR and order from their own phone — the link opens the store menu directly.
- Order handling Staff review incoming orders and send them to POS/kitchen from the app.

More — All Features
- Four groups Operations (contacts, purchases, stock…), People (attendance, HR, users), Finance (accounting, reports, tax) and Configuration (locations, warehouses, data, settings).
- Permissions You only see the modules your role allows — the same permission set as the Web App.
- Language & location Switch Khmer/English and the working location inside the app — no logout needed.

Contacts
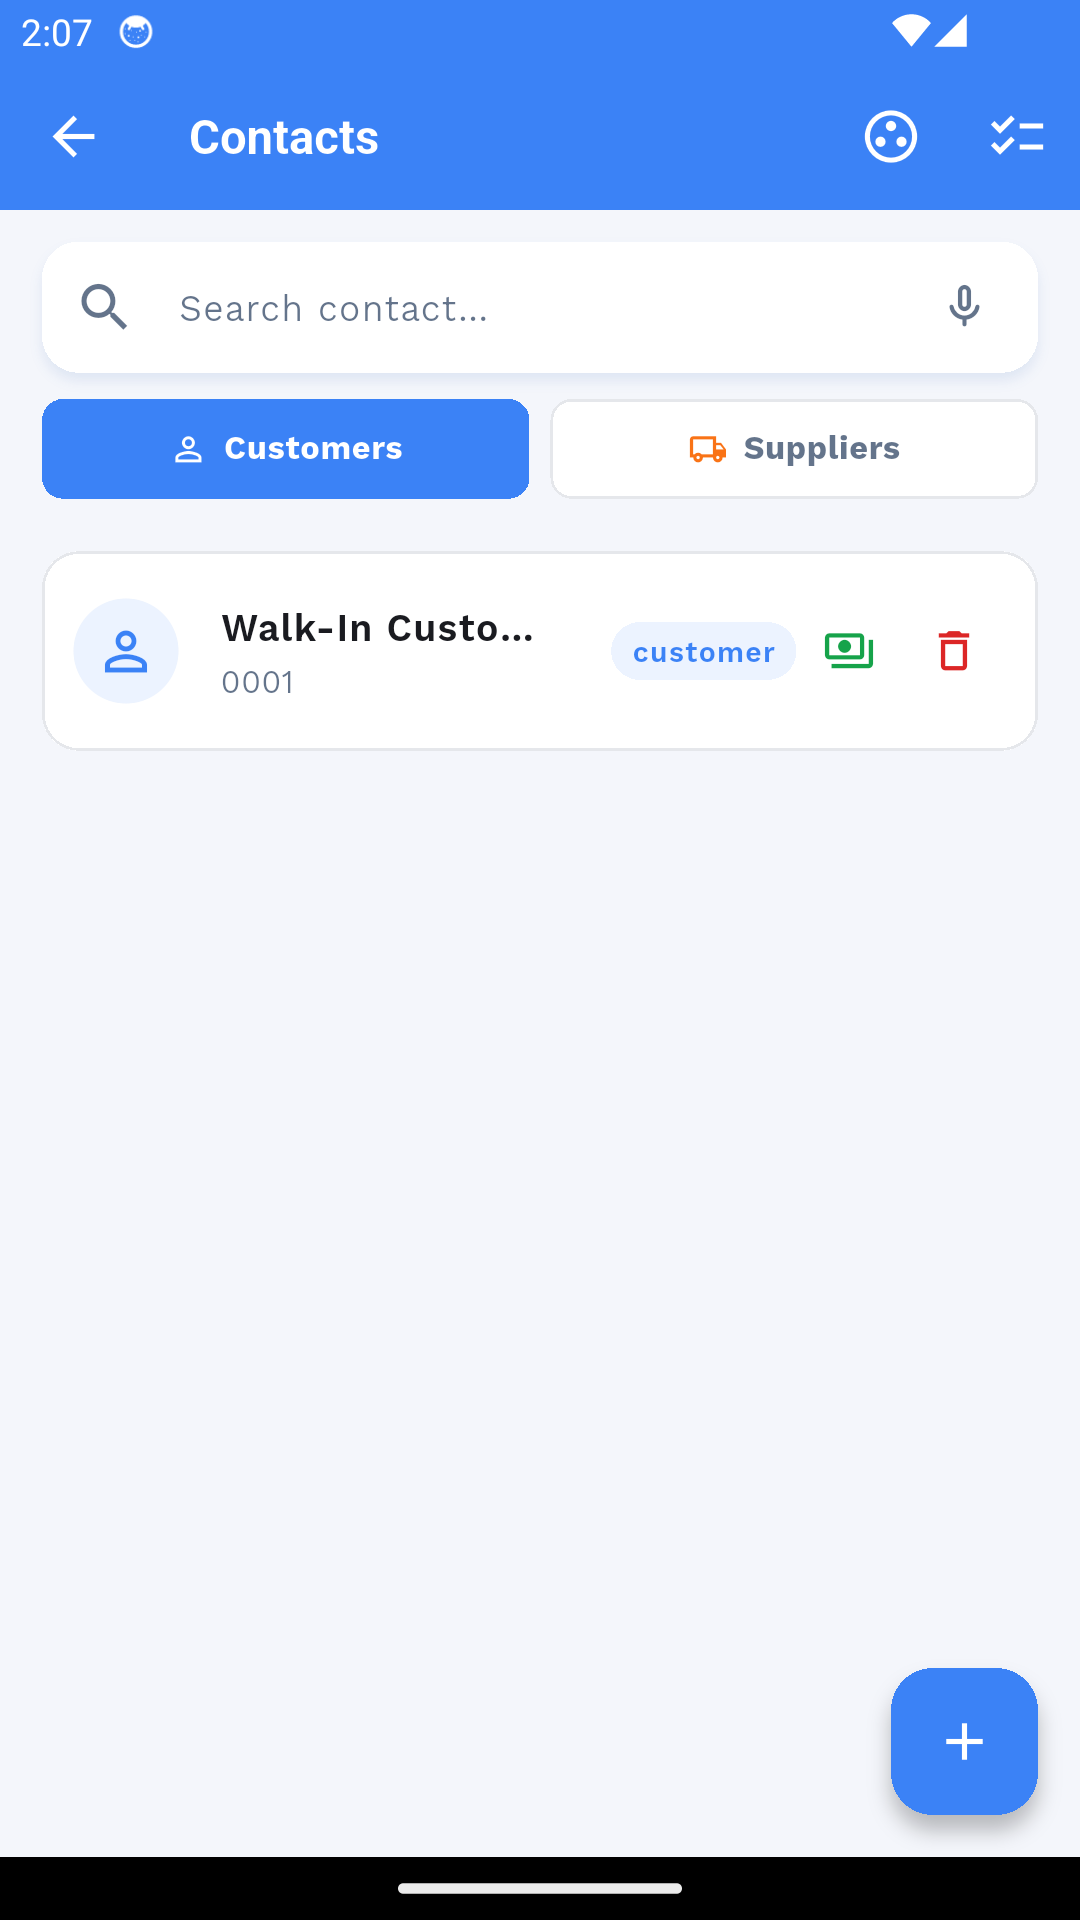
- Browse & search Customers and Suppliers tabs with search and balance/location details per contact.
- Add & edit Tap + to create a contact; open one to edit name, phone, address or opening balance.
- Ledger & payments A contact’s page shows invoices, payments and due — record a payment straight from the app.
Customer Groups
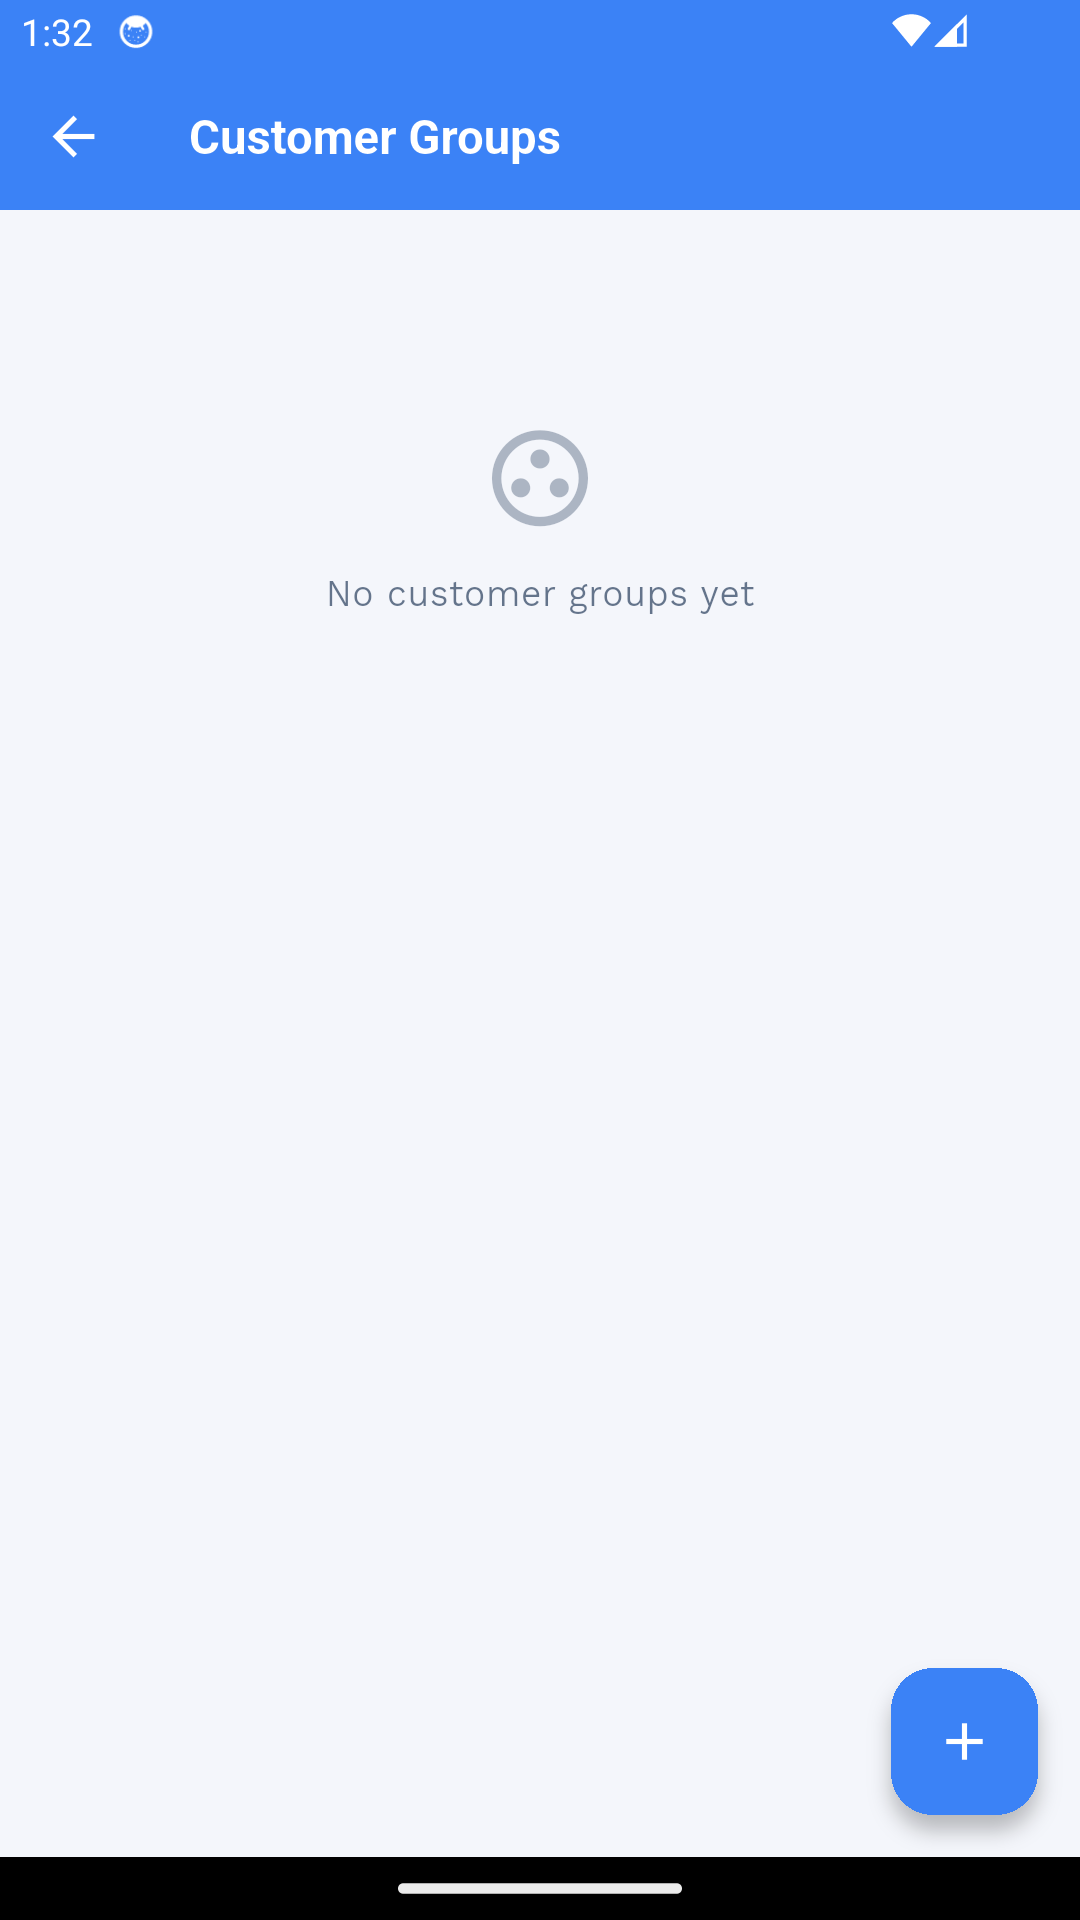
- Create a group Tap + to add a group (e.g. Wholesale) with its discount or price level.
- Assign customers Put customers in the group from Contacts — they automatically get the group price at POS.
Purchases
- List & filter All purchases with date/supplier filters; tap one for its lines and payment status.
- Add a purchase Create a supplier invoice — pick items, quantities and costs; stock updates immediately.
- Pay & return Record supplier payments and process purchase returns directly from the purchase detail.
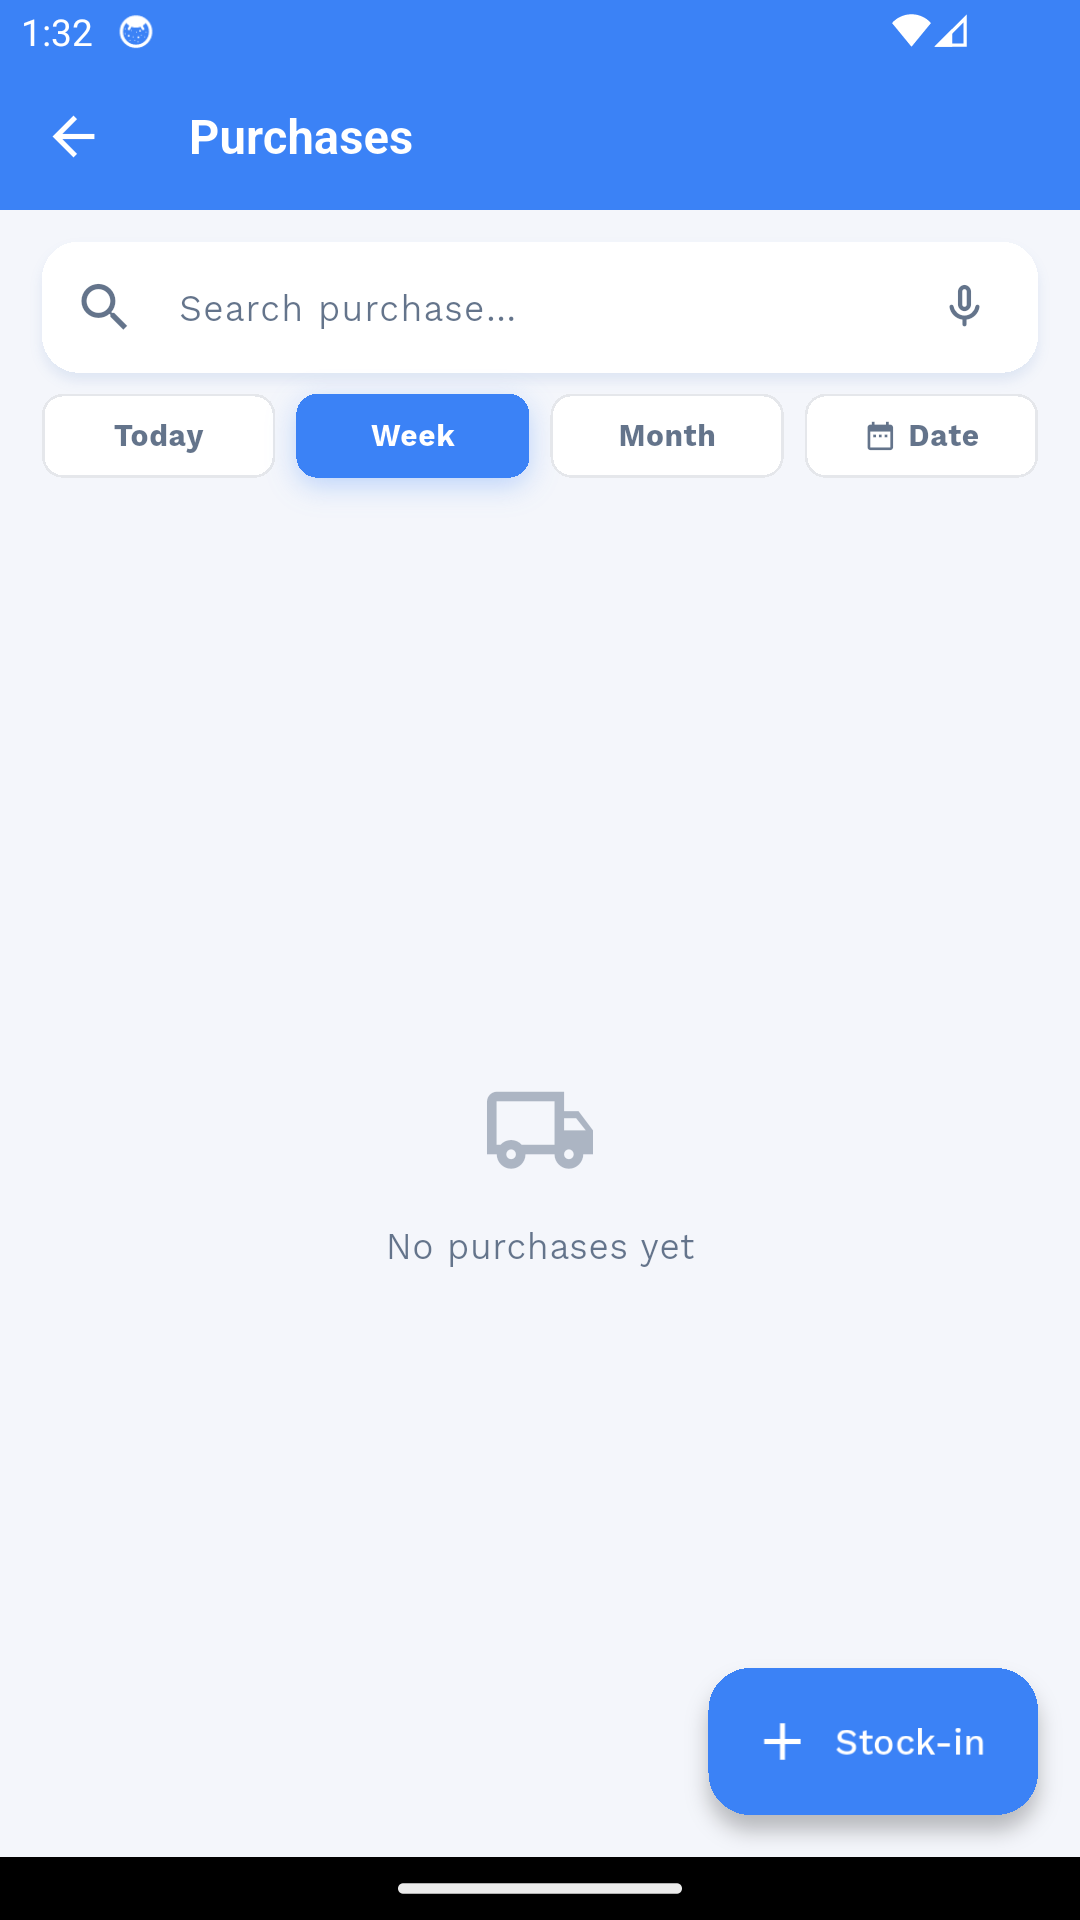
Expenses
- Add an expense Tap + : amount, category, location and payment method — it feeds profit/loss immediately.
- View & edit Filter the list by category or date, open an expense to edit it or attach the receipt.
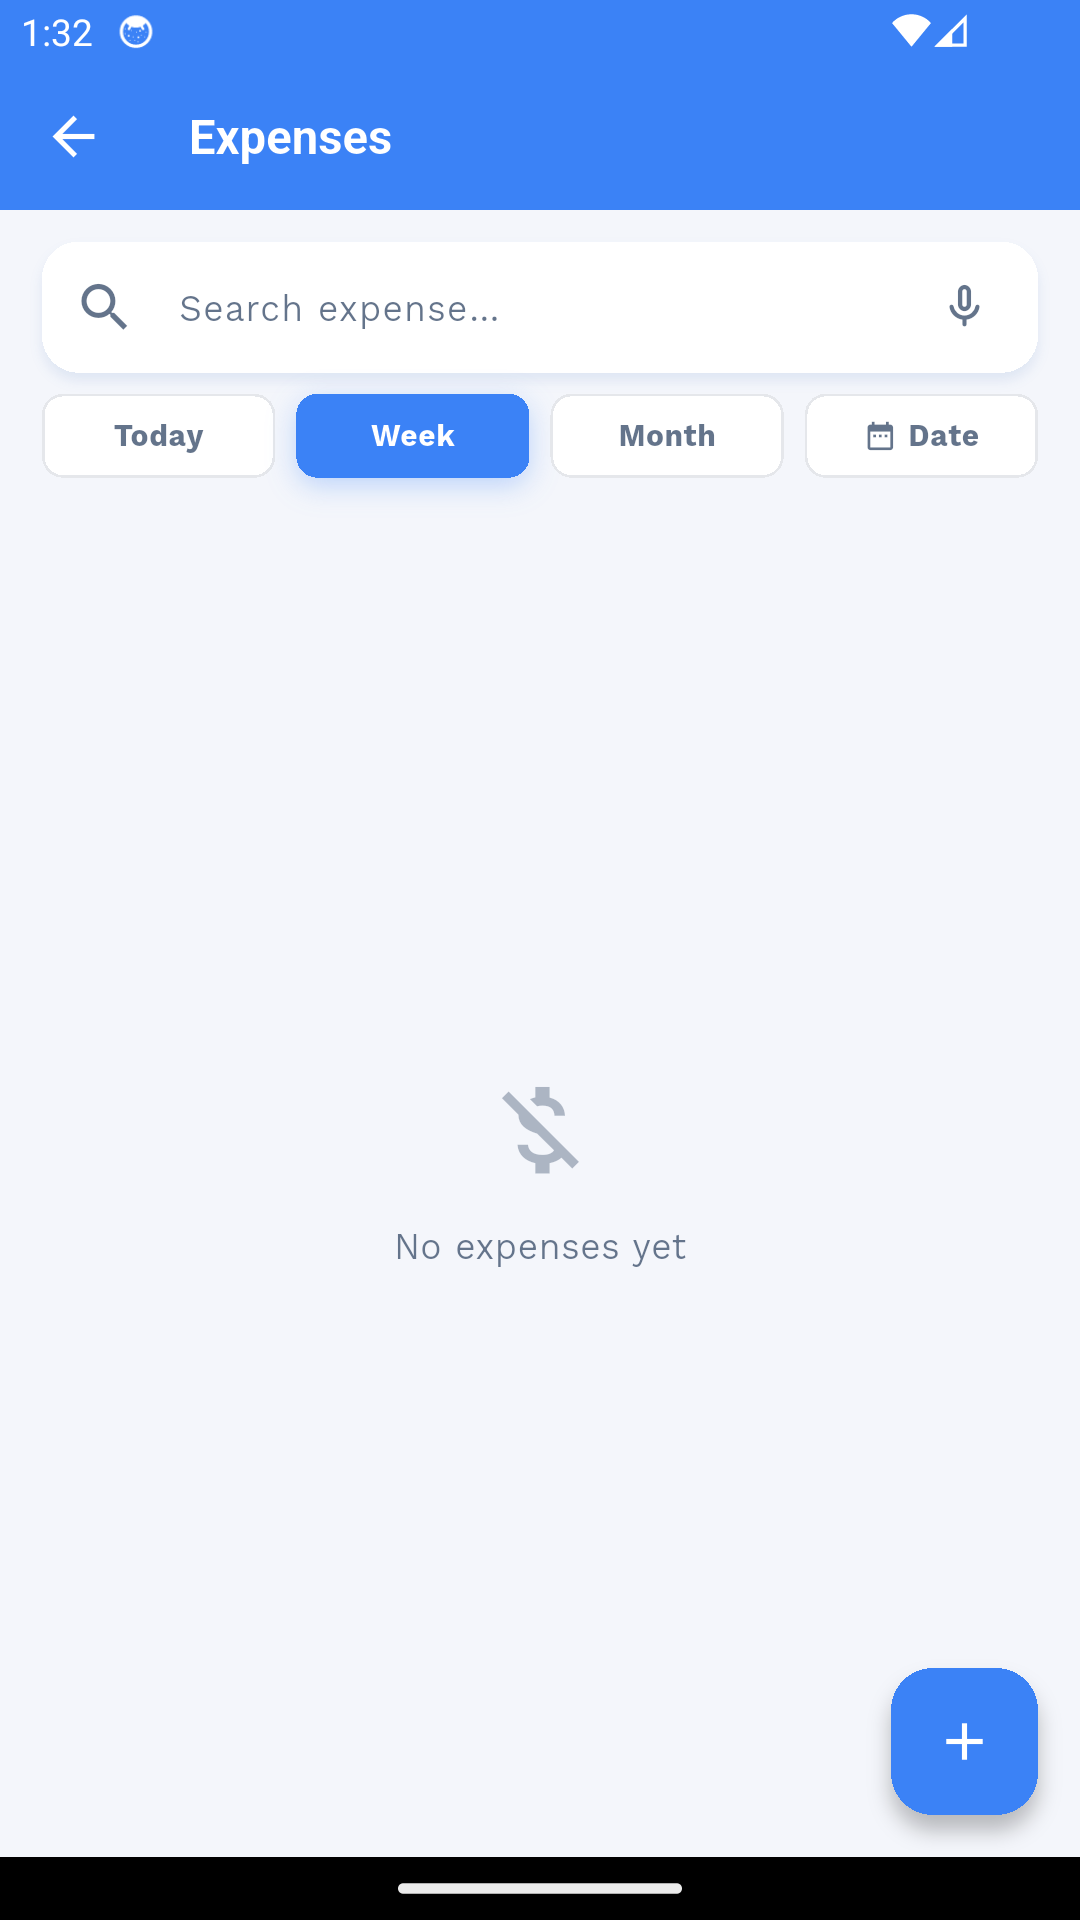
Stock Count
- Start a count Pick the location, then scan or search each product and enter the counted quantity.
- Review differences The count compares physical vs system stock per item — finish to post the adjustment.
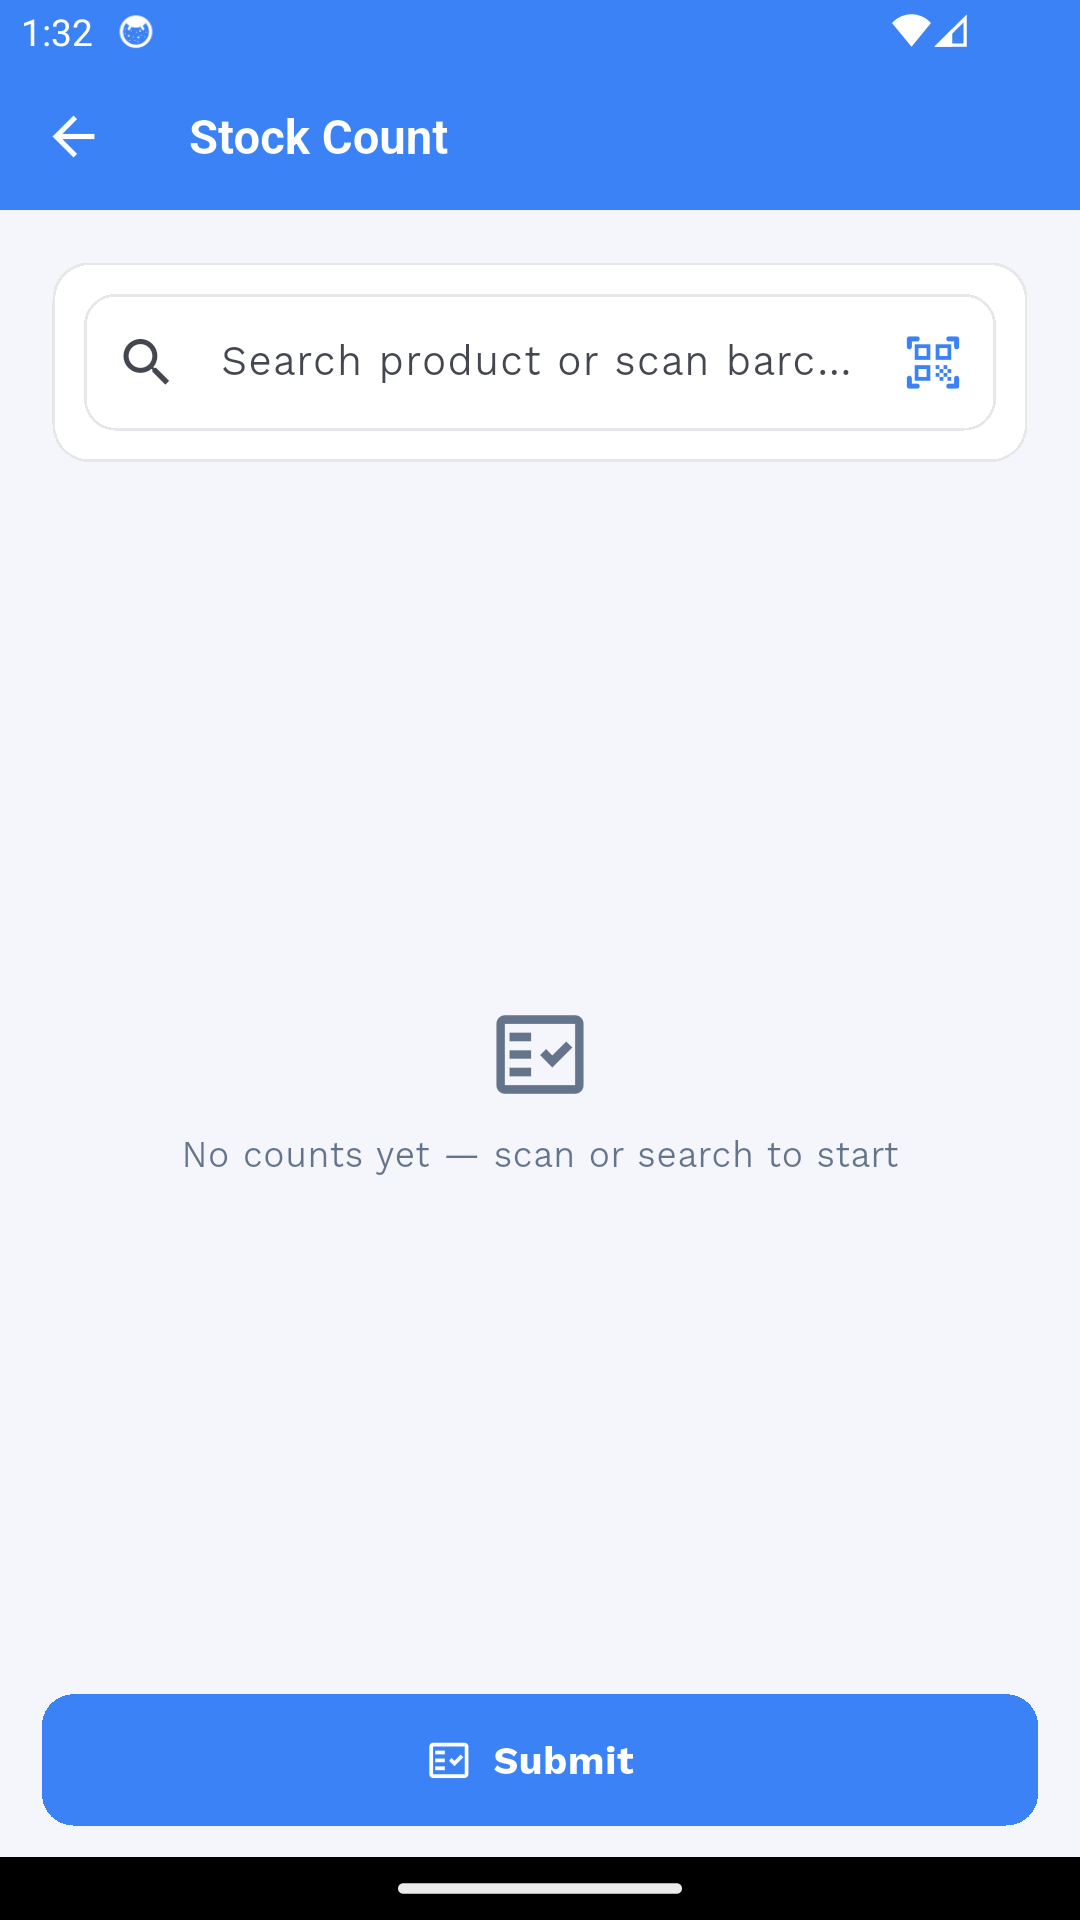
Stock Adjustment
- Add an adjustment Choose the location and items, enter the corrected quantities and the reason (normal/abnormal).
- View & reverse The list shows every adjustment by date/location; deleting one restores the original counts.
Stock Transfer
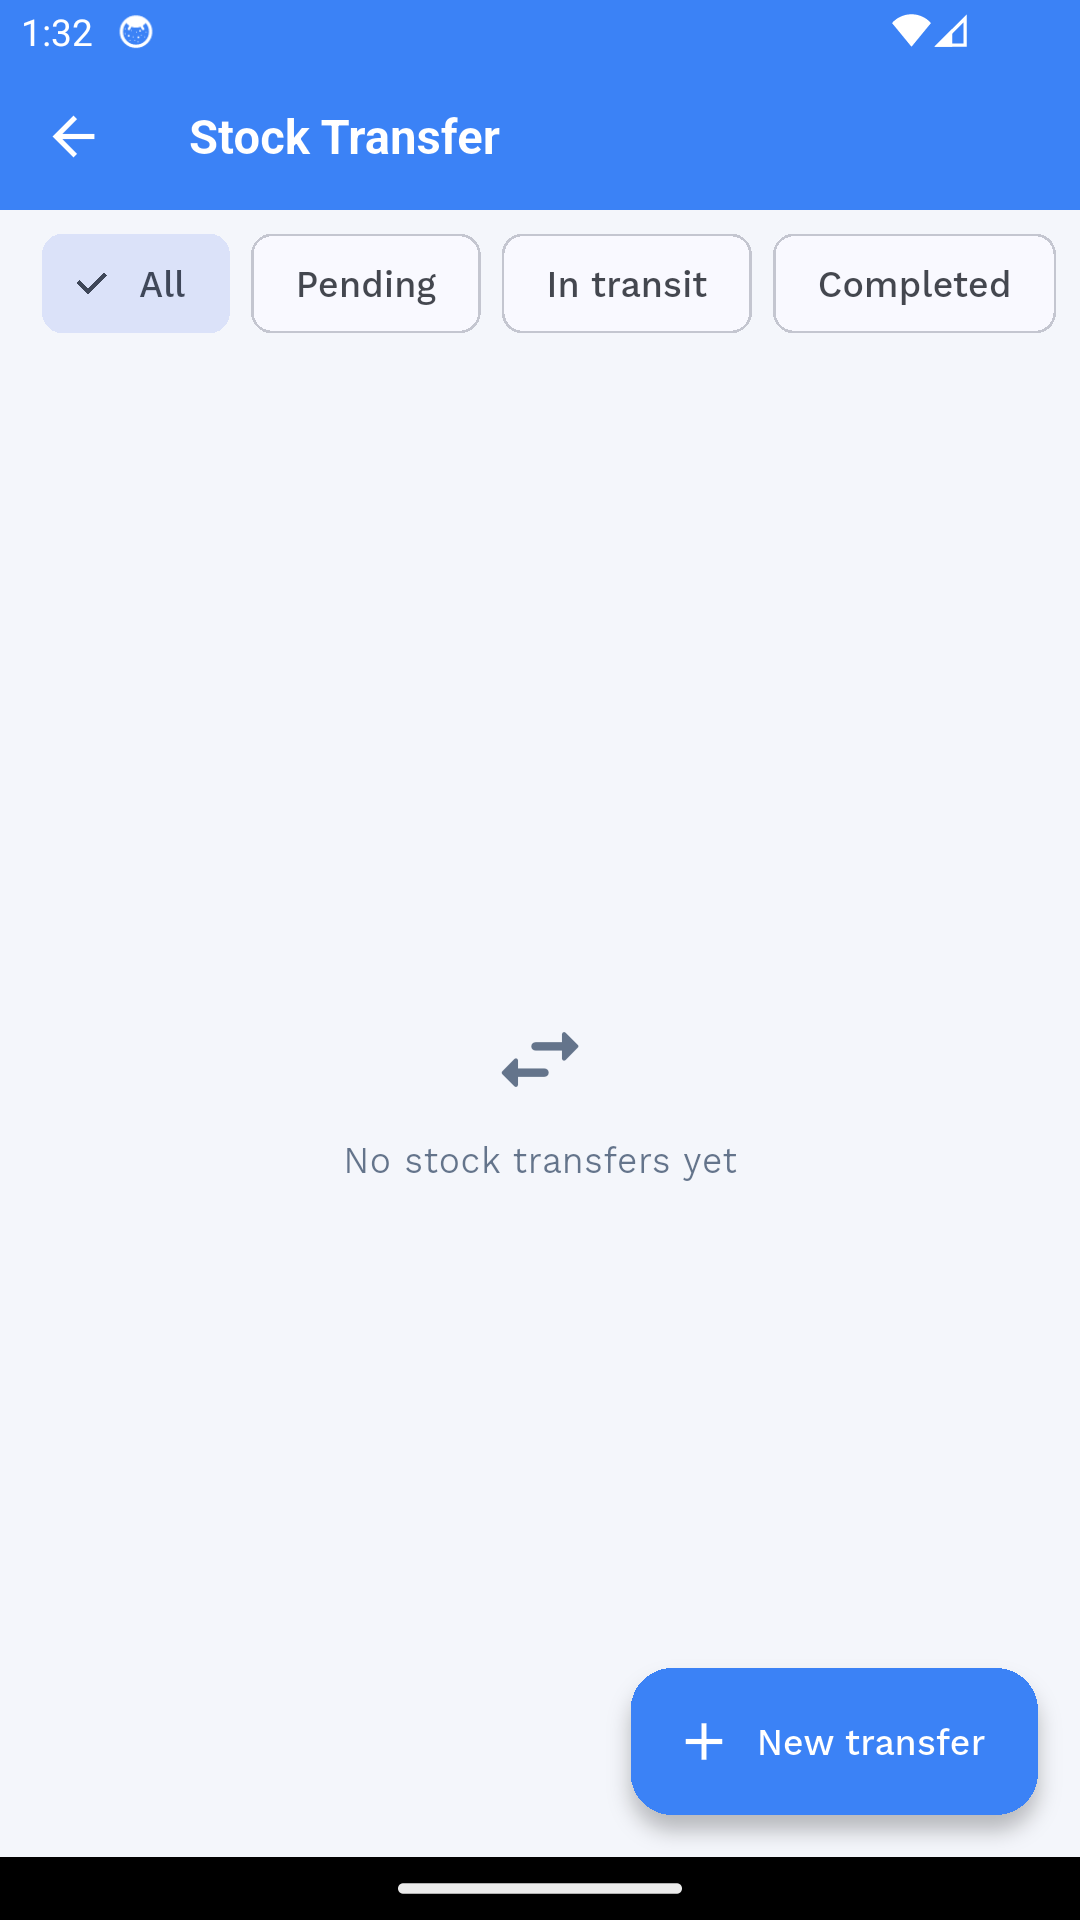
- Create a transfer Pick From and To locations and the items with quantities — stock moves on save.
- Track it The transfer list shows status and date; open one to check its lines or delete a mistaken transfer.
Inventory Analysis
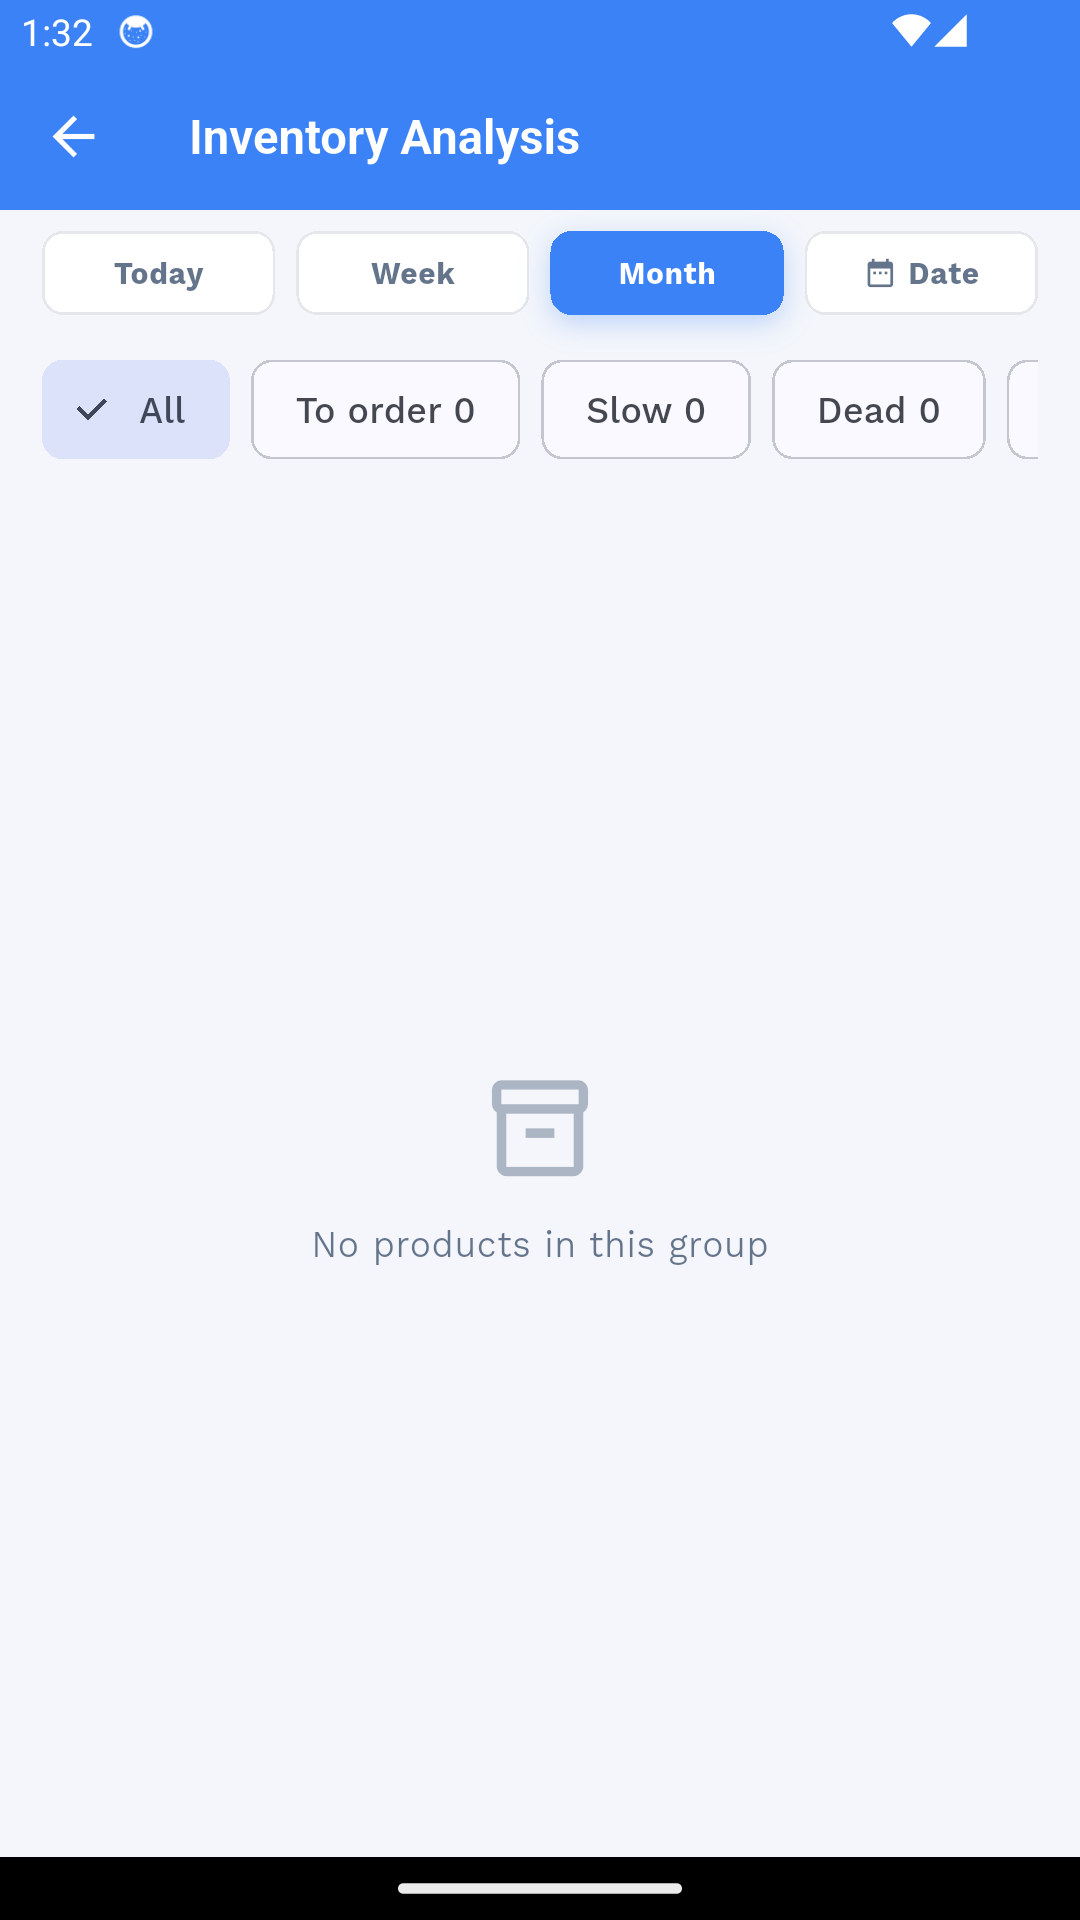
- Overview See stock value, top movers and slow items per location.
- Drill down Open any product to see its in/out history and current quantity per warehouse.
Financial Analysis
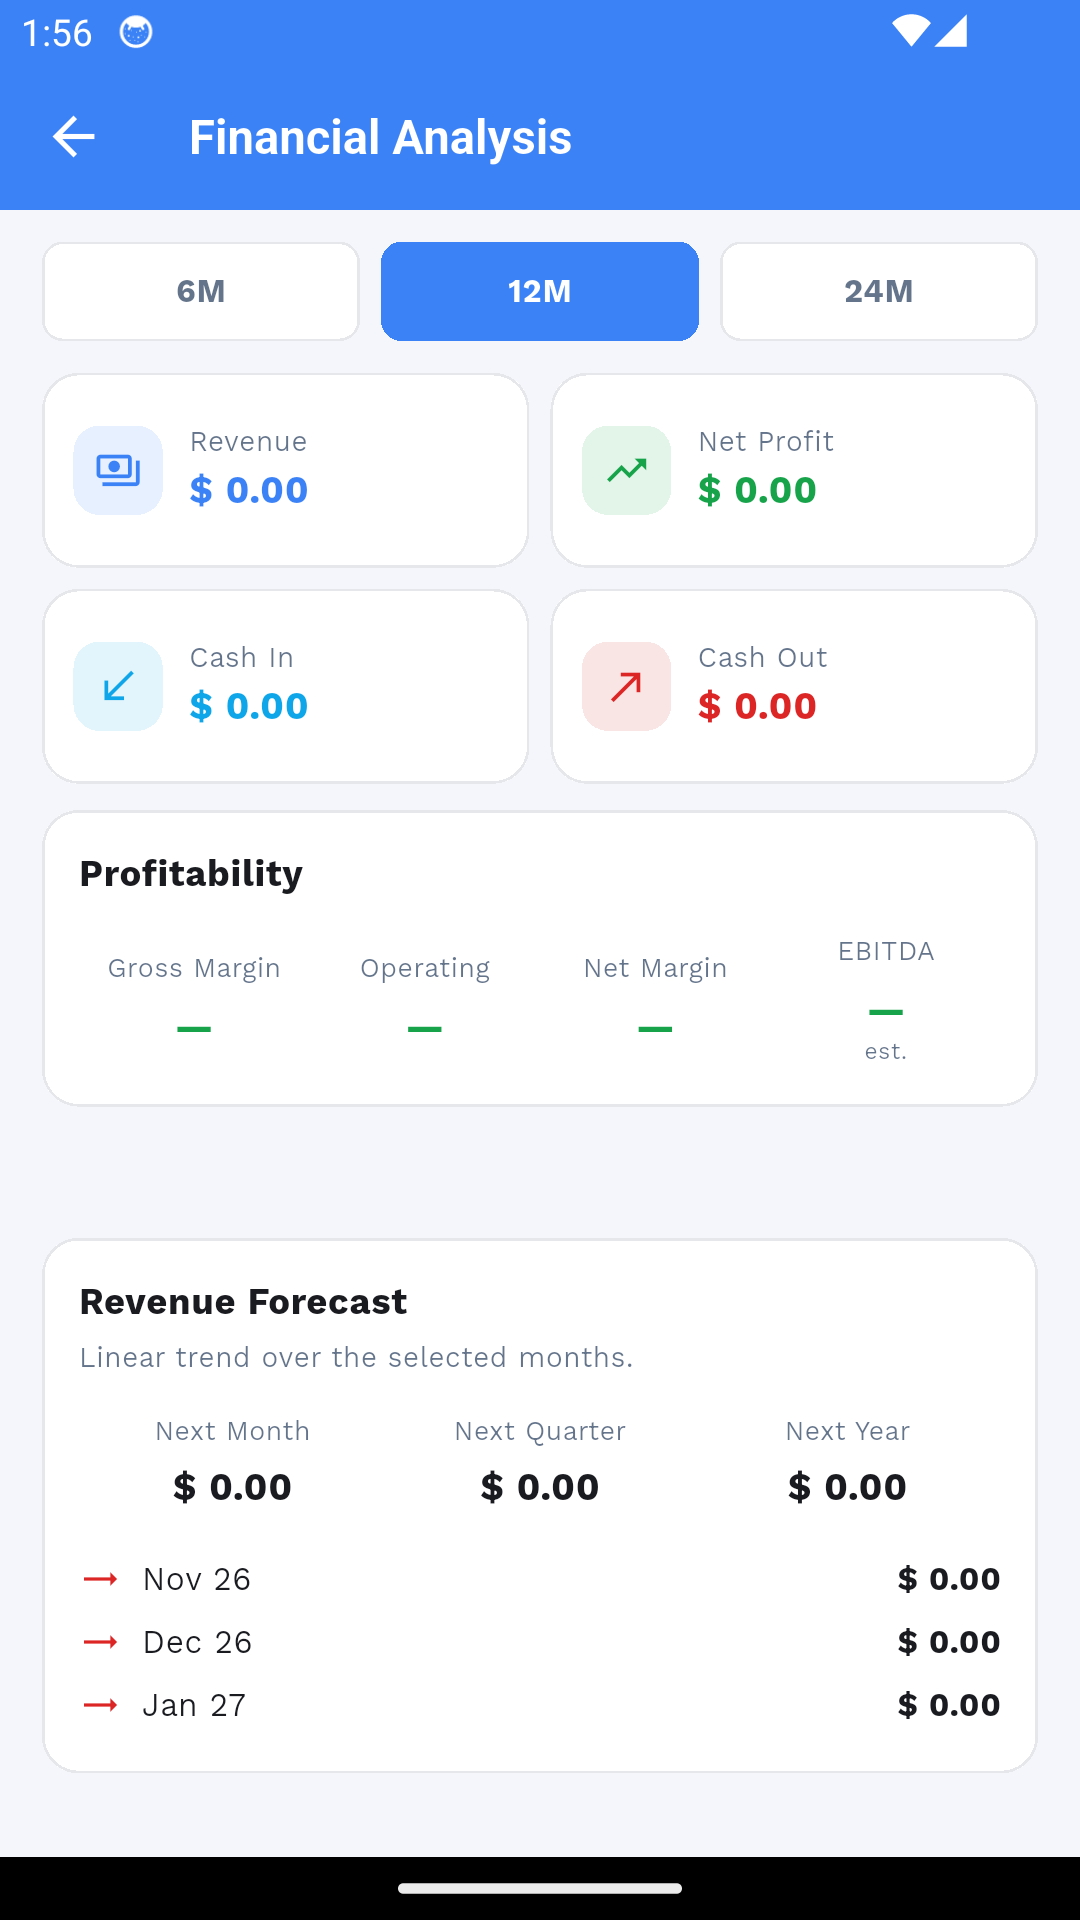
- P&L summary Profit, revenue and expense totals with period filters (today/week/month/custom).
- Breakdown See which products, categories and locations drive the profit.
Cash Register
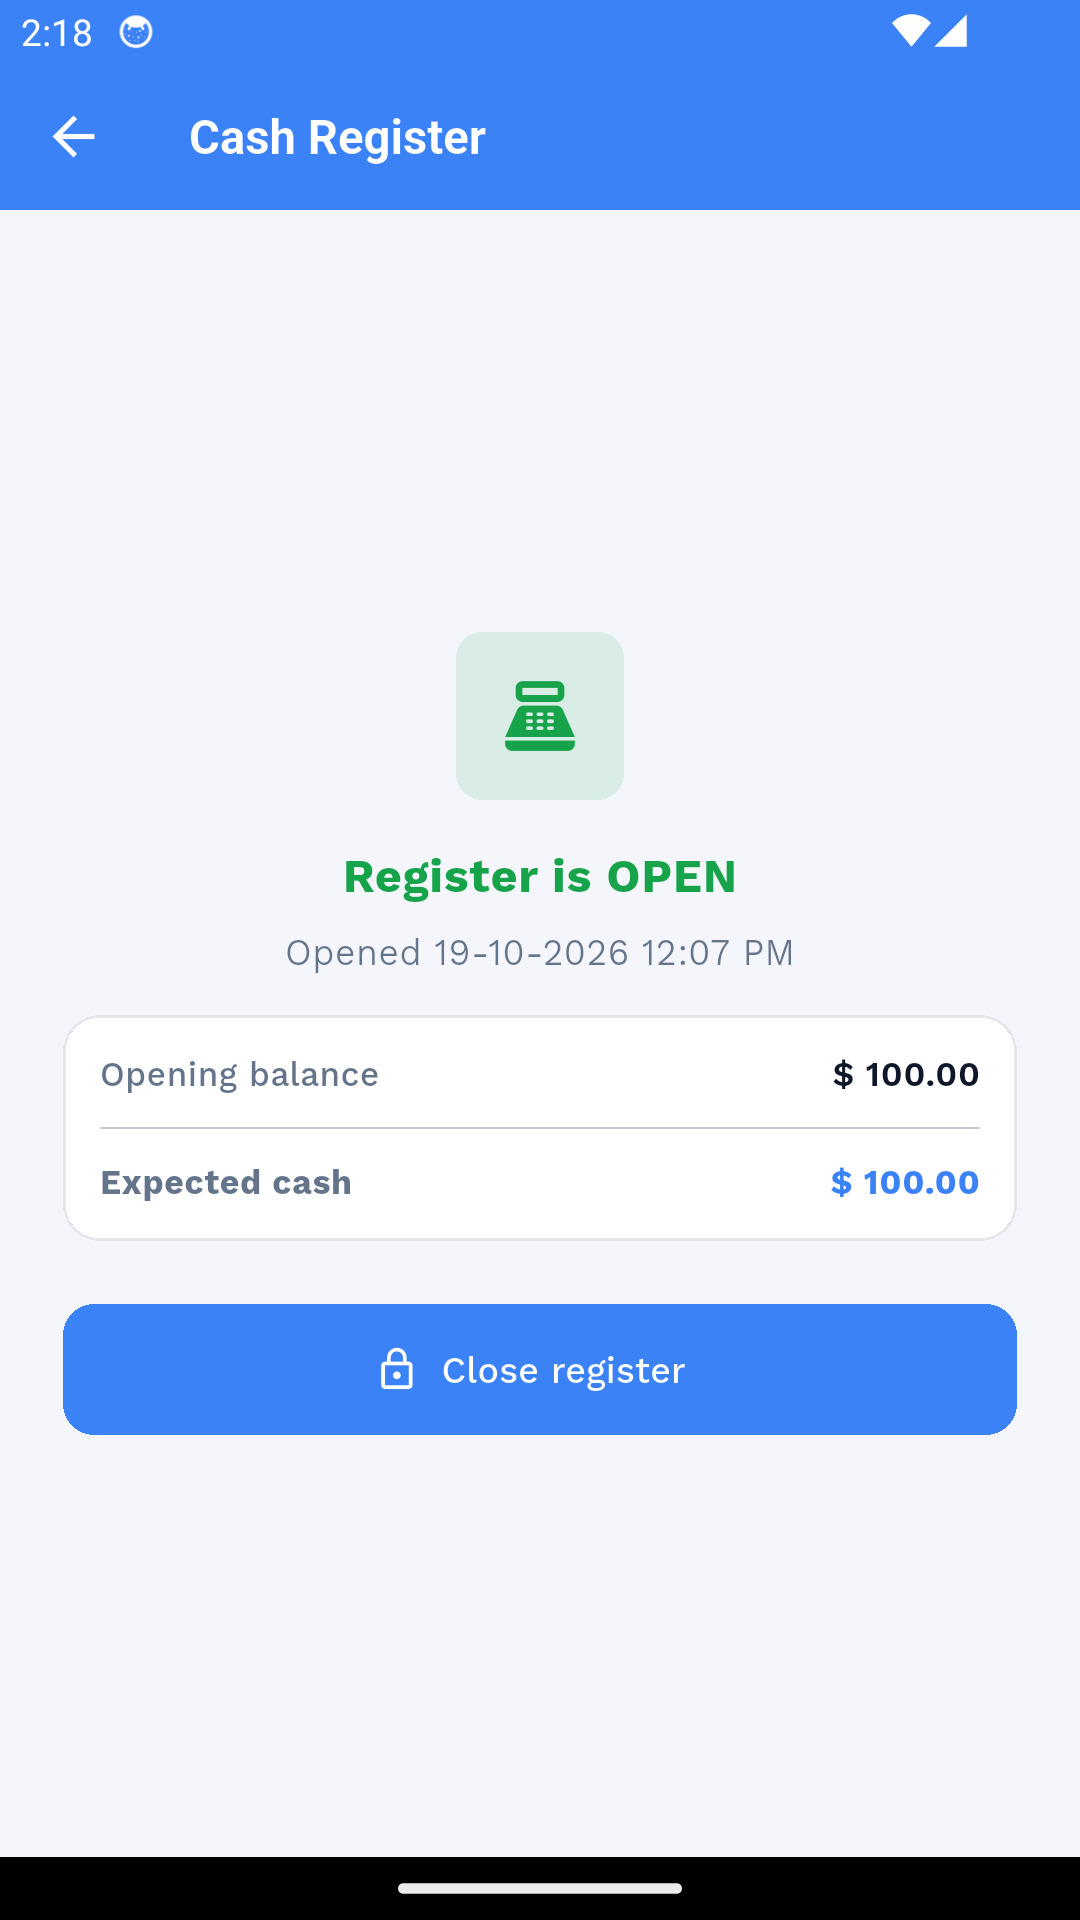
- Open/close See whether the register is open, the opening balance and expected cash — close it with a counted total.
- Register details View the sales and payments recorded under the current register session.
Print Calculator
- Calculators Box, Paper Bag and Book calculators compute the price from dimensions, material and quantity.
- Workflow & stock Print Job Workflow tracks each job stage; Stock Request lists items at or below alert quantity.

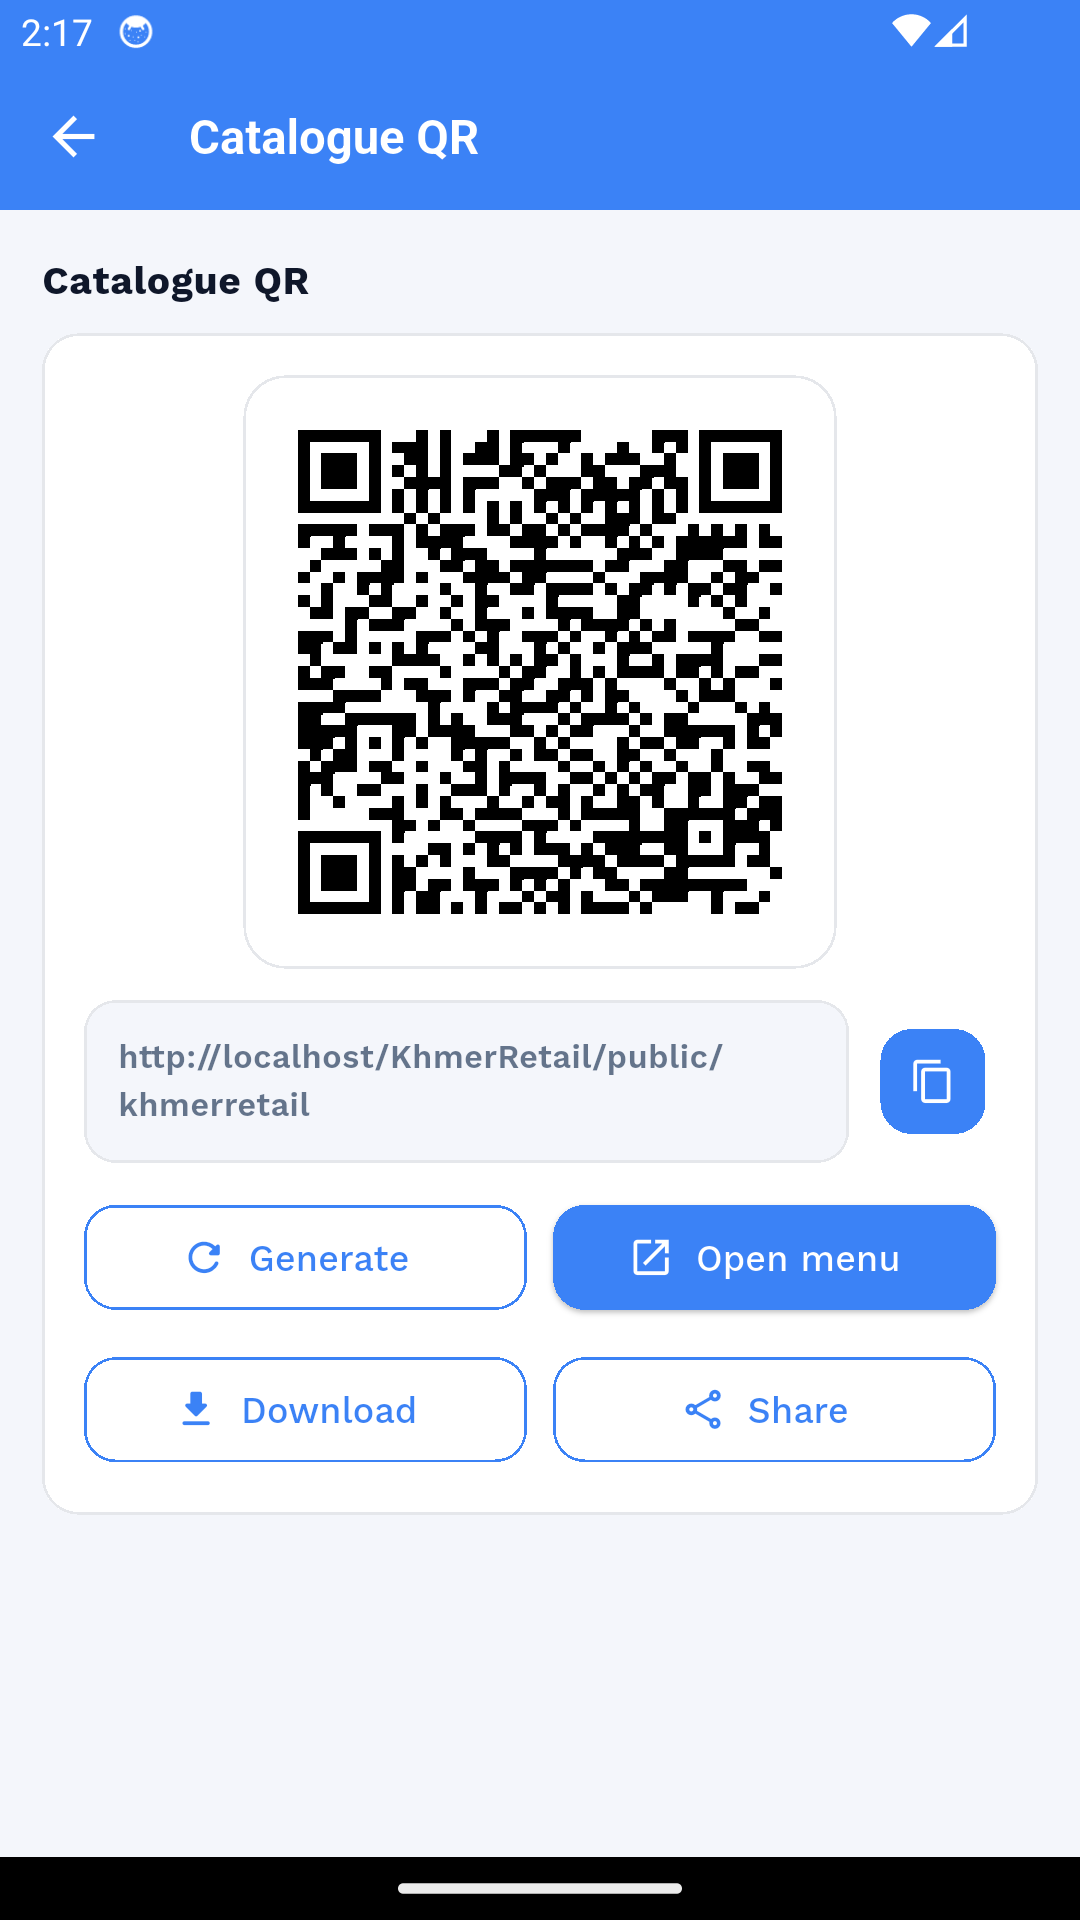
Catalogue QR
- Generate & share Generate the catalogue QR and share or download it — customers scan to open the menu link.
- Open menu Preview the guest menu yourself with Open Menu before printing the QR.
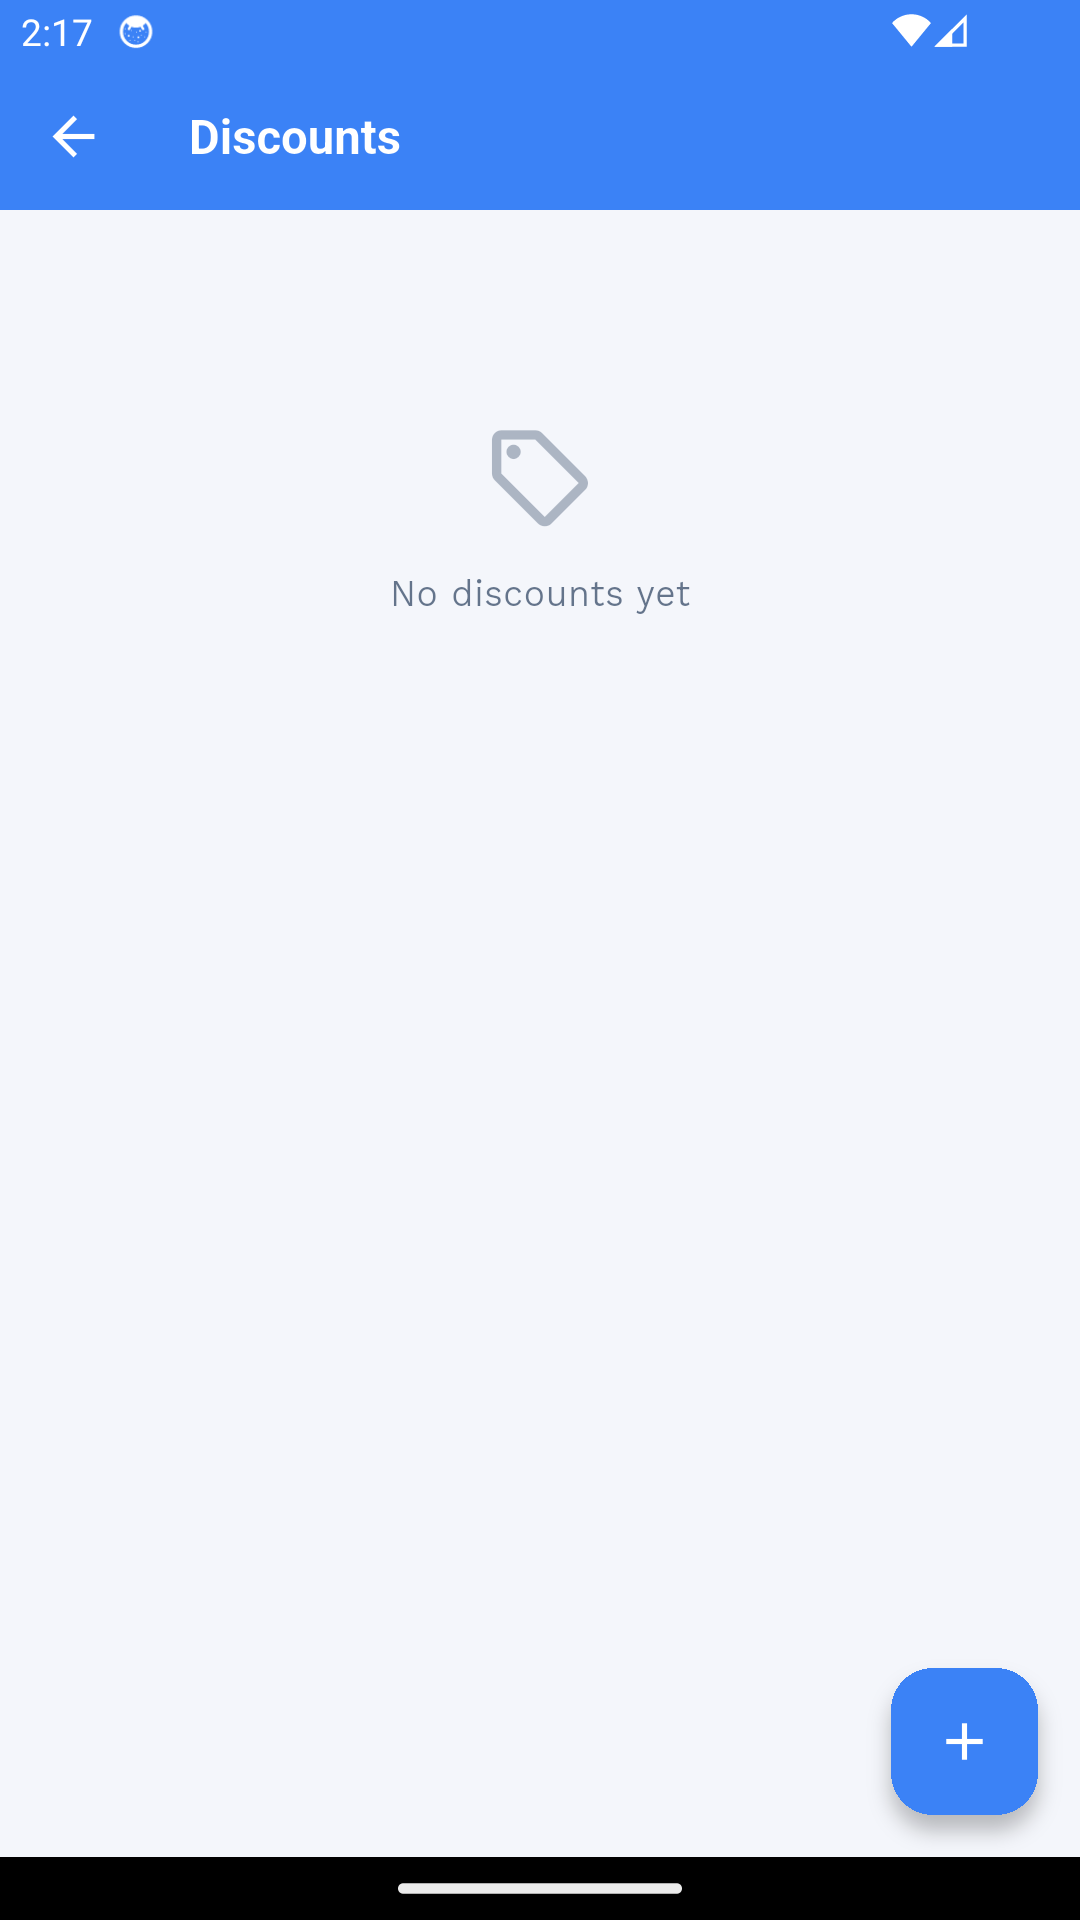
Discounts
- Create & edit Tap + for a % or fixed discount with its period and products — edit or deactivate it anytime.
- Applies in POS Active discounts are offered automatically during checkout.
Attendance
- Check in/out Scan the workplace QR within the geofence to clock in or out.
- History Review daily attendance records and your own history from this screen.

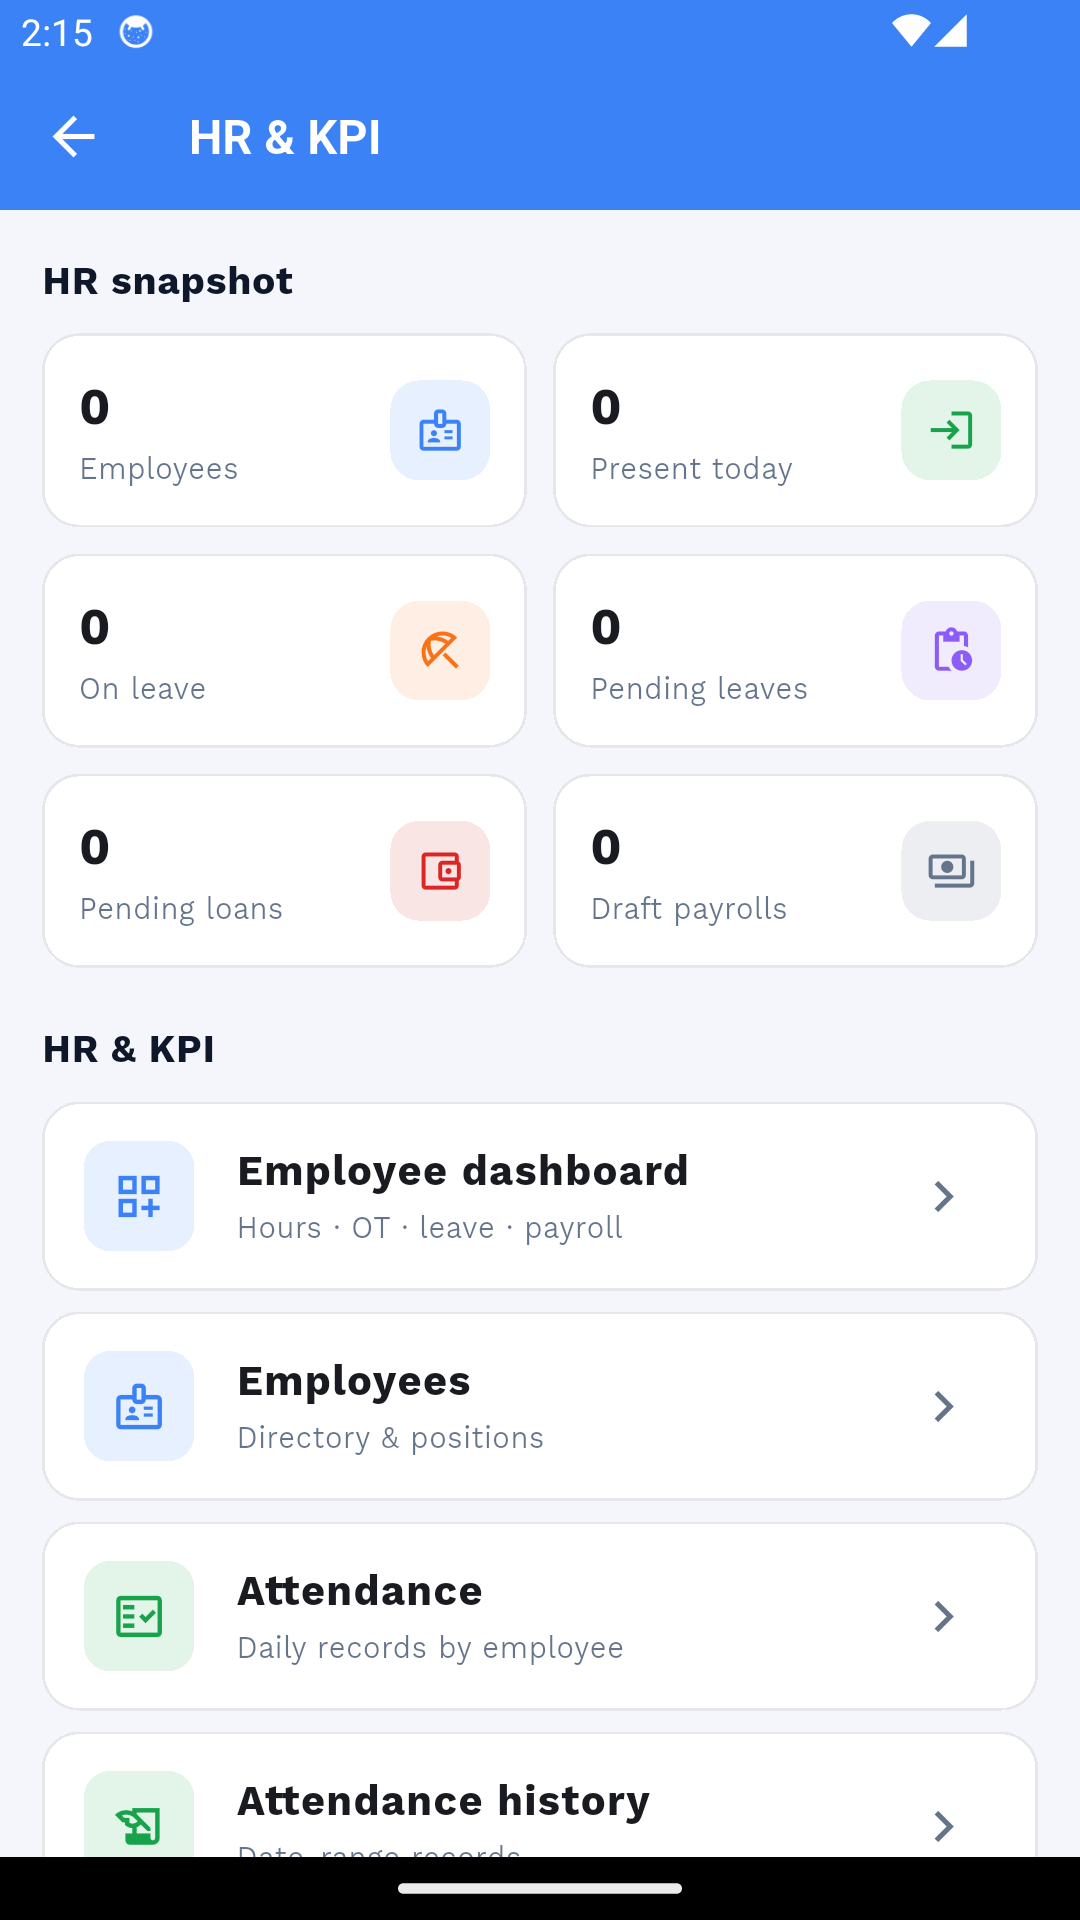
HR & KPI
- HR snapshot Employees, present today, on leave, pending leaves/loans and draft payrolls at a glance.
- Drill into HR Employee dashboard, employee directory, attendance records and history per employee.
- Leave & payroll Approve leave/OT requests and review payroll right from the app.
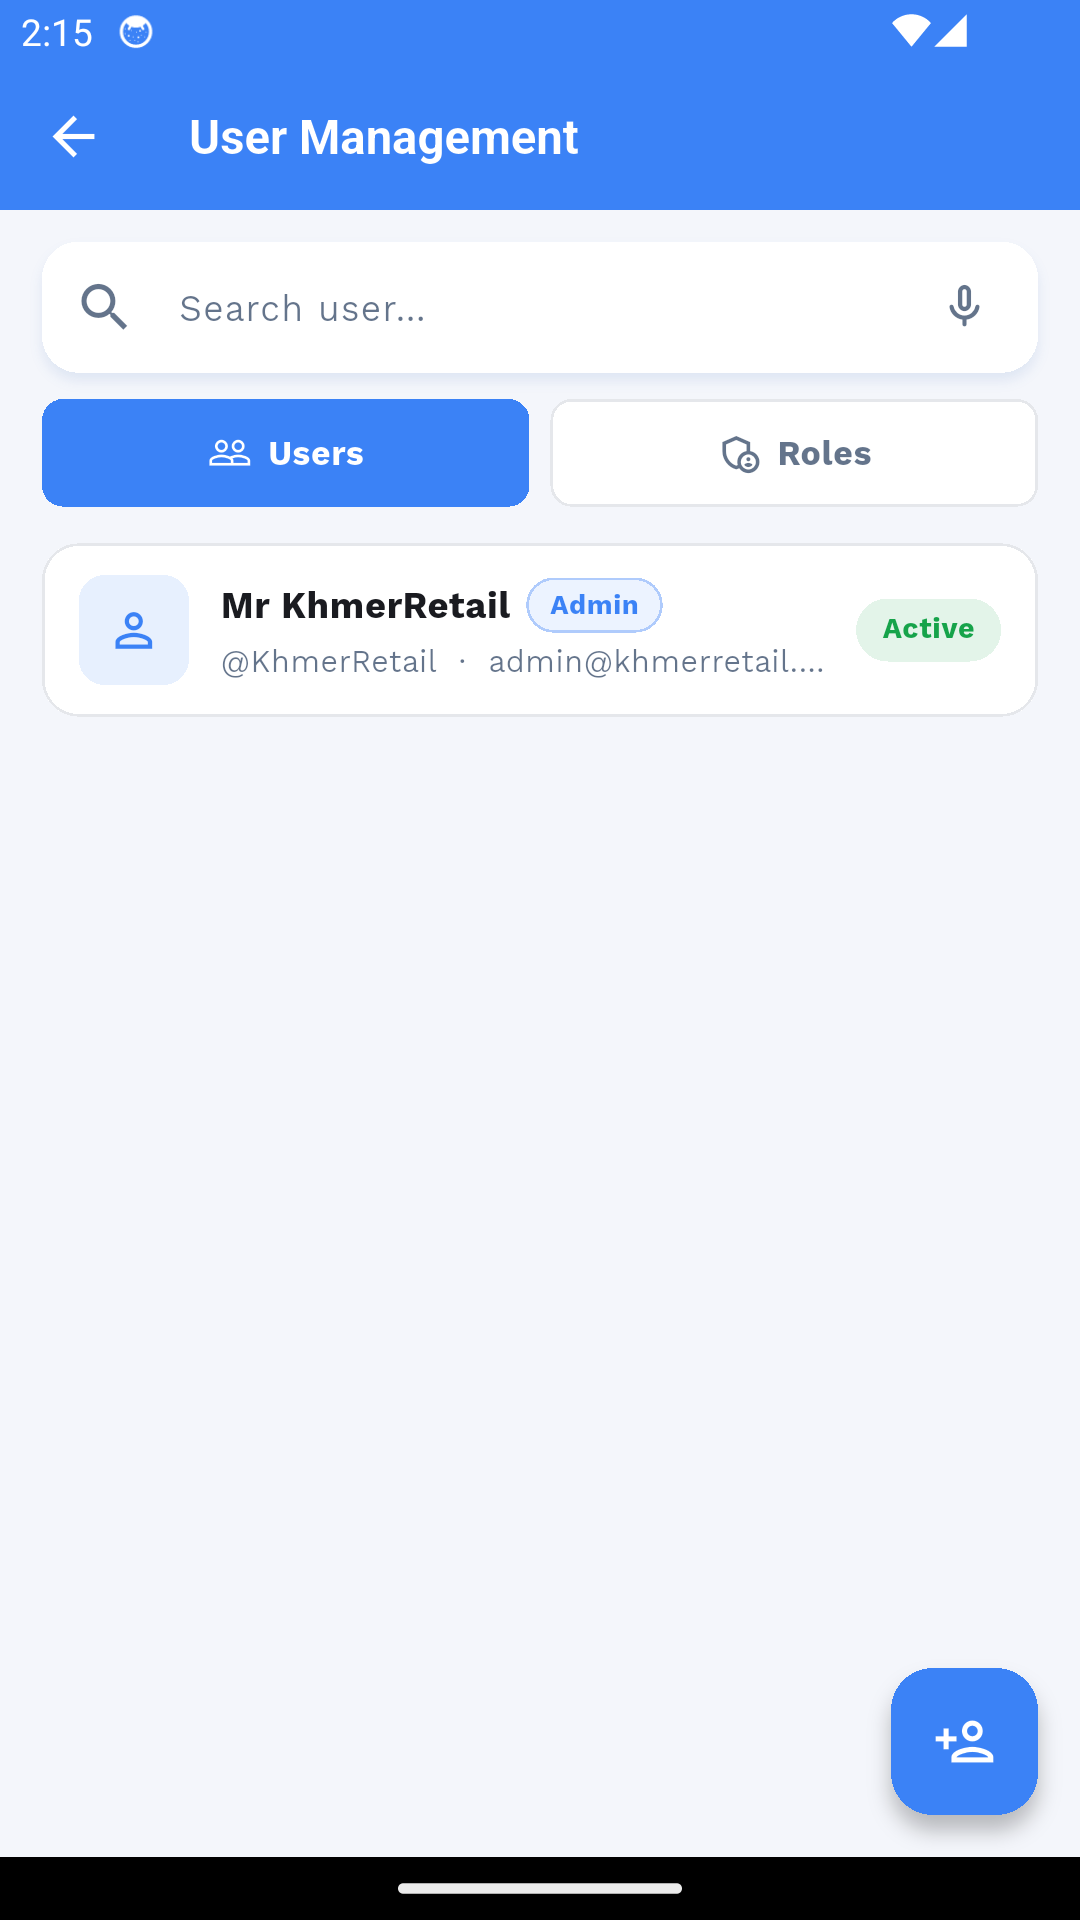
User Management
- Users & roles Users/Roles tabs — search users, see role and status at a glance.
- Add & edit Tap + to create a user with role and locations; open one to edit or deactivate.
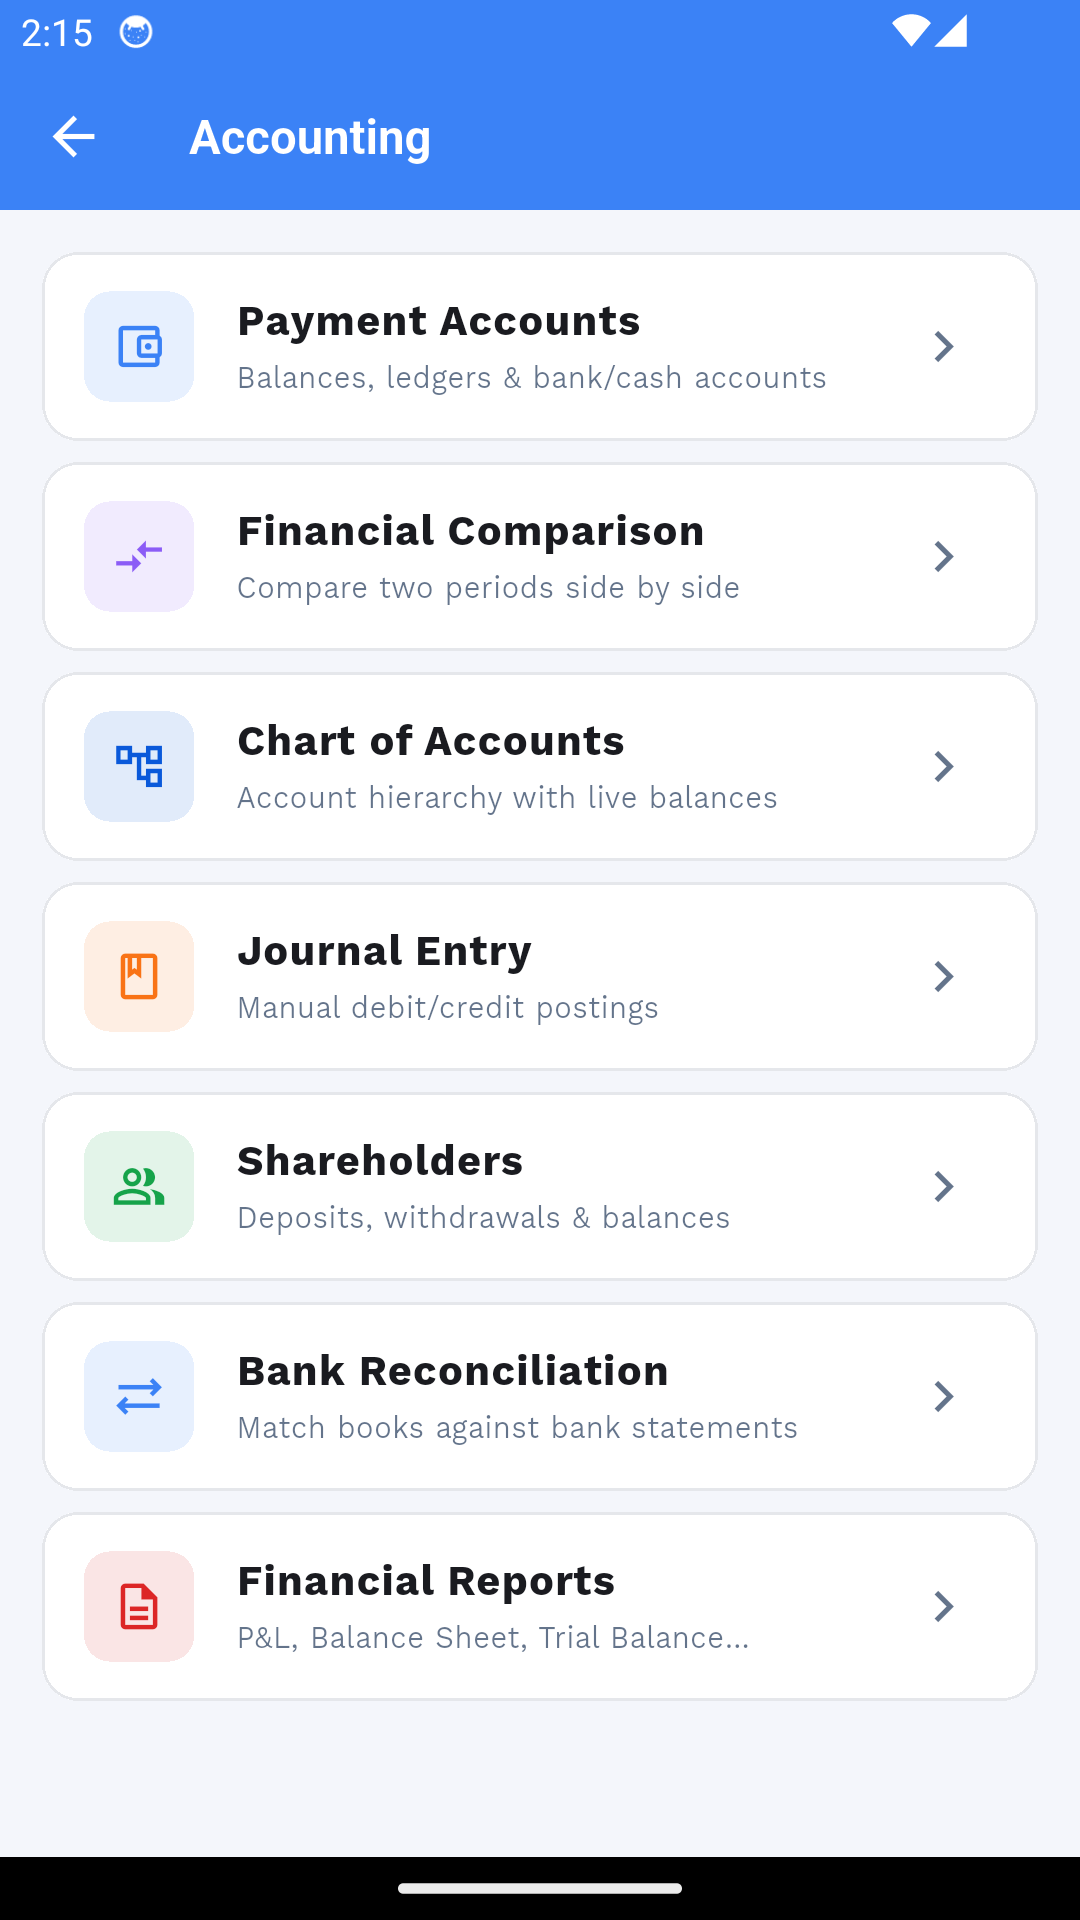
Accounting
- Payment accounts Balances, ledgers and bank/cash accounts — plus fund transfers and deposits.
- CoA & journals Chart of Accounts with live balances and manual Journal Entries (debit/credit).
- Reports & reconciliation Financial comparison, bank reconciliation and P&L/Balance Sheet/Trial Balance reports.
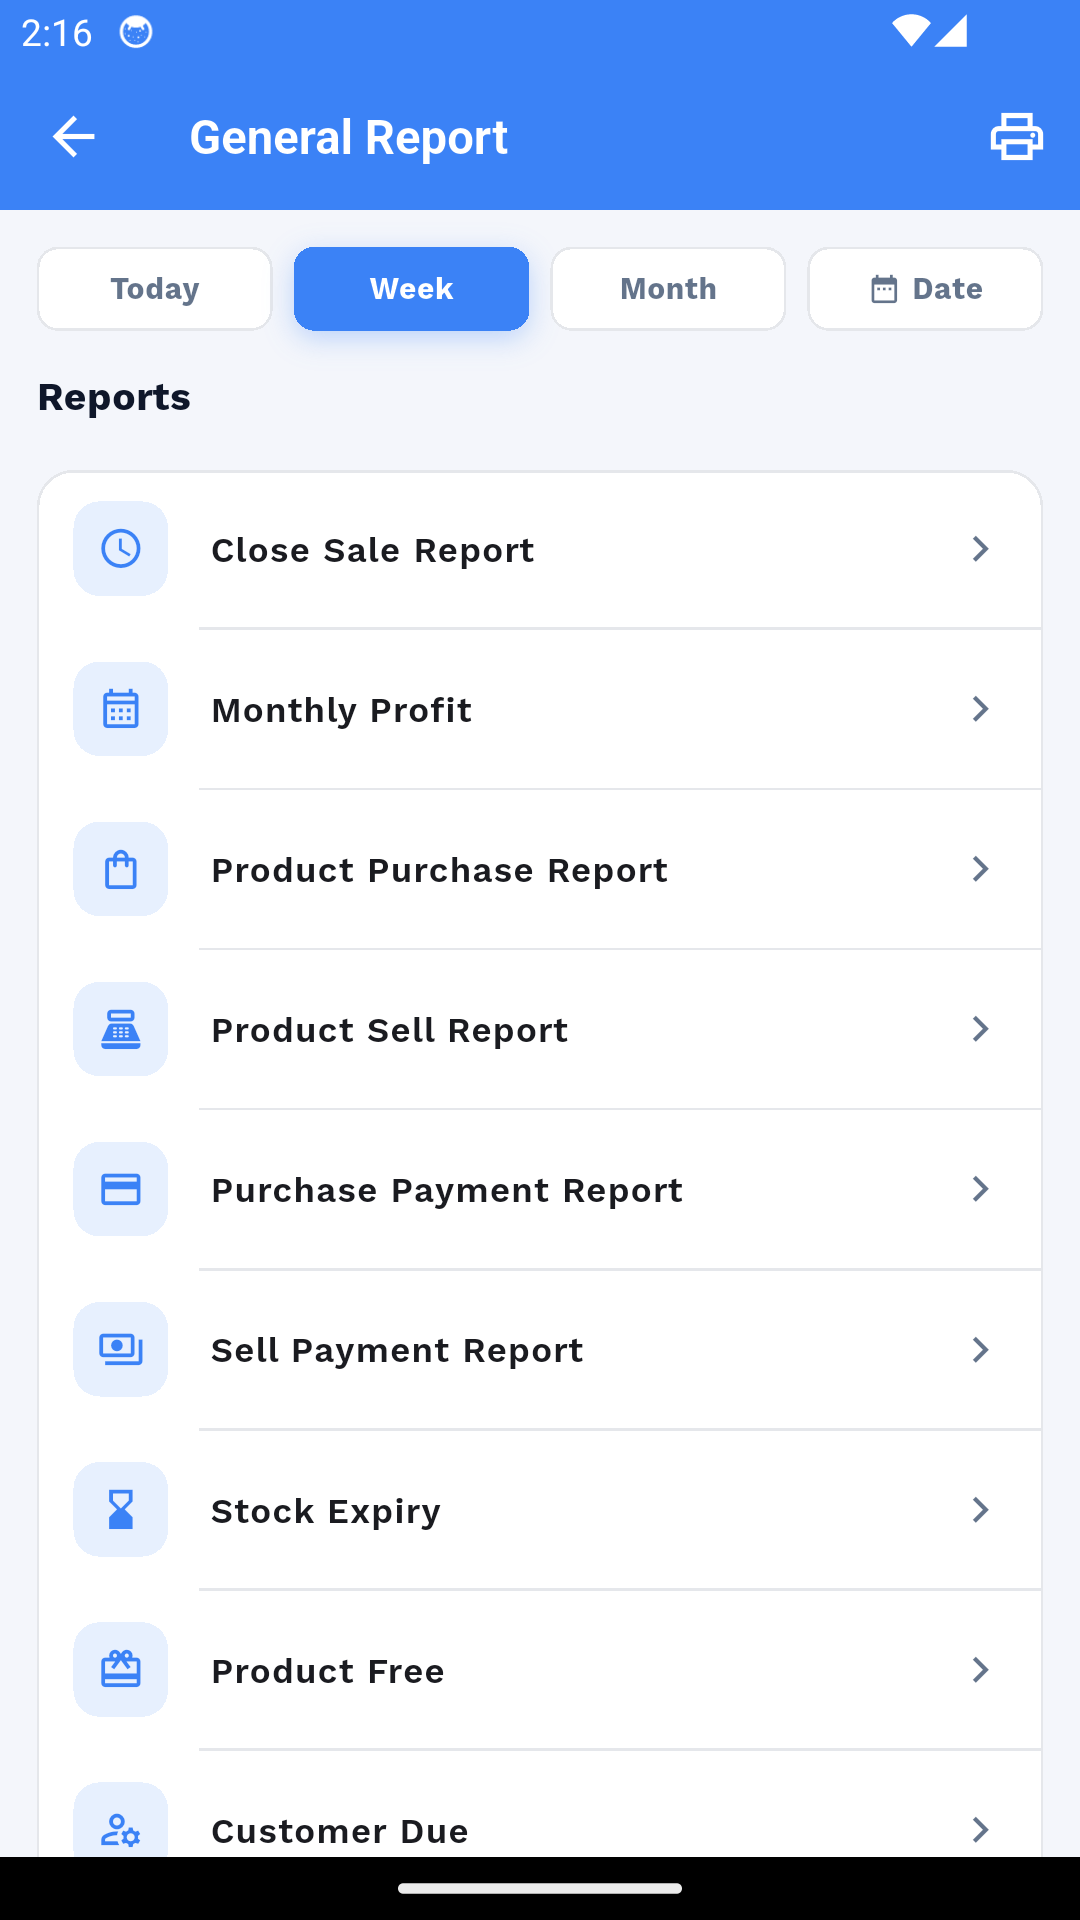
General Report
- Report list Close Sale, Monthly Profit, Product Purchase/Sell, Payment, Stock Expiry, Customer Due and more.
- Filter & print Pick Today/Week/Month or a custom date, then print or share the report.
Tax
- Tax settings Toggle product/sales price tax and inline tax columns; choose whether prices include tax.
- Tax rates & report Add tax rates, then open Tax Report for input/output totals with the per-rate breakdown.

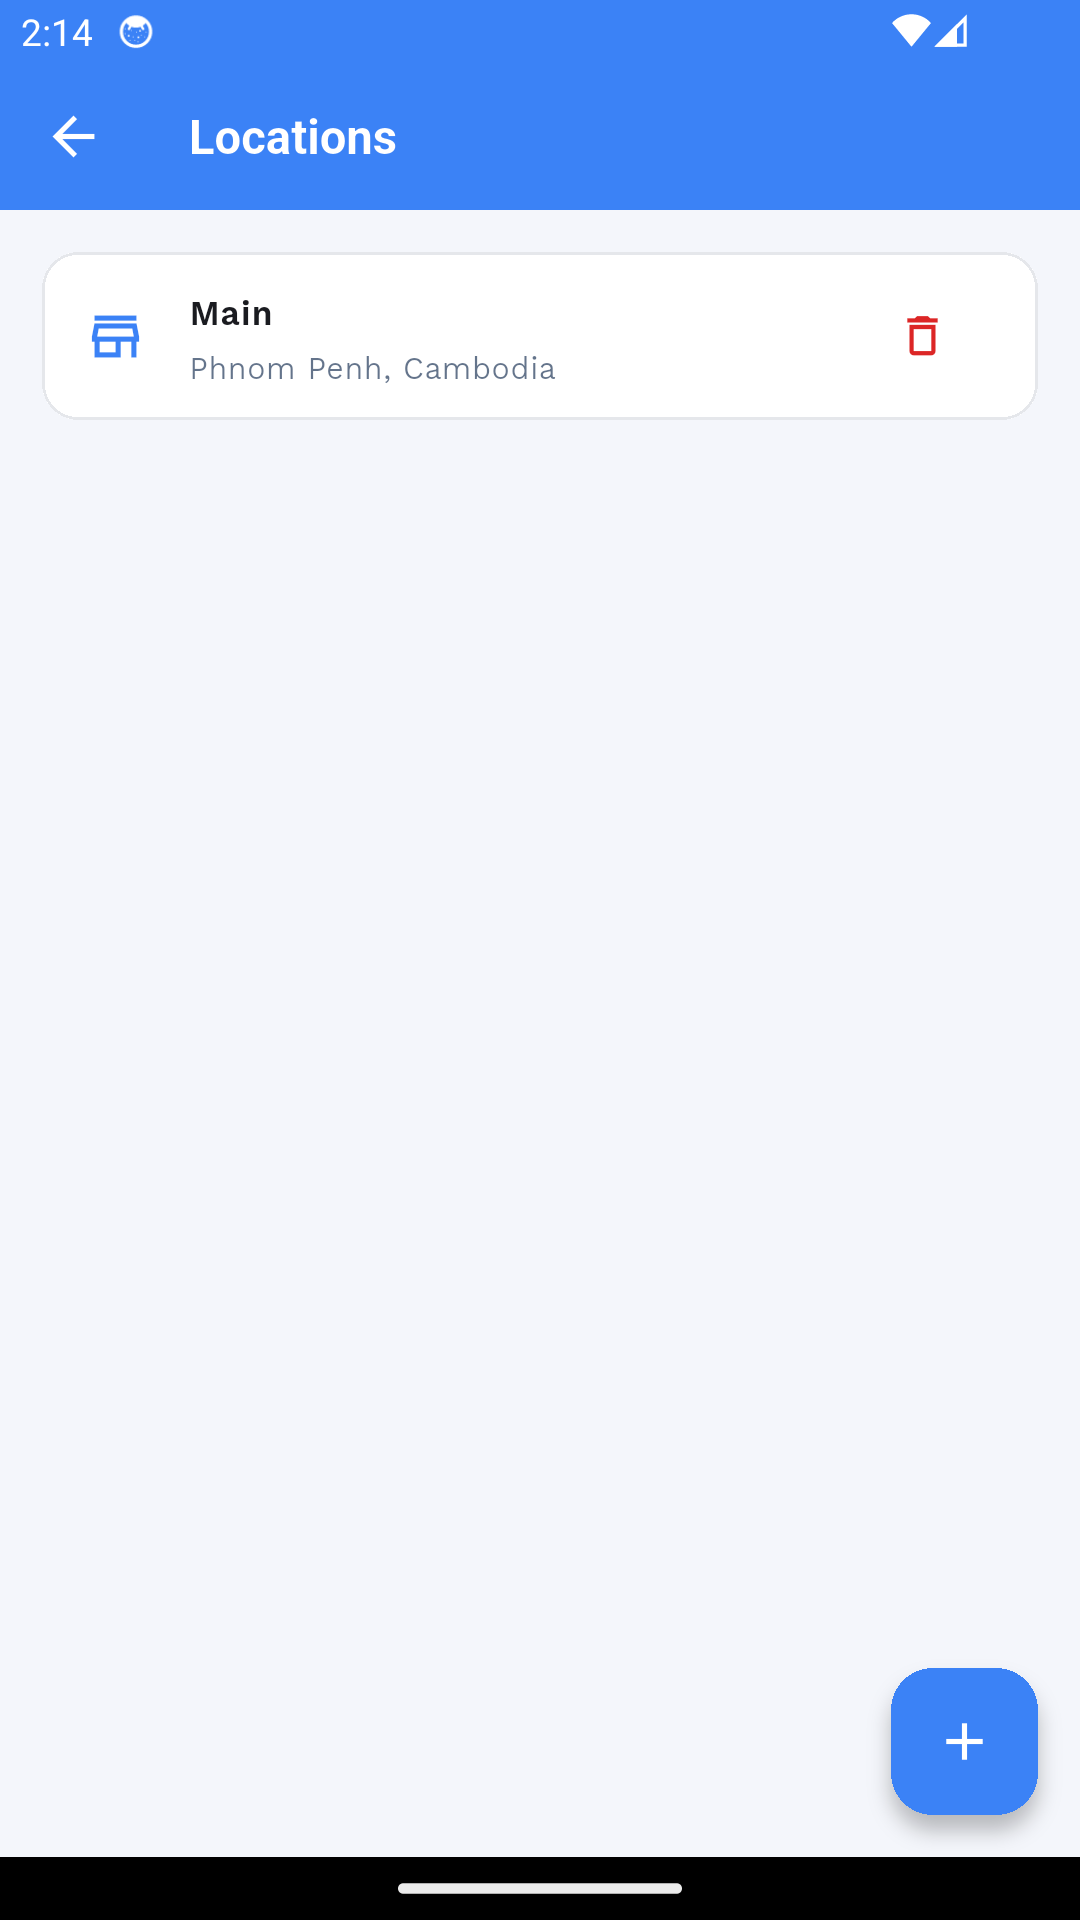
Locations
- View locations All business locations with their invoice scheme and printer.
- Add & edit Create a branch or edit its details — it appears in the location picker immediately.
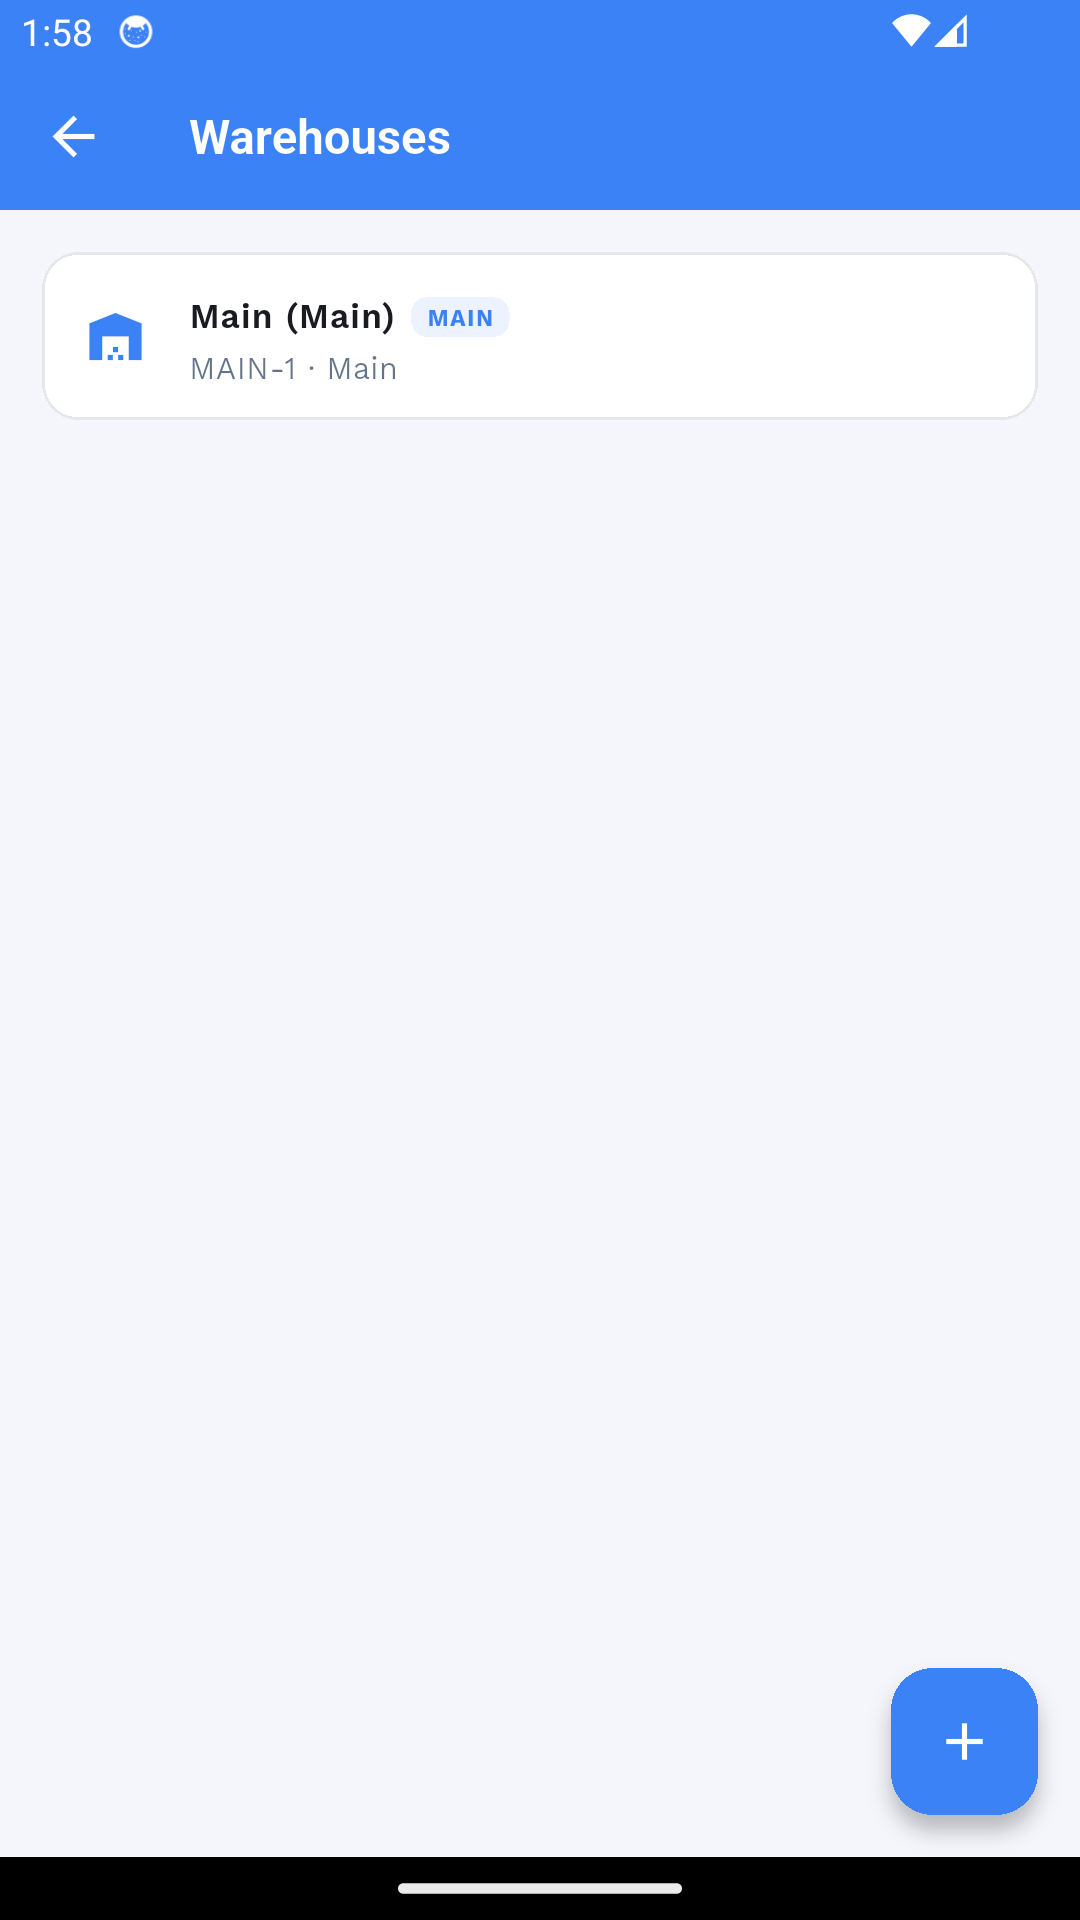
Warehouses
- Manage warehouses List the warehouses under each location — add or edit them for stock transfers and counts.
Manage Data
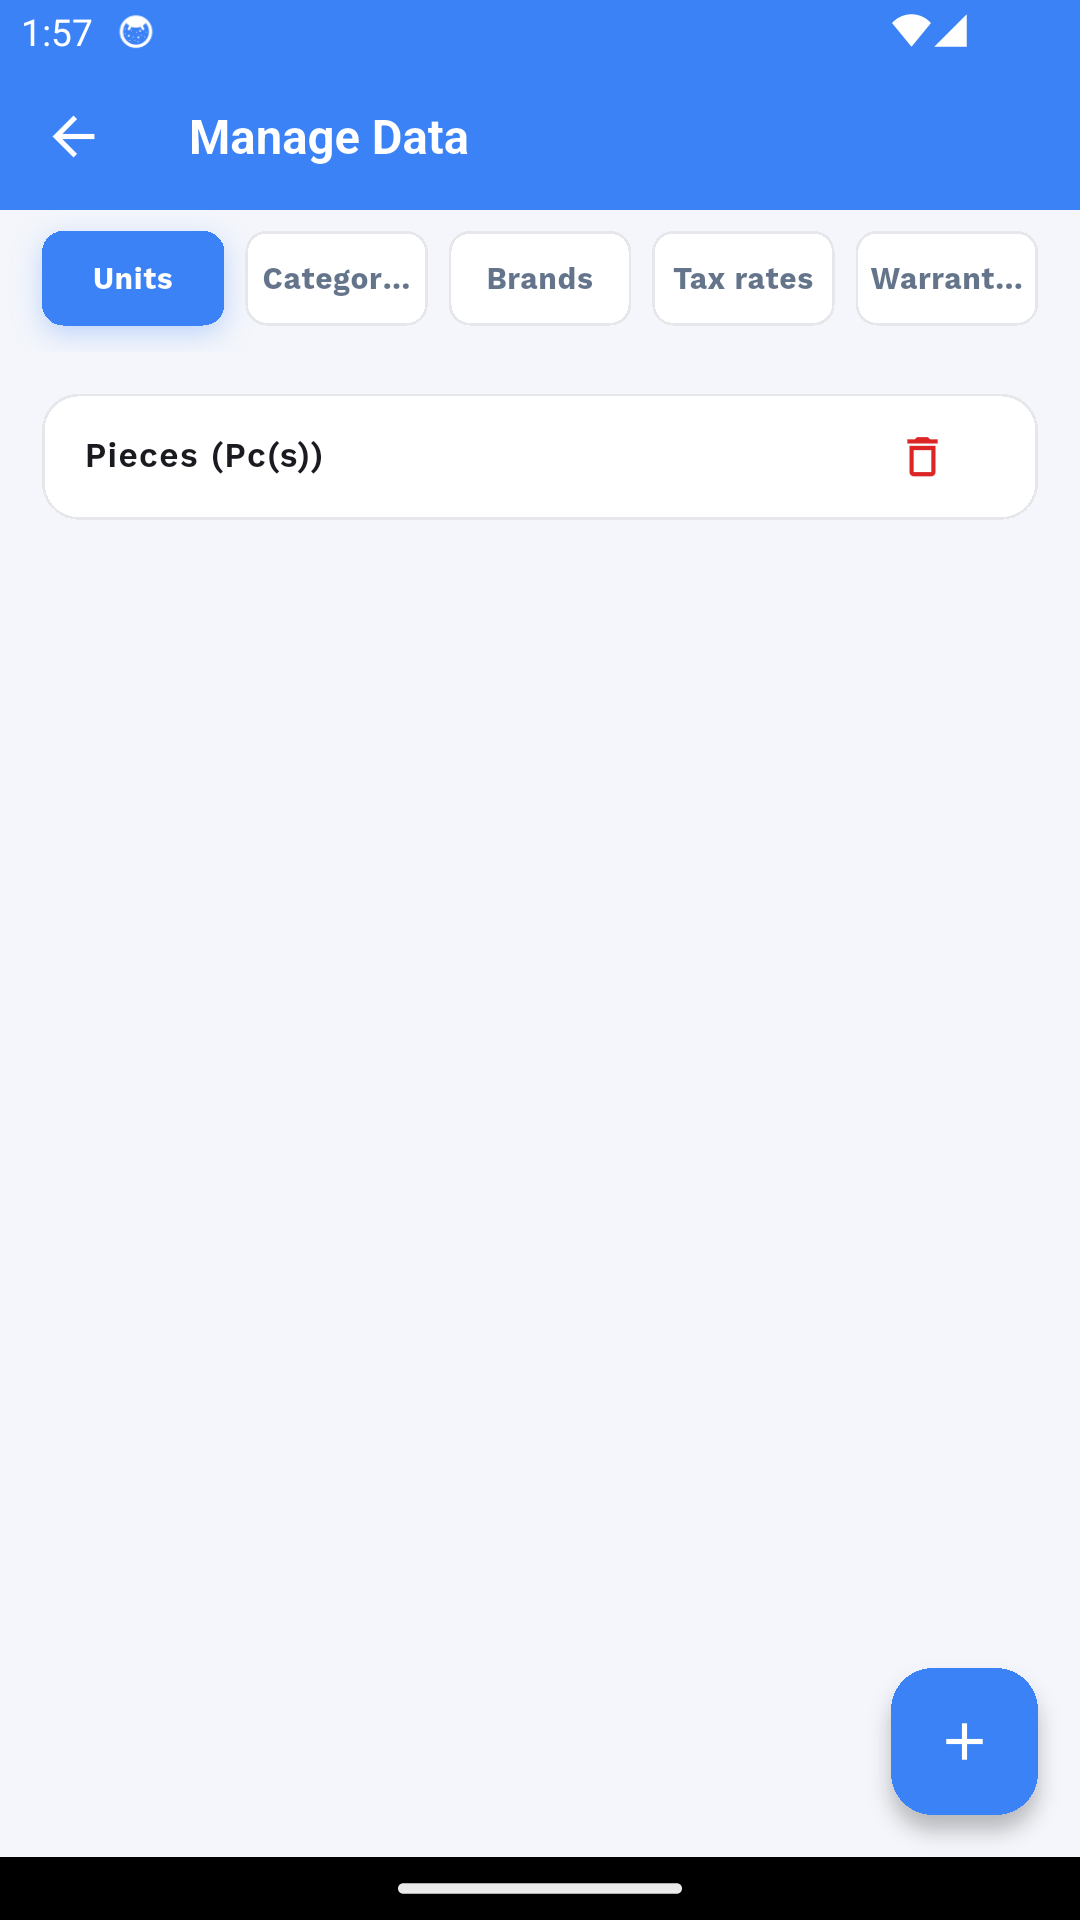
- Attribute tabs Units, Categories, Brands, Taxes, Warranties, Variations and Warehouses in one screen.
- Add & edit Tap + in any tab to create the attribute; long-press or open to edit/remove it.
Settings & Server
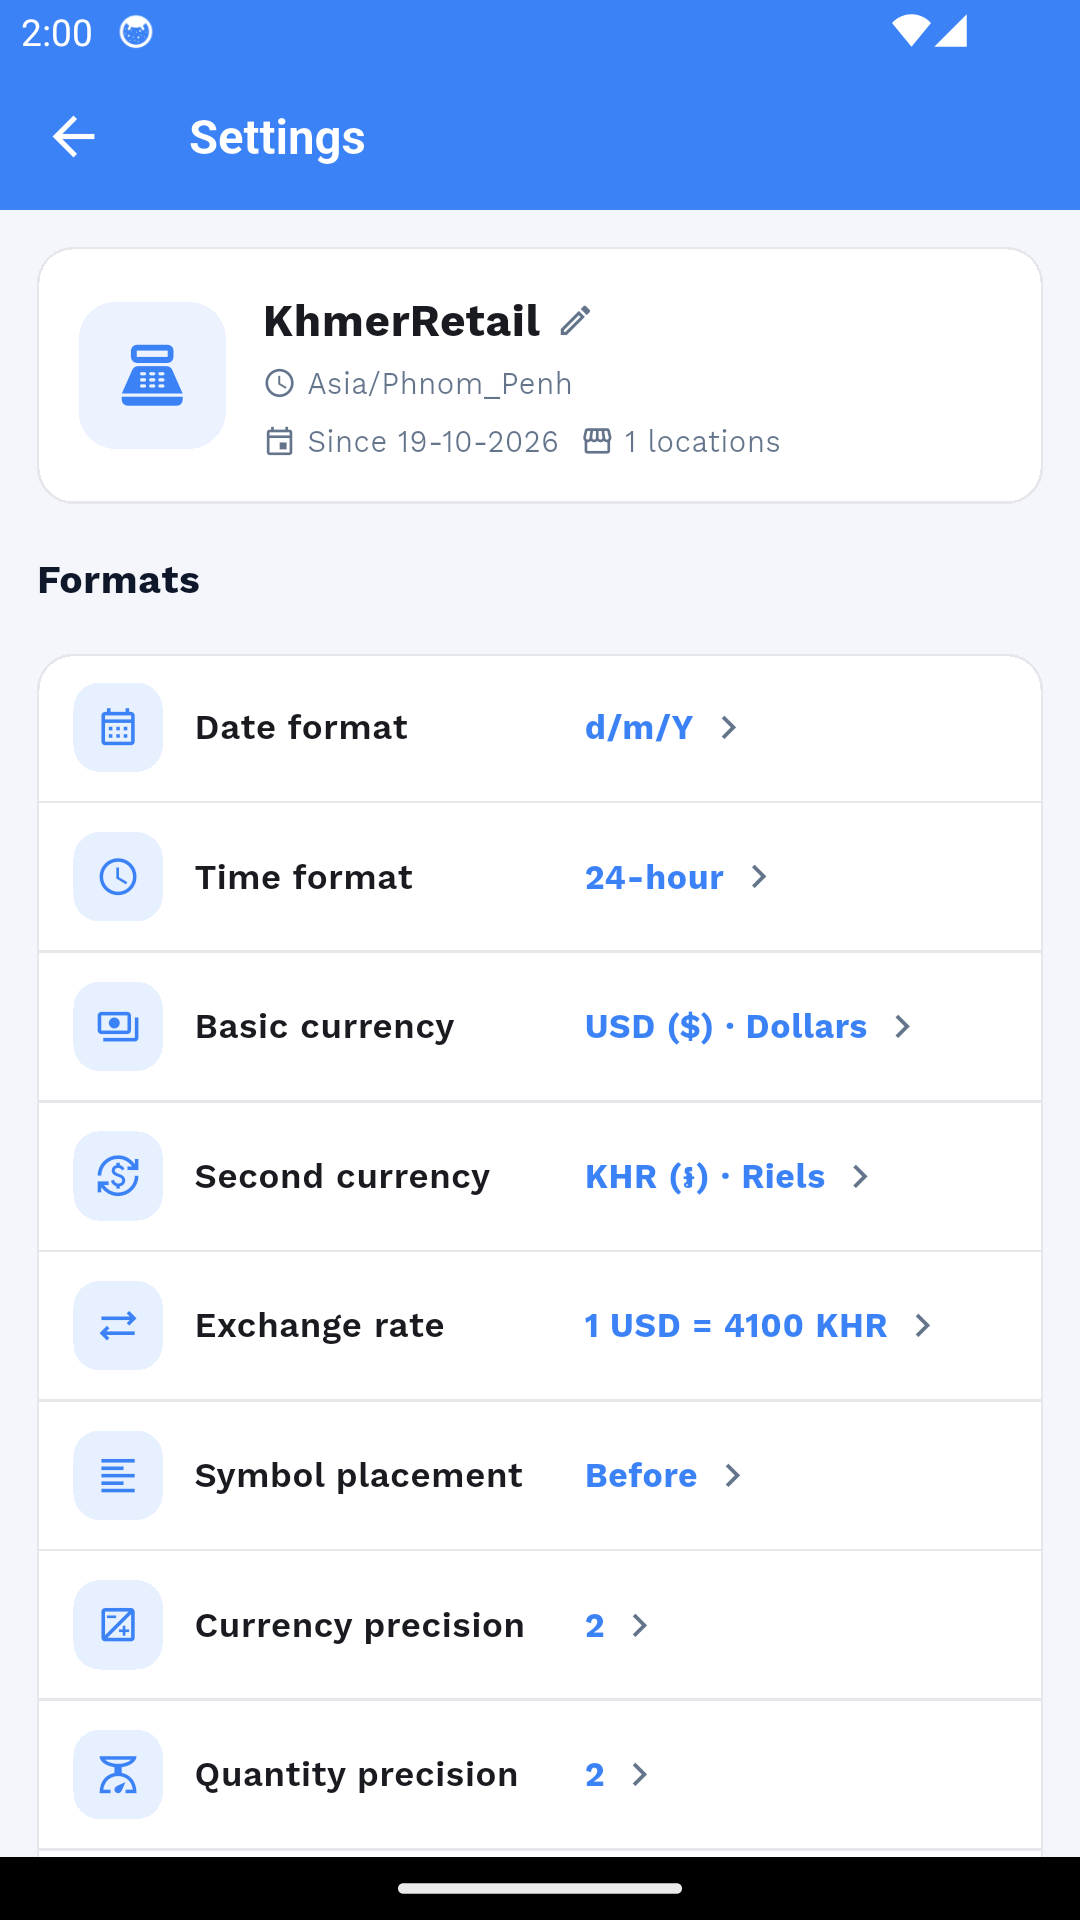
- Preferences Language (Khmer/English), app lock, printer setup, barcode scanner and sync options.
- Server The Server item shows the connected backend URL — switch servers without reinstalling.
- Sign out Sign out at shift end; the PIN/biometric lock protects the device meanwhile.
All sections
© 2026 KhmerRetail. All Rights Reserved.
Pay securely with
KHQR
Get the app